How to Sew Curtains (An Easy DIY Curtain Tutorial for Beginners)
Today I’m walking you through exactly how to sew curtains step by step using a basic rod pocket style. This method is beginner-friendly and can be customized to fit any window in your home.
The good news? Learning how to sew curtains is surprisingly simple, especially if you’re a beginner.
Once you learn this technique, you’ll be able to make custom curtains for living rooms, bedrooms, kitchens, and more.
Here are some supplies you’ll need
Before I show you how to sew curtains, gather these supplies:
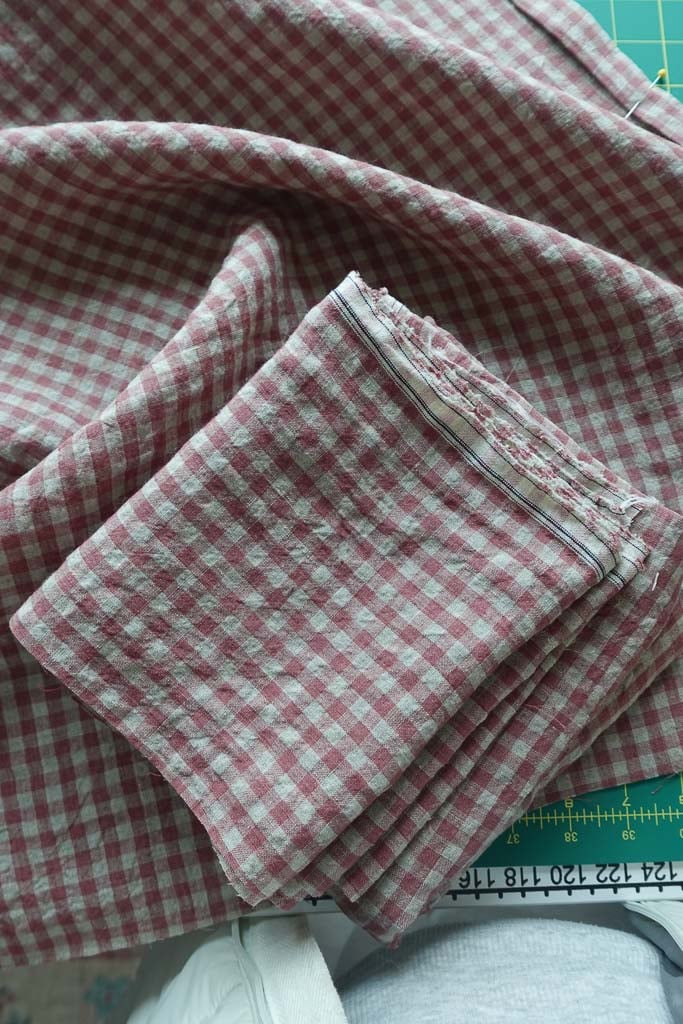
- Fabric of your choice (cotton and linen are my choice!) Here is the link to the fabric I used for this curtain.
- Curtain rod – I used this inside-mount rod from Rejuvenation and love how it turned out!
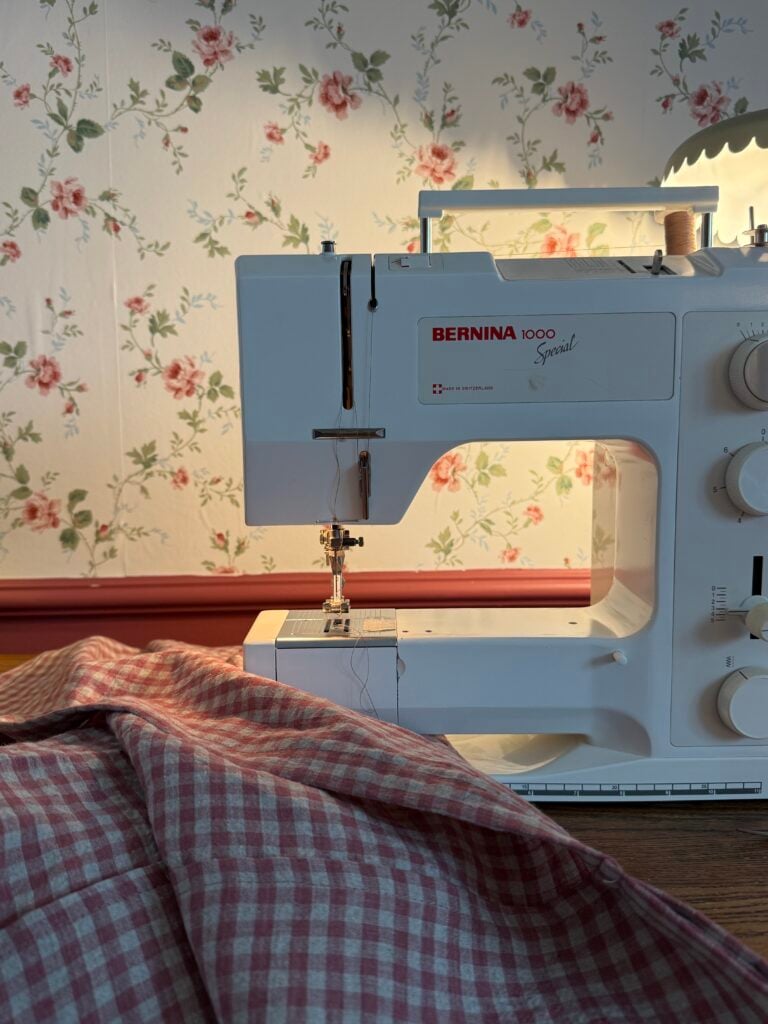
- Sewing machine
- Thread
- Fabric shears or rotary cutter
- Straight pins
- Measuring tape or ruler
- Fabric marker or heat-erasable pen
- Iron
Choosing the right fabric will make a big difference in how your curtains hang. Medium-weight fabrics like cotton, linen, or home décor fabric work beautifully. If you’ve ever wondered how to sew curtains, you’ll find the instructions below!
Step 1: Measure Your Window and Cut the Fabric
The first step when learning how to sew curtains is figuring out the size of your curtain panels.
Start by measuring your window. For the best look, curtain panels should usually be 1.5 to 2 times the width of the window so they gather nicely when closed. So my opening for this curtain was about 60 inches wide. But I wanted it to gather nicely, so I multiplied the number by about 2, making my curtain 120 inches wide total. I also wanted to hang 2 curtains instead of one big panel, so I just went with 2, 60-inch wide panels.
To calculate your cutting size, you’ll need to add extra fabric for the hems.
Add:
- 4 inches to the width (on top of however much you multiplied above for the gathering)
- 12 inches to the height
For example:
Finished curtain size:
60 inches wide × 50 inches long
Fabric you should cut:
64 inches wide × 62 inches long
Once you’ve calculated your measurements, cut your curtain panel.
Step 2: Sew the Side Hems
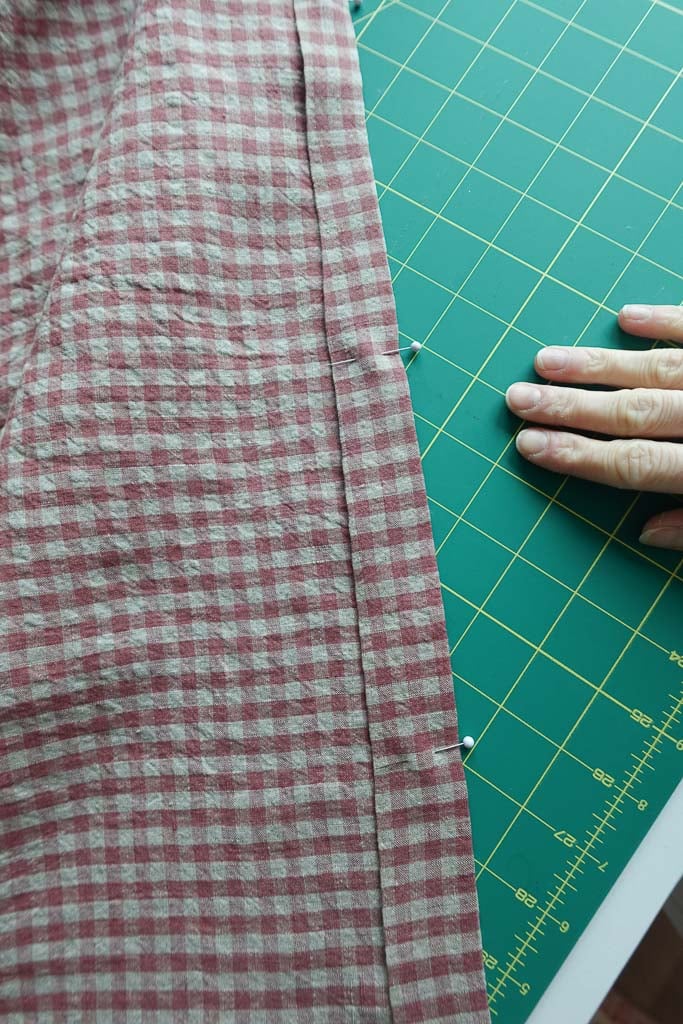
Honestly, the cutting is the hardest part! Now we get to sew everything up. We’ll finish the sides of the curtain panel first. Flip your fabric over so that the wrong side is facing up.
- Fold one of the side edges 1 inch toward the wrong side of the fabric.
- Press with an iron.
- Fold it in another 1 inch and press again. Pin the side in place.
This creates a clean double-fold hem. Sew down the length of the panel about ¾ inch from the folded edge.
Repeat the same process on the other side of the curtain panel.

Step 3: Create the Rod Pocket
Now we’ll create the rod pocket, which is the space where the curtain rod slides through.
To do this:
- Fold the top edge of the curtain 3 inches toward the wrong side and press.
- Fold it down another 3 inches and press again.
- Pin the fold in place.
Sew along the lower folded edge about ¼ inch from the edge.
This seam creates the rod pocket.
Optional: Add a Curtain Header
If you’d like your curtains to have a decorative ruffle above the rod, you can add a header.
Simply sew another line 1 inch below the top edge of the curtain.
This creates a small header that sits above the curtain rod and gives your curtains a more custom look.
adding the hem on the bottom of the curtain.
Step 4: Sew the Bottom Hem
The final step in sewing curtains is finishing the bottom hem.
Before sewing, it can be helpful to hang the curtain temporarily to check the length. I did a 1-inch double fold hem on my curtains, but hang your curtains up and see how much you have to work with! I had roughly 2 inches at the bottom of my curtain when I hung it up, so I folded the bottom edge up 1 inch, pressed it in place, then folded it up another 1 inch to enclose the raw edge.
Sew along the folded edge about ¼ inch from the crease.
Step 5: Hang Your Curtains
Slide your curtain rod through the rod pocket and hang your finished curtain panel.
That’s it!
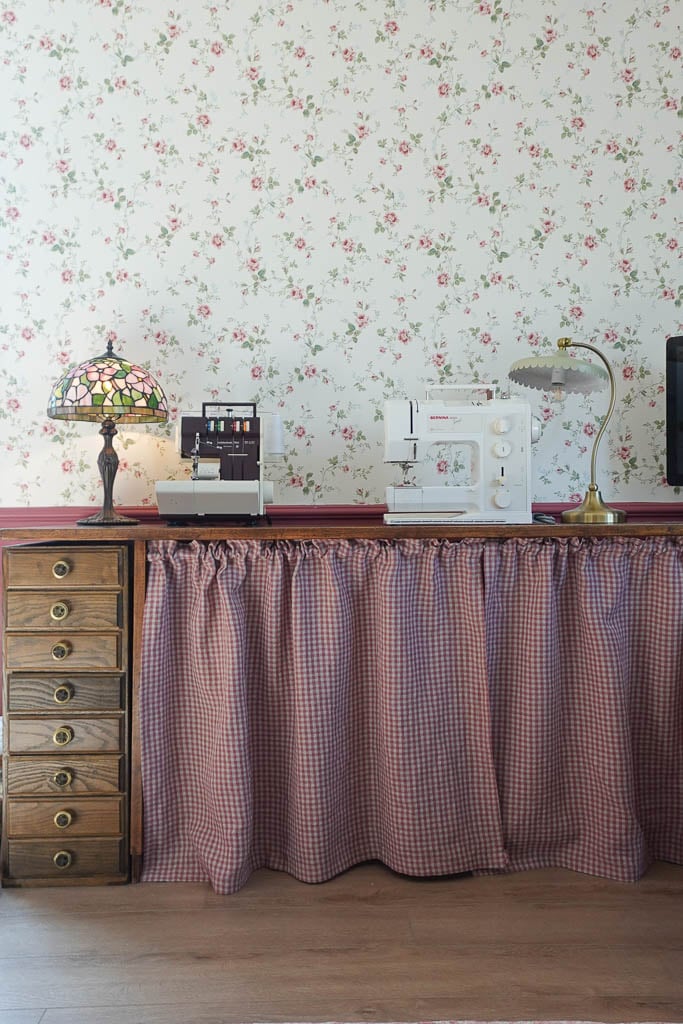
You just learned how to sew curtains from scratch. Custom curtains are one of the easiest sewing projects and can completely transform a room. I like to use this method for DIY cafe curtains, for desks to hide cords (like I’ve done here), truly the possibilities are endless!
Tips for Fail-Proof Curtains
If you’re new to sewing curtains, these tips will help:
✔ Always press your hems before sewing
✔ Choose medium-weight fabric so the curtains drape nicely
✔ Make panels twice the width of the window for a fuller look
✔ Use long, straight stitches for a clean finish
Once you know how to sew curtains, you can easily customize them with:
- blackout lining
- decorative trim
- ruffles
- tie backs
- contrasting fabric panels
DIY Curtains FAQs
Is sewing curtains a good beginner sewing project?
Yes! Curtains are one of the easiest projects for beginners because they mostly involve sewing straight lines and simple hems.
What fabric works best for DIY curtains?
Medium-weight fabrics like cotton, linen, canvas, or home décor fabric work best. Lightweight fabrics can sometimes hang too loosely.
How wide should curtain panels be?
Curtain panels should usually be 1.5 to 2 times the width of the window so they look full when closed.
Do curtains need lining?
Not always. However, lining can help curtains block light, improve insulation, and give them a more professional look.

Other Beginner Sewing Project Ideas:
If you’re new to sewing and looking for other project ideas, check out these below. They’re designed just for you!
I hope you all loved this tutorial, and if you make a set of curtains, tag me over on socials @sarahsdayoff so I can see them! If you have any questions about this post or any others, you can always send me an email at sarah@sarahsdayoff.com or send me a DM on Instagram. I can’t wait to see what you guys make!
Love,
Sarah
Leave A Comment