DIY Wreath Sash: An Easy Step-by-Step Sewing Tutorial for Every Season
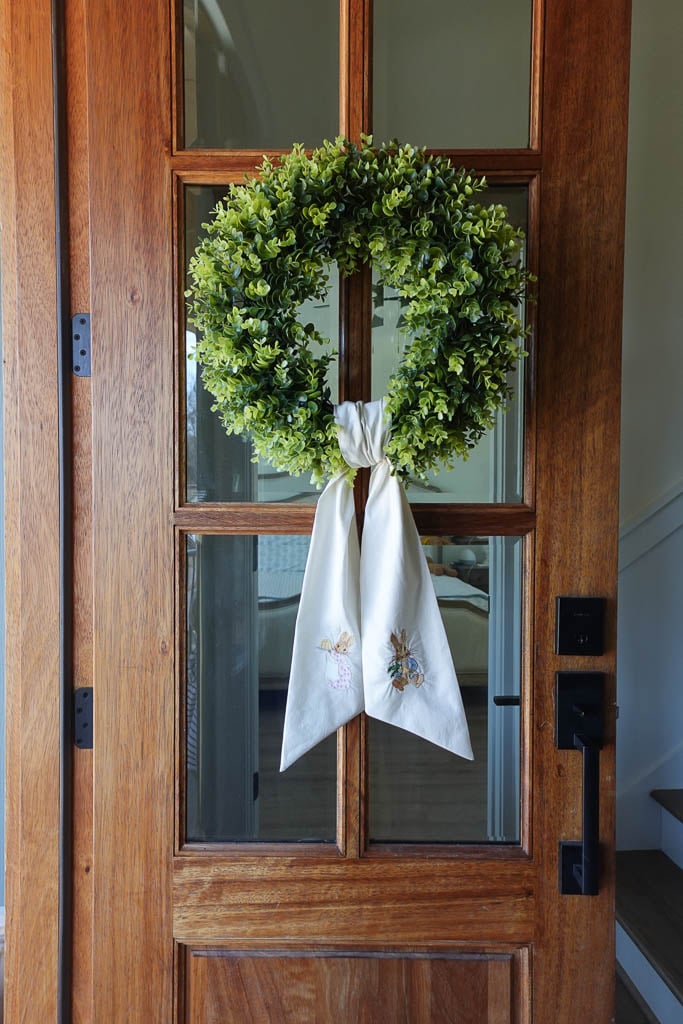
If you love simple, beautiful home décor that can change with the seasons, a DIY wreath sash is one of the easiest sewing projects you can make. Whether you’re decorating for spring, welcoming a new baby, or adding charm to your front door for the holidays, a handmade wreath sash adds a soft, personal touch you just can’t get from store-bought décor.
This step-by-step tutorial will show you exactly how to sew your own wreath sash—even if you’re a sewing beginner!
Why Make a DIY Wreath Sash?
There are so many reasons to sew your own wreath sash:
- It works for every season and celebration
- It’s a quick beginner sewing project
- You can customize colors, fabrics, and embroidery
- Handmade décor makes your home feel warm and personal
- It’s a thoughtful handmade gift idea
If you’re like me, once you make one, you’ll want a sash for every holiday! They’re so easy to switch out and so worth the few minutes it takes to make them!

Supplies You’ll Need
To make your own DIY wreath sash, you will need:
- 1 ½ yards of cotton or linen fabric (I’m using a linen/cotton blend in this tutorial)
- Coordinating thread
- Fabric shears or a rotary cutter
- 6 x 24-inch ruler (not required but I always find it helpful)
- Pins or clips
- Sewing machine
- Iron
- Optional: embroidery thread or embroidery floss (if you plan to embroider the sash)
DIY Wreath Sash Measurements
A classic wreath sash size:
-
Length: 54 inches (will be 27 inches long when folded in half and hanging on wreath)
-
Width: roughly 5 inches finished
This length allows the sash to drape naturally over a standard 18–24 inch wreath.
Tip: If your wreath is extra full, add a few more inches to the length.
How to Sew a DIY Wreath Sash (Step-by-Step)
Step 1: Cut Your Fabric
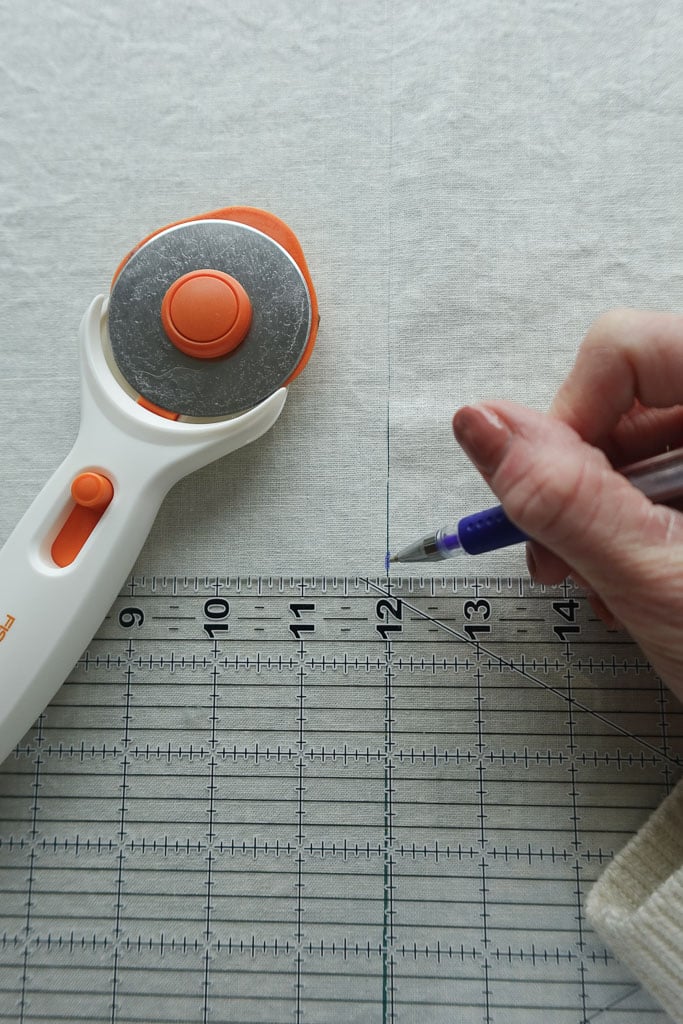
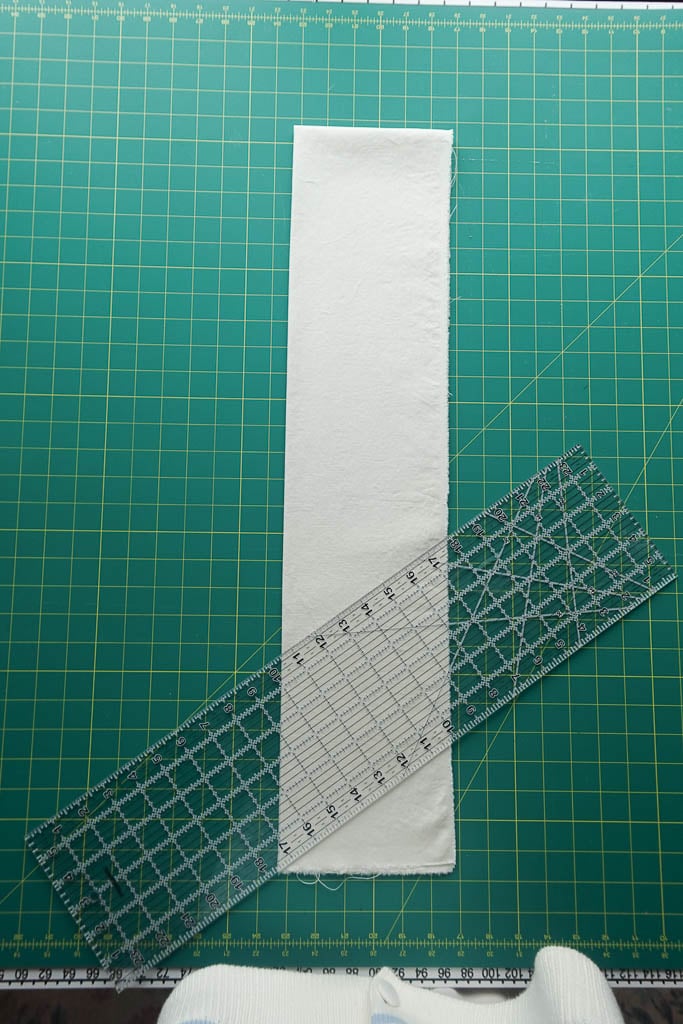
Cut one strip of fabric that is 12 inches wide and 54 inches long (use your rotary cutter for this if you have it!):
I like to buy exactly 1 1/2 yards of fabric for wreath sashes because this means the fabric will be exactly 54 inches long. That way, you can just cut a 12-inch strip from the entire piece of fabric. I simply measure 12 inches from the selvage edge in a few pieces, then use my ruler as a guide when I’m cutting with the rotary cutter.

Step 2: Fold your fabric in half lengthwise
Fold your fabric in half lengthwise and press, making sure all the raw edges are aligned with each other.
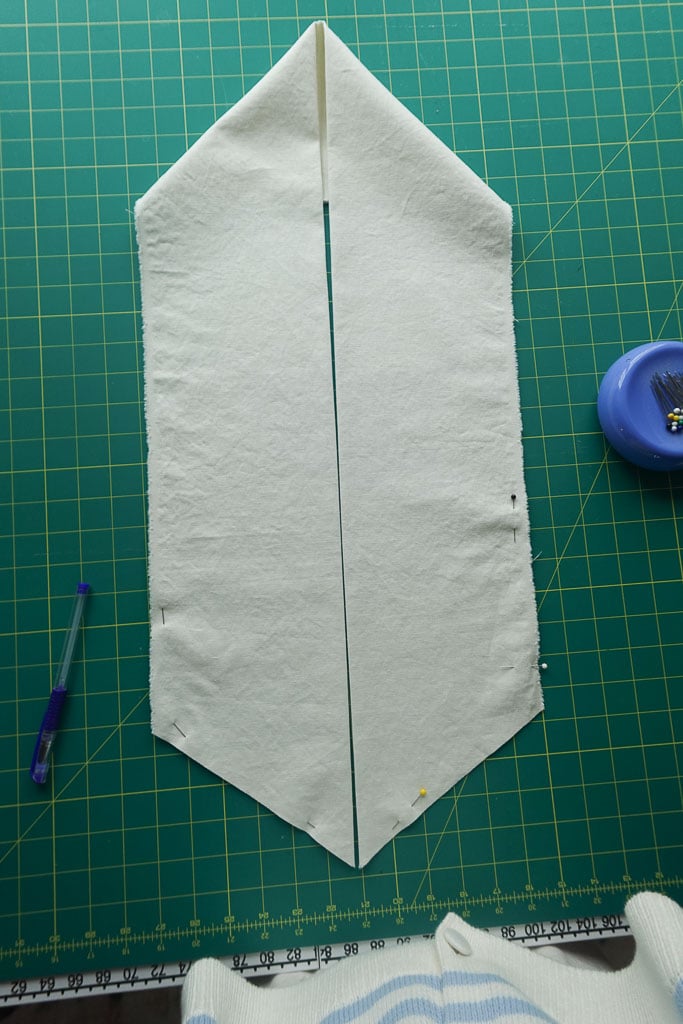
Step 3: Fold in half widthwise and trim the bottom
Fold the fabric in half again widthwise (hamburger style). Trim the cut edges at a roughly 45° angle (not the folded edge, the raw edge side). You’ll want to start cutting at the bottom of the folded edge, and cut inward towards the cut edges at roughly a 45° angle.


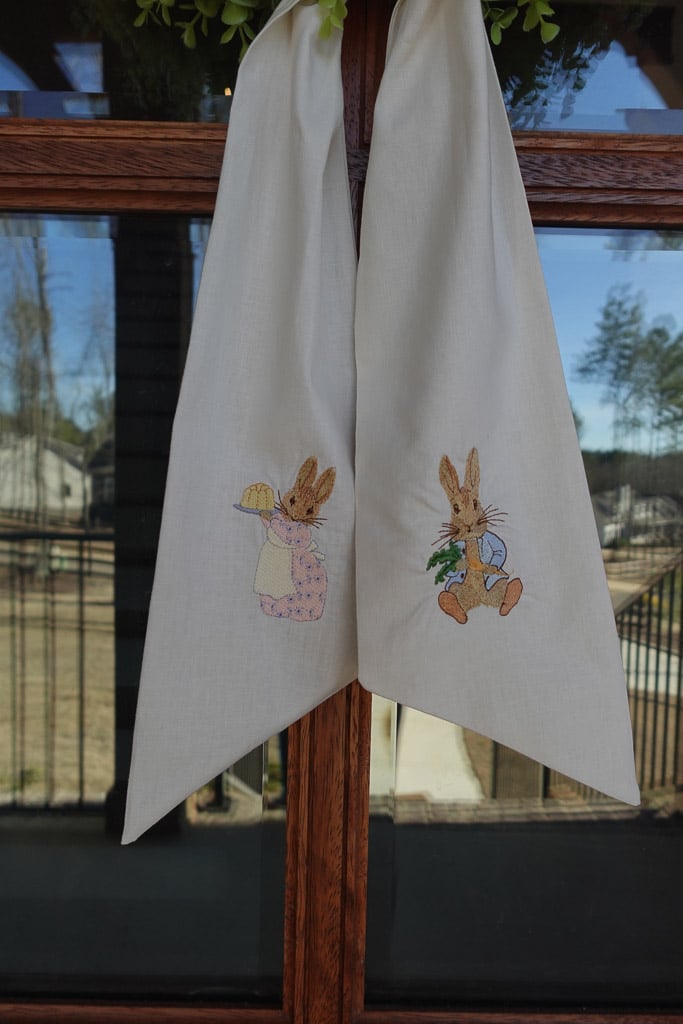
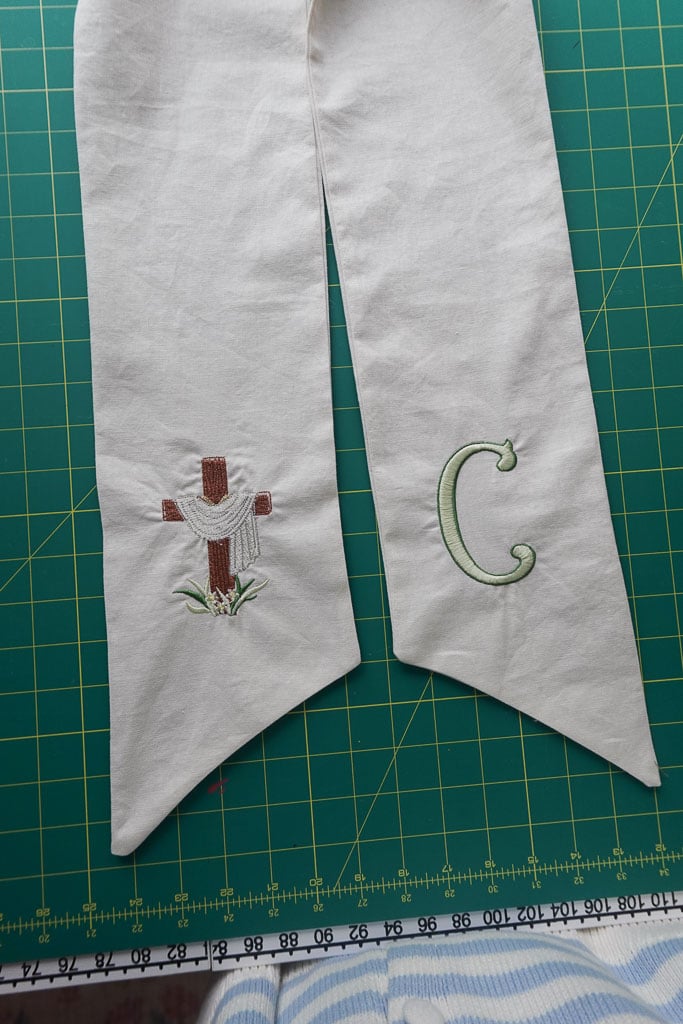
Step 4: Embroider (if desired)
If you’re planning to embroider your wreath sash, now is the time to do it! Arrange your fabric as you plan for it to look when finished. I like to mark on the right side of the fabric where I want the center of my embroidery design to be. Then, I unfold it and place it in my embroidery frame, take it to my machine, and embroider. Just make sure when you mark the fabric you’re accounting for a roughly 1/4-inch seam allowance on the edges.


Step 5: Pin and sew along the raw edges
Fold your wreath sash in half lengthwise, this time right sides together. Pin along the raw edges and sew, leaving a 4″ gap in the center of the piece (for turning right sides-out). I like to mark this area with a heat-erasable pen). Sew at a 1/4-inch seam allowance all the way around the raw edges (leaving your gap in the middle).
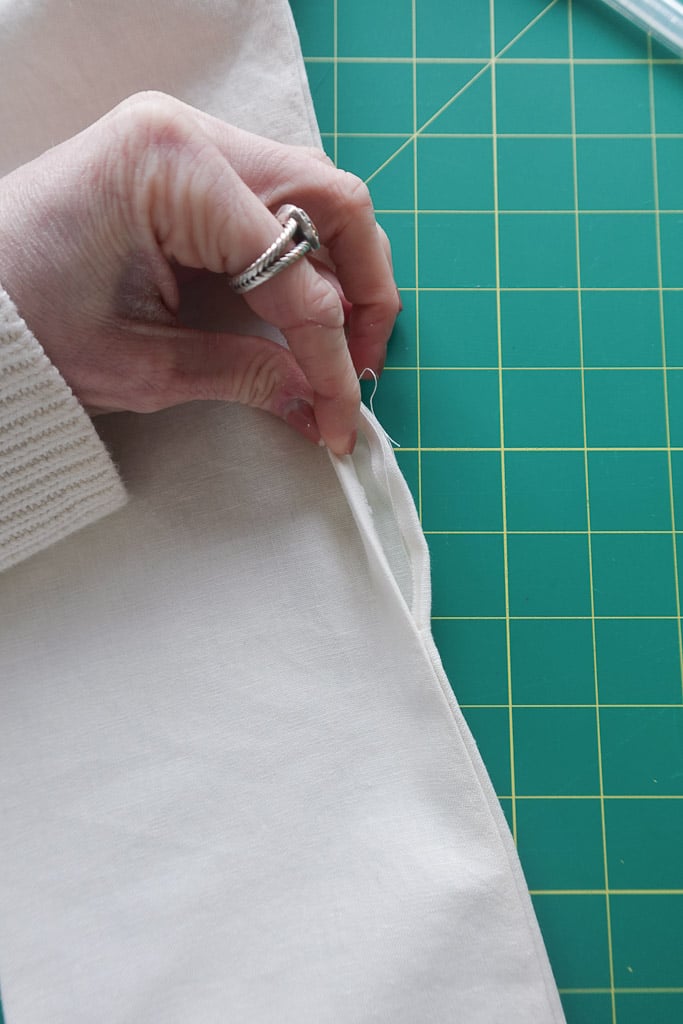
Step 6: Turn right-sides out and close the opening
Use the small gap you left in the center to turn the fabric right sides-out. Use a pen or pencil to reach inside the tail piece gently press the corners out so they’re laying nicely.
Press the seam allowances of the opening so they’re laying inside the sash. Edge stitch along the gap to close the opening.
How to Personalize Your Wreath Sash
This is where the magic happens!!
Try adding:
- Hand embroidery (names, dates, or seasonal words)
- Appliqué shapes like pumpkins, bunnies, or hearts
- Monograms for a classic Southern touch
- Fabric paint or iron-on vinyl for quick customization
You can create:
- A baby announcement wreath sash
- A holiday wreath sash
- A front door welcome sash
- A birthday or celebration sash
One simple sewing project with truly so many options.
Beginner Tips for Sewing Success
If you’re new to sewing, keep these in mind:
- Use cotton fabric for easiest handling
- Press every seam—this is the secret to professional results
- Go slow when topstitching
- Start simple… then make one for every season
I think this is such a great project to start with because it really is almost fail-proof! If you’re looking for more beginner sewing tutorials, check out this post on how I make pacifier clips. They are so simple and only take a few minutes!
Save This DIY Wreath Sash Tutorial for Later
If you make your own DIY wreath sash, I’d love to see it!
You can tag me on Instagram @sarahsdayoff or pin this tutorial so you can come back to it for every season. And if you have any questions about this tutorial or any of the other ones on my blog, you can send me an email at sarah@sarahsdayoff.com or shoot me a DM on instagram!
And if you love simple sewing projects, cozy homemaking, and meaningful handmade details, you’re in the right place here on the blog.
More easy tutorials coming soon 🤍
Love,
Sarah
Would you mind d to share where you got the cute embroidery designs?
You can purchase them on Etsy! The shop is called “Gebirgsblume.” Hope this helps!