How to Sew a Basket Liner (with Scalloped or Plain Edge)
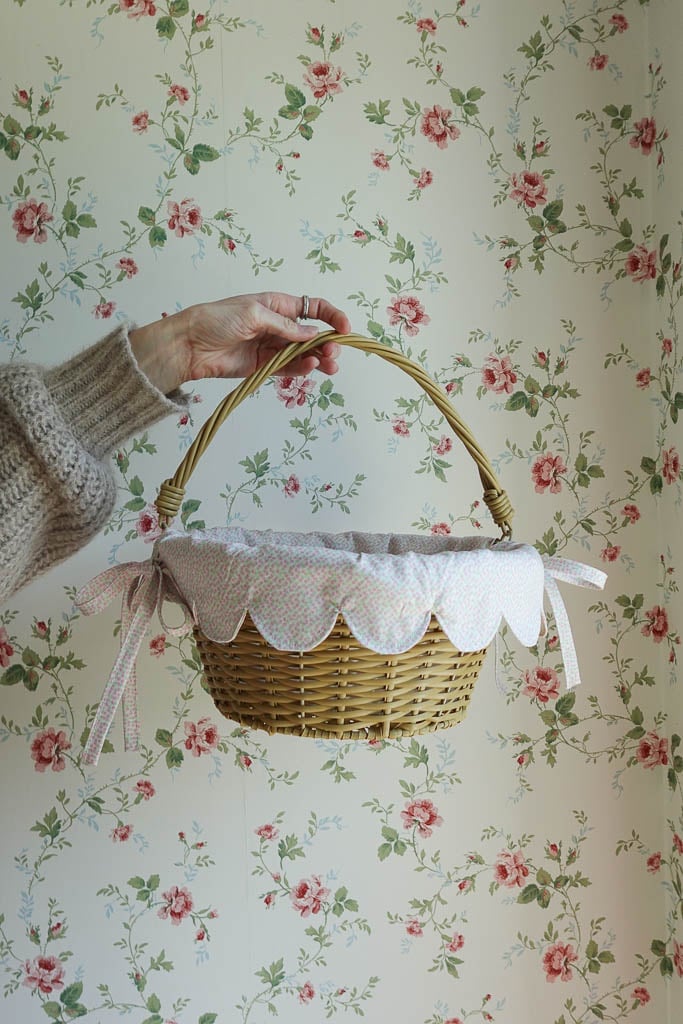
If you’ve ever wanted to elevate a simple basket—whether for Easter, storage, or gifting—a custom DIY basket liner is the perfect project. Not only does it make any basket feel more finished, but it’s also completely customizable to fit any size or shape.
Today I’m walking you through exactly how to sew a basket liner, with two options:
- a classic plain edge, or
- a scalloped edge for a more decorative look
This method is beginner-friendly, but the end result looks so professional!
Why You’ll Love These DIY Basket Liners
- Fully customizable for any basket size – simply take the measurements below as directed and apply to your basket!
- Works for Easter baskets, storage bins, or home decor
- Option for scalloped or simple edge
- Washable – for all my mom friends out there!
- Great use of fabric scraps!
Fabric baskets and liners are a popular way to make everyday storage more beautiful and functional, especially since they can be fully lined and tailored to your style. Plus, this project is very beginner-friendly and doesn’t require a sewing pattern!
NOTE: This tutorial was heavily inspired by my sweet friend Courtney Weston of Rooney Sewing! I made a few changes to the dimensions and added a couple of extra steps, but if you’re looking for a video tutorial that is similar to this basket liner, you can find her Youtube video here. And if you are a beginner at sewing, her channel is such a great resource for beginners so I would definitely recommend subscribing!
Supplies You’ll Need
- Basket
- If you don’t want the headache of calculating your own measurements, you can purchase this basket. It’s the one I used for this tutorial so all of the measurements are listed below).
- Fabric (I would use a medium-weight cotton like quilting cotton or maybe a linen)
- The fabric I used for this tutorial is linked here.
- Matching thread
- Sewing machine – this is the machine I began my sewing journey with and I highly recommend it!
- Pins
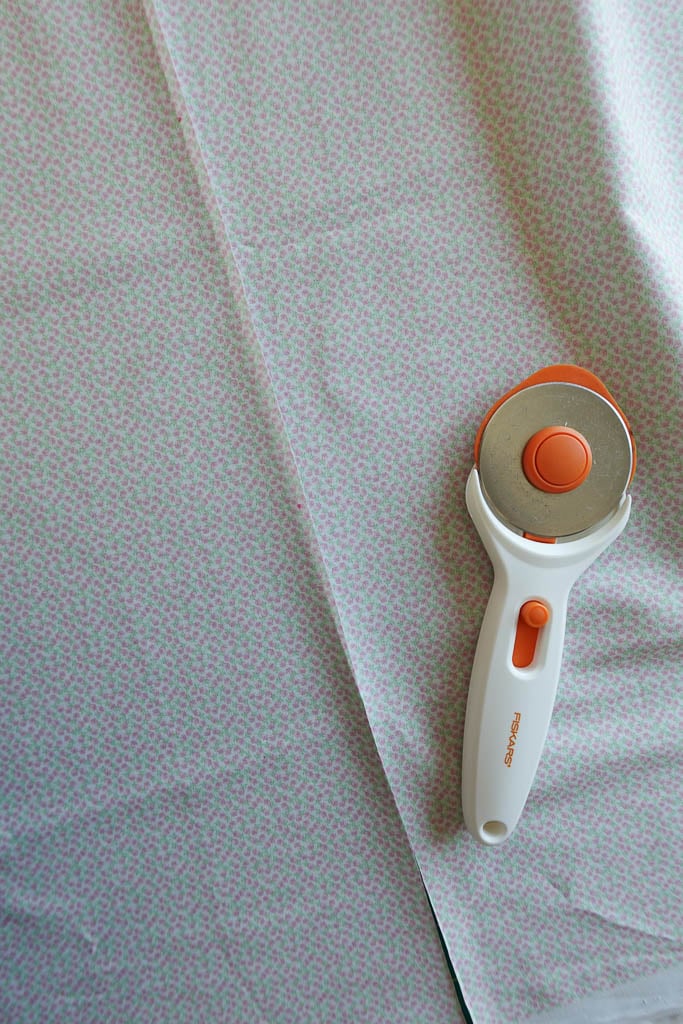
- Fabric shears or rotary cutter
- Measuring tape
- 6×24″ ruler – I use this for almost every sewing project I do. This is something you will need to have on hand!
- Bias tape maker (optional) – if you plan to make bias tape ties for your basket, I’d recommend having one of these kits on hand. It just makes the entire process much faster and easier.
- Pinking shears
- Heat-erasable fabric pen (these are what I use and love, but you can use a water-soluble marker as well – you’ll just need to wash it when you’re finished).
How to Sew a Basket Liner (to fit any basket size)
Step 1: Trace the base of your basket


Set your basket on top of the fabric. Use a heat-erasable pen to trace around the base of the basket. Then, remove the basket and draw another circle about 1/4″ away from the original circle. Cut the circle out using the second circle you drew. This will be the piece at the bottom of your basket.
Step 2: Measure the height of your basket
Using a tape measure, measure from the base of your basket up to the top edge of your basket. For this project we will add 3 inches to the height. If you have a basket larger than mine, you may want to add 4 inches instead of 3.
So, My basket has a height of 5.5 inches. I will add 3 inches to that to get 8.5 inches. This will allow for the fabric to hang over the edge of the basket.
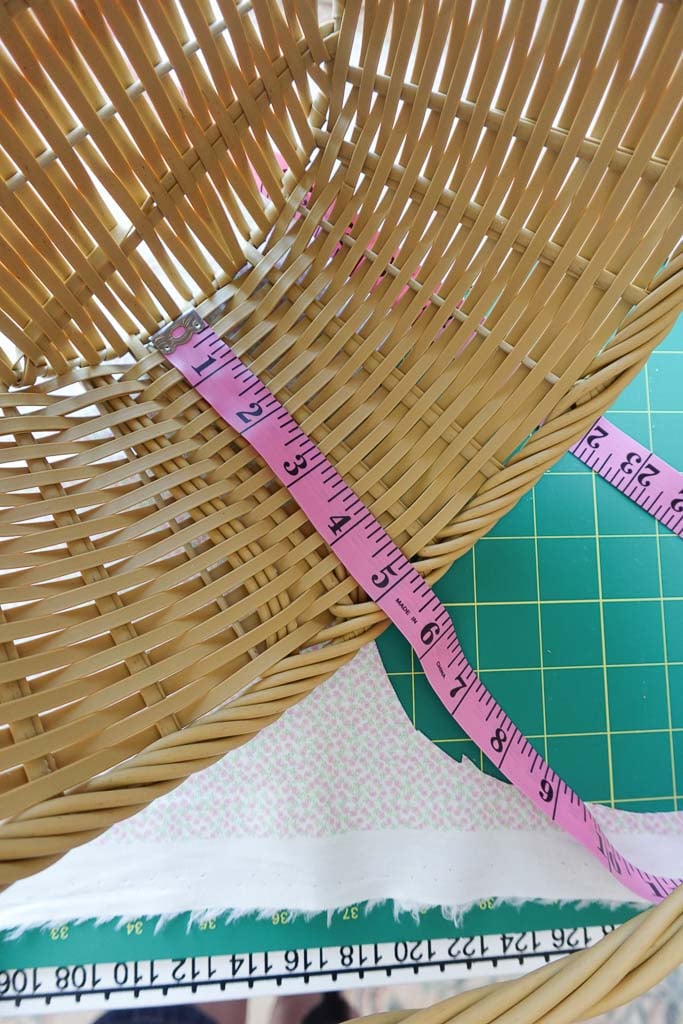
Step 3: Measure the circumference of the top of your basket

Use a tape measure to find the circumference of the top edge of your basket. Start at one handle and work your way around the top edge until you get back to that handle. This will be your circumference measurement. For this project we will add 1 inch to this number to allow for seam allowance.
So, my basket’s circumference at the top is 38.5 inches. I will add 1 inch to that to get 39.5 inches.
Step 4: Cut 2 rectangles of fabric
You will need one rectangle that is (the new height (mine is 8.5 inches) x (the new circumference (mine is 39.5 inches).
You will need another rectangle that is (the new circumference (mine is 39.5 inches) x (3 inches).
So, for my basket I will cut:
- 1 (8.5 x 39.5 inch) rectangle
- 1 (3 x 39.5 inch) rectangle
Step 5: Trace scallops onto your fabric


Grab a piece of paper and a circular object. Use this circular object to trace half-circles along the long edge of your paper. Cut along your lines to create a scallop pattern.
FYI: my half-circles are about 2 inches long and I think this is the perfect length! Smaller half-circles would just be more complicated to deal with when sewing in my opinion.
Place the 2 rectangular fabric pieces right sides facing, aligning one of the long edges together. Obviously, one rectangle will be taller than the other – just make sure one of the long sides is aligned.
Use your paper pattern for the scallops to trace the scallop shapes onto the fabric, about 1/2 inch away from the edge where the 2 pieces of fabric align.
NOTE: if you do not want to have scallops, still align your fabric pieces in this way, pin, and sew along the long edge where the 2 pieces of fabric align at 1/4-inch seam allowance. Then, move onto step 8.
Step 6: Sew your scallops
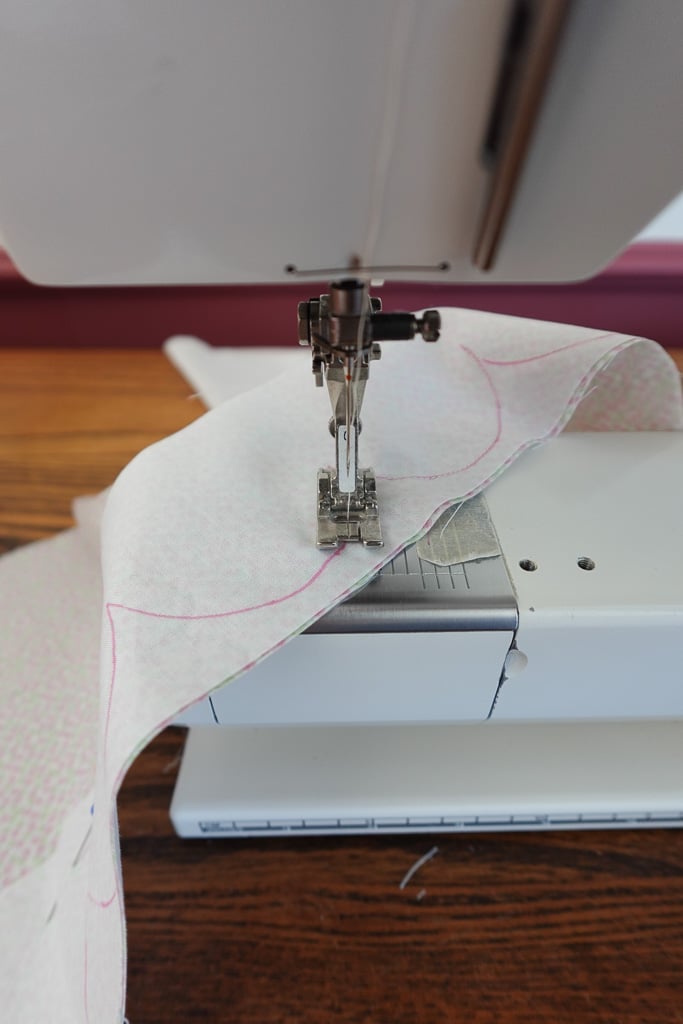
Pin the fabric pieces in place. Reduce your stitch length on your machine to about 1.5 or 2. Sew along your scallop lines, pivoting sharply on the corners. Meaning, when you get to a corner, put your needle in the down position, lift up your presser foot, and turn your fabric to face the other direction. Put your presser foot back down and continue sewing.
IF YOU ARE NOT ADDING SCALLOPS: Pin along the edge where both pieces of fabric align. Sew at 1/4-inch seam allowance.
Step 7: Trim scallops with pinking shears


Use pinking shears to trim along the scallops, making sure to not cut the actual seams. This will allow the fabric to turn more easily at the curves.
Also, use fabric shears to trim into the corners where the scallops meet, getting very close to your seam but not cutting through your stitch. This will also allow everything to turn nicely. I’ve noticed that if you don’t get really really close to your stitch it will not lay nicely. Just try and get as close as you can without cutting through!
Turn the scallops right sides out and give this piece a good press, making sure you’re pushing the curves out nicely so everything lays flat.
Step 8: Cut the piece in half and sew along the edges


Fold this long rectangle in half, so that the short edges are meeting. Cut along the fold in order to cut the piece in half (you could also measure the length and cut at the halfway point, I just think folding is easier!).


Place the 2 fabric pieces right sides together. Find the halfway point of both sides and place a pin here. Pin the part of each side where there are no scallops. Sew from the raw edge down to the halfway point you marked with the pin. You will stop here. Make sure to backstitch at the beginning and the end.
Step 9: Make your bias tape ties (optional)


If you want ties that are the same as your lining fabric, cut 4, 12×2-inch strips of fabric on the bias. If you are lost on what I mean by this, watch this video!
Again, this is optional. Alternatively, you can use 4 pieces of ribbon or twill tape in its place.

Take your 4 strips of fabric and fold them in half lengthwise. Press really well. Unfold the fabric and fold each long end up to the fold line you just made. Press again. Then, fold the entire thing in half again along your original fold line. Press.


Take one of the short ends, unfold it, and fold the short end in by 1/4-inch. Fold it back together and press. This will enclose the raw edge. Repeat this process with one of the ends on all 4 strips.


Sew the edges of each tie in place. Make sure each of your ties has one short end that is folded so that the raw edges are enclosed.
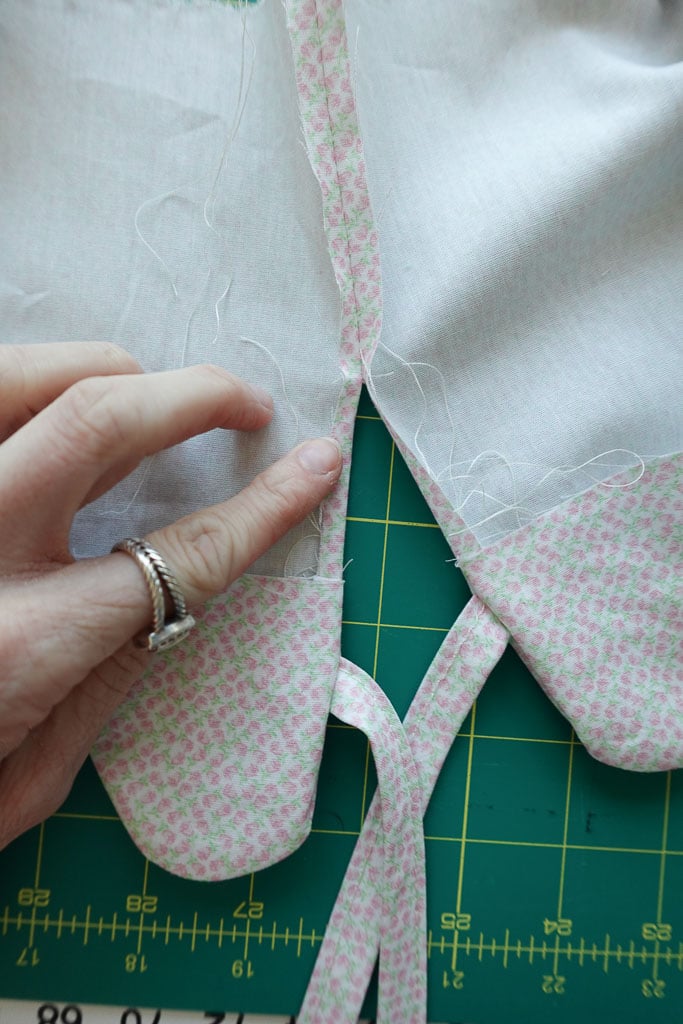
Step 10: Pin the ties into place


This part can be a bit tricky to explain, but stick with it!
Turn the edge of one of the scallops to face inward again so that the wrong sides of the scallop are facing outward. Take one of your ties and align the raw edges (not the folded edge of your tie) of the tie with the raw edges of your scallop. The tie should be facing inward towards the rest of the scallops. Pin in place and repeat with all four ties.
Sew from the raw edge of the scallop piece, over the ties, and down to the bottom of the scallops at 1/4-inch seam allowance. Repeat with all four tie areas.
Step 11: Edge stitch around the lining
During this step you will edge stitch about 1/4-inch from the sides around the scalloped portion of the lining. This will add a nice finish to both your scallops and the seam where your ties are. It will also enclose the raw edges of the overhang area, so be sure those are pressed inward as you sew.


Step 12: Sew gathering stitches at the base of your side panel

Set your stitch length to as long as it will go. Sew one long line of stitches 1/4-inch from the raw edge of your side panel. Do not backstitch at the beginning or the end, and make sure you leave long tails on both.
Sew another long line of stitches right next to the first, 1/8-inch from the raw edge, starting and stopping in the same place as the first. Again, do not backstitch at the beginning or the end, and make sure you leave long tails on both.
Tug on the bobbin threads of both sets of stitches to gently gather the fabric at the base. You will not need to gather this too much. You want the fabric to line up perfectly with the circular piece of fabric you cut at the beginning.
Step 13: Sew the base to the side panel


Pin the base (circular piece of fabric) to your side piece of fabric, right sides facing, gathering the fabric as needed to fit perfectly with the base. Pin all the way around.
Sew at 1/4-inch seam allowance, just outside the gathering stitches, making sure to backstitch at both the beginning and the end.
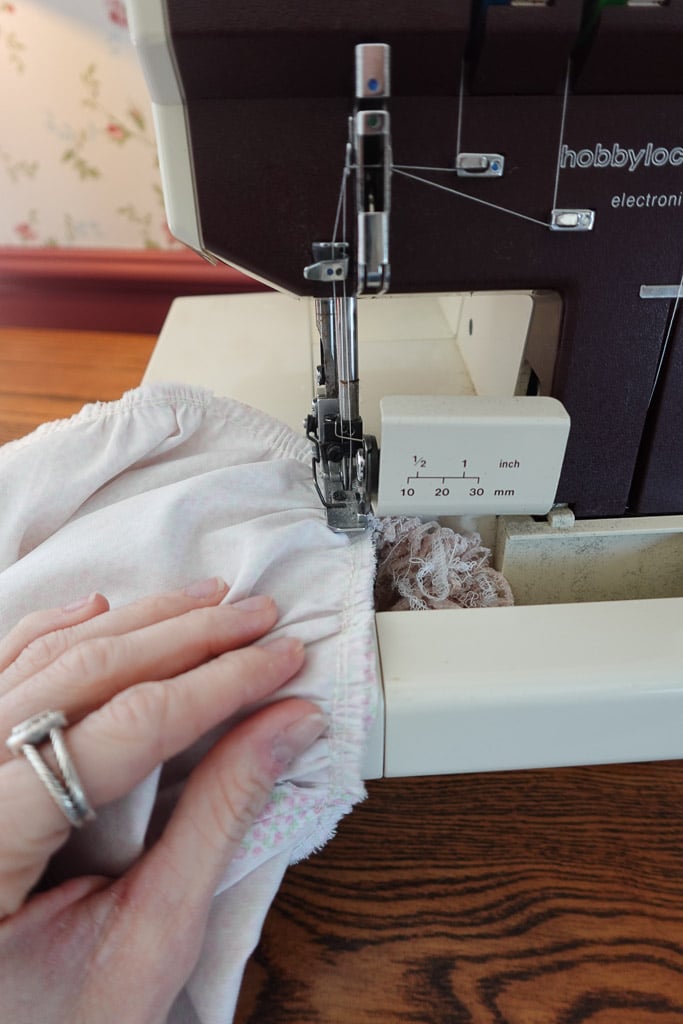
If you have a serger, you can go ahead and overlock this seam when you’re finished. If not, you can sew a zig sag stitch all the way around the seam allowance to prevent fraying. This is optional though because this part of the lining will not be exposed.
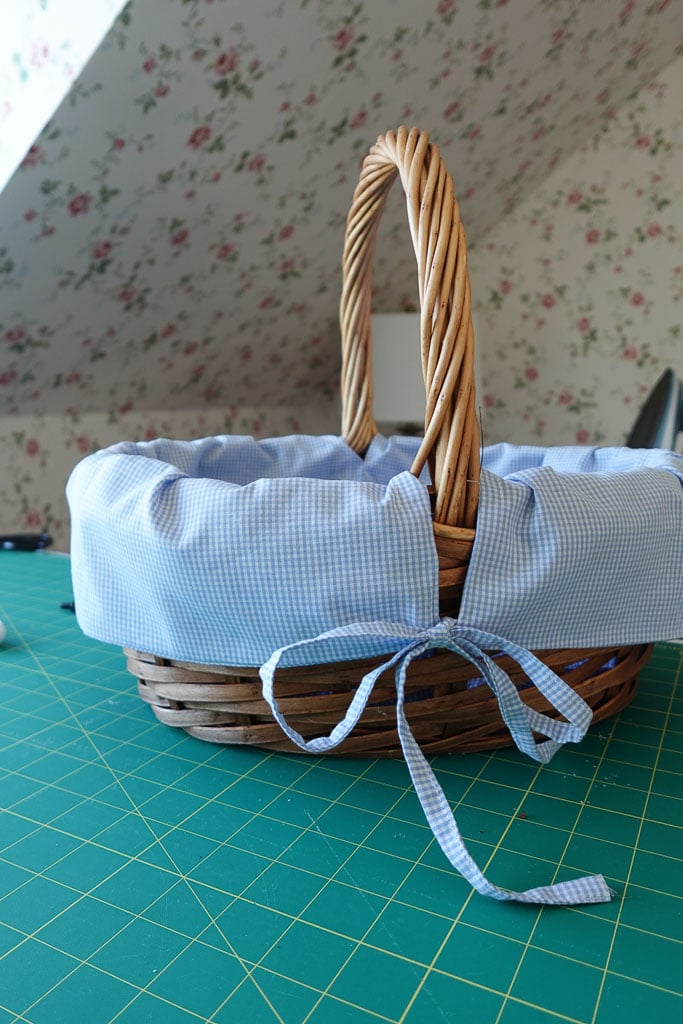
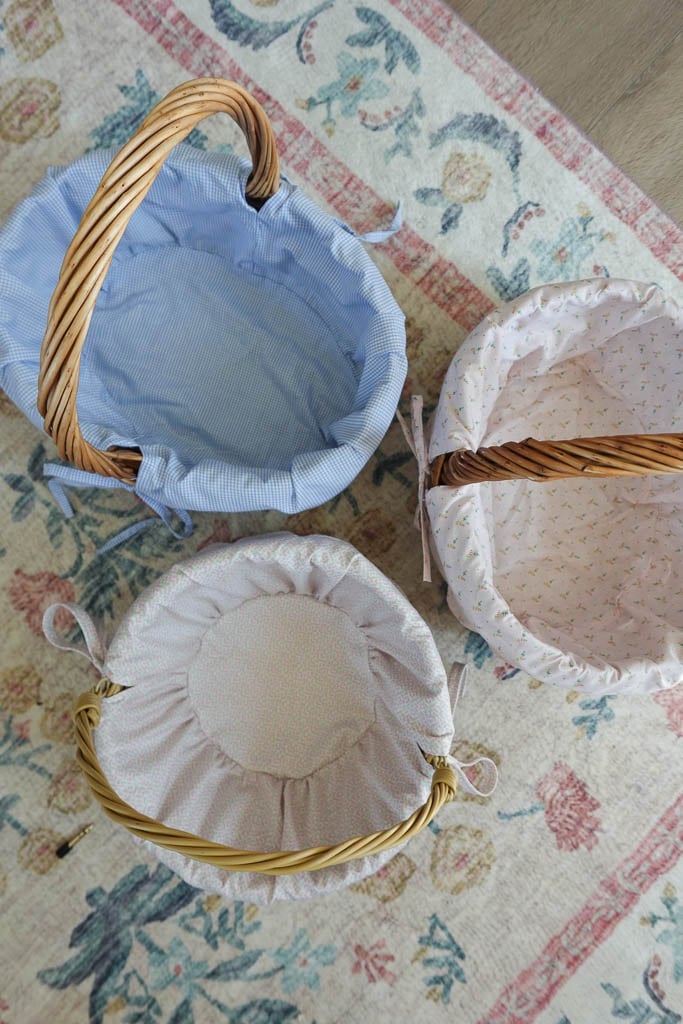
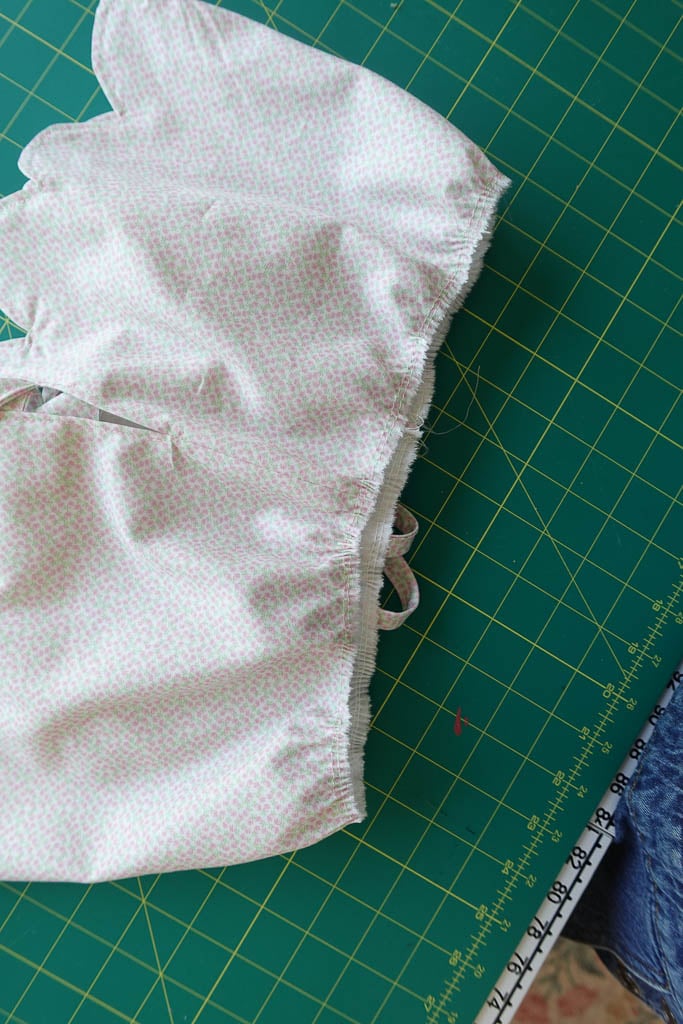
Step 14: Place in your basket

You’re DIY Basket Liner is finished! You can add the liner to your basket and tie the sides off. I hope you all loved this project and I cannot wait to see your beautiful baskets!
Ways To Use your Basket Liners
These are obviously just a starting point – the basket opportunities are endless!!
- Easter baskets – I’ve made these for all 3 of my kids’ Easter baskets and I just know they will become little family heirlooms. I love that I could choose a fabric that best fits their little personalities, and I think one day I’ll even embroider their names on them.
- Toy storage – I need to make some for my toy baskets! Would be so cute and practical.
- Bathroom organization
- Bread baskets
- Craft storage
I hope you all love this tutorial, and if you have any questions please don’t hesitate to leave a comment down below, send me an email at sarah@sarahsdayoff.com or send me a DM on Instagram (@sarahsdayoff)! I can’t wait to see your beautiful baskets!
Love,
Sarah
More Beginner Sewing Projects:
If you loved this project and are wanting to try more beginner sewing projects, check out these ones below:
- How to Sew Curtains (An Easy DIY Curtain Tutorial for Beginners)
- How to Sew a DIY Letter Banner
- How to Make a DIY Pacifier Clip
“Surely goodness and loving kindness shall follow me all the days of my life, and I will dwell in the Lord’s house forever.” -Psalm 23:6-
This post contains affiliate links which may make me a small commission at no cost to you. Thank you for supporting Sarah’s Day Off!
Leave A Comment