
How to Make a Quilted Sewing Machine Cover
If your sewing machine is going to sit out in your sewing space, it might as well look cute! This sewing machine cover is one of those projects that is both pretty and practical—and it’s surprisingly simple to make.
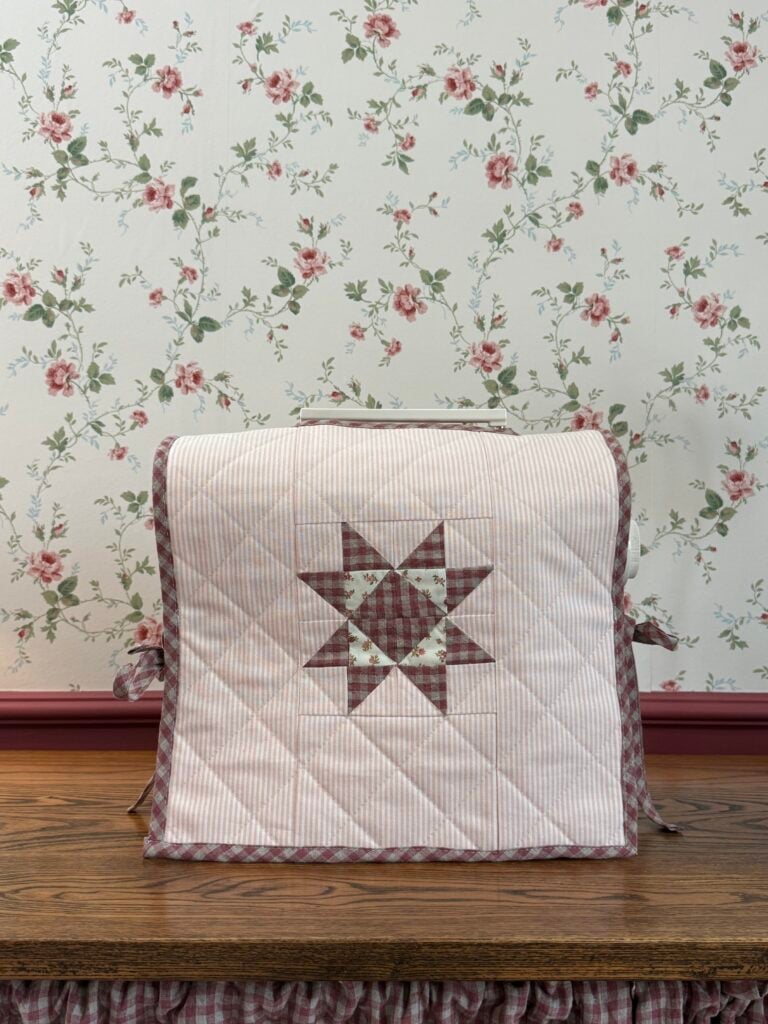
This quilted sewing machine cover is made to fit your specific machine, so you don’t really need a specific pattern. You can follow the tutorial below and make it specifically to fit your machine.
Grab a few of your favorite fabrics, or some leftover fabric from a different project (like I did), and I promise this will come together so quickly!
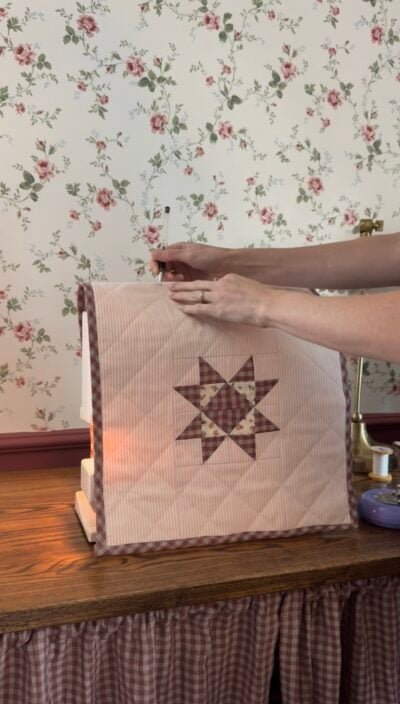
If your machine has a carrying handle on top, you can add an opening so that the handle is still accessible while the sewing machine cover is on.
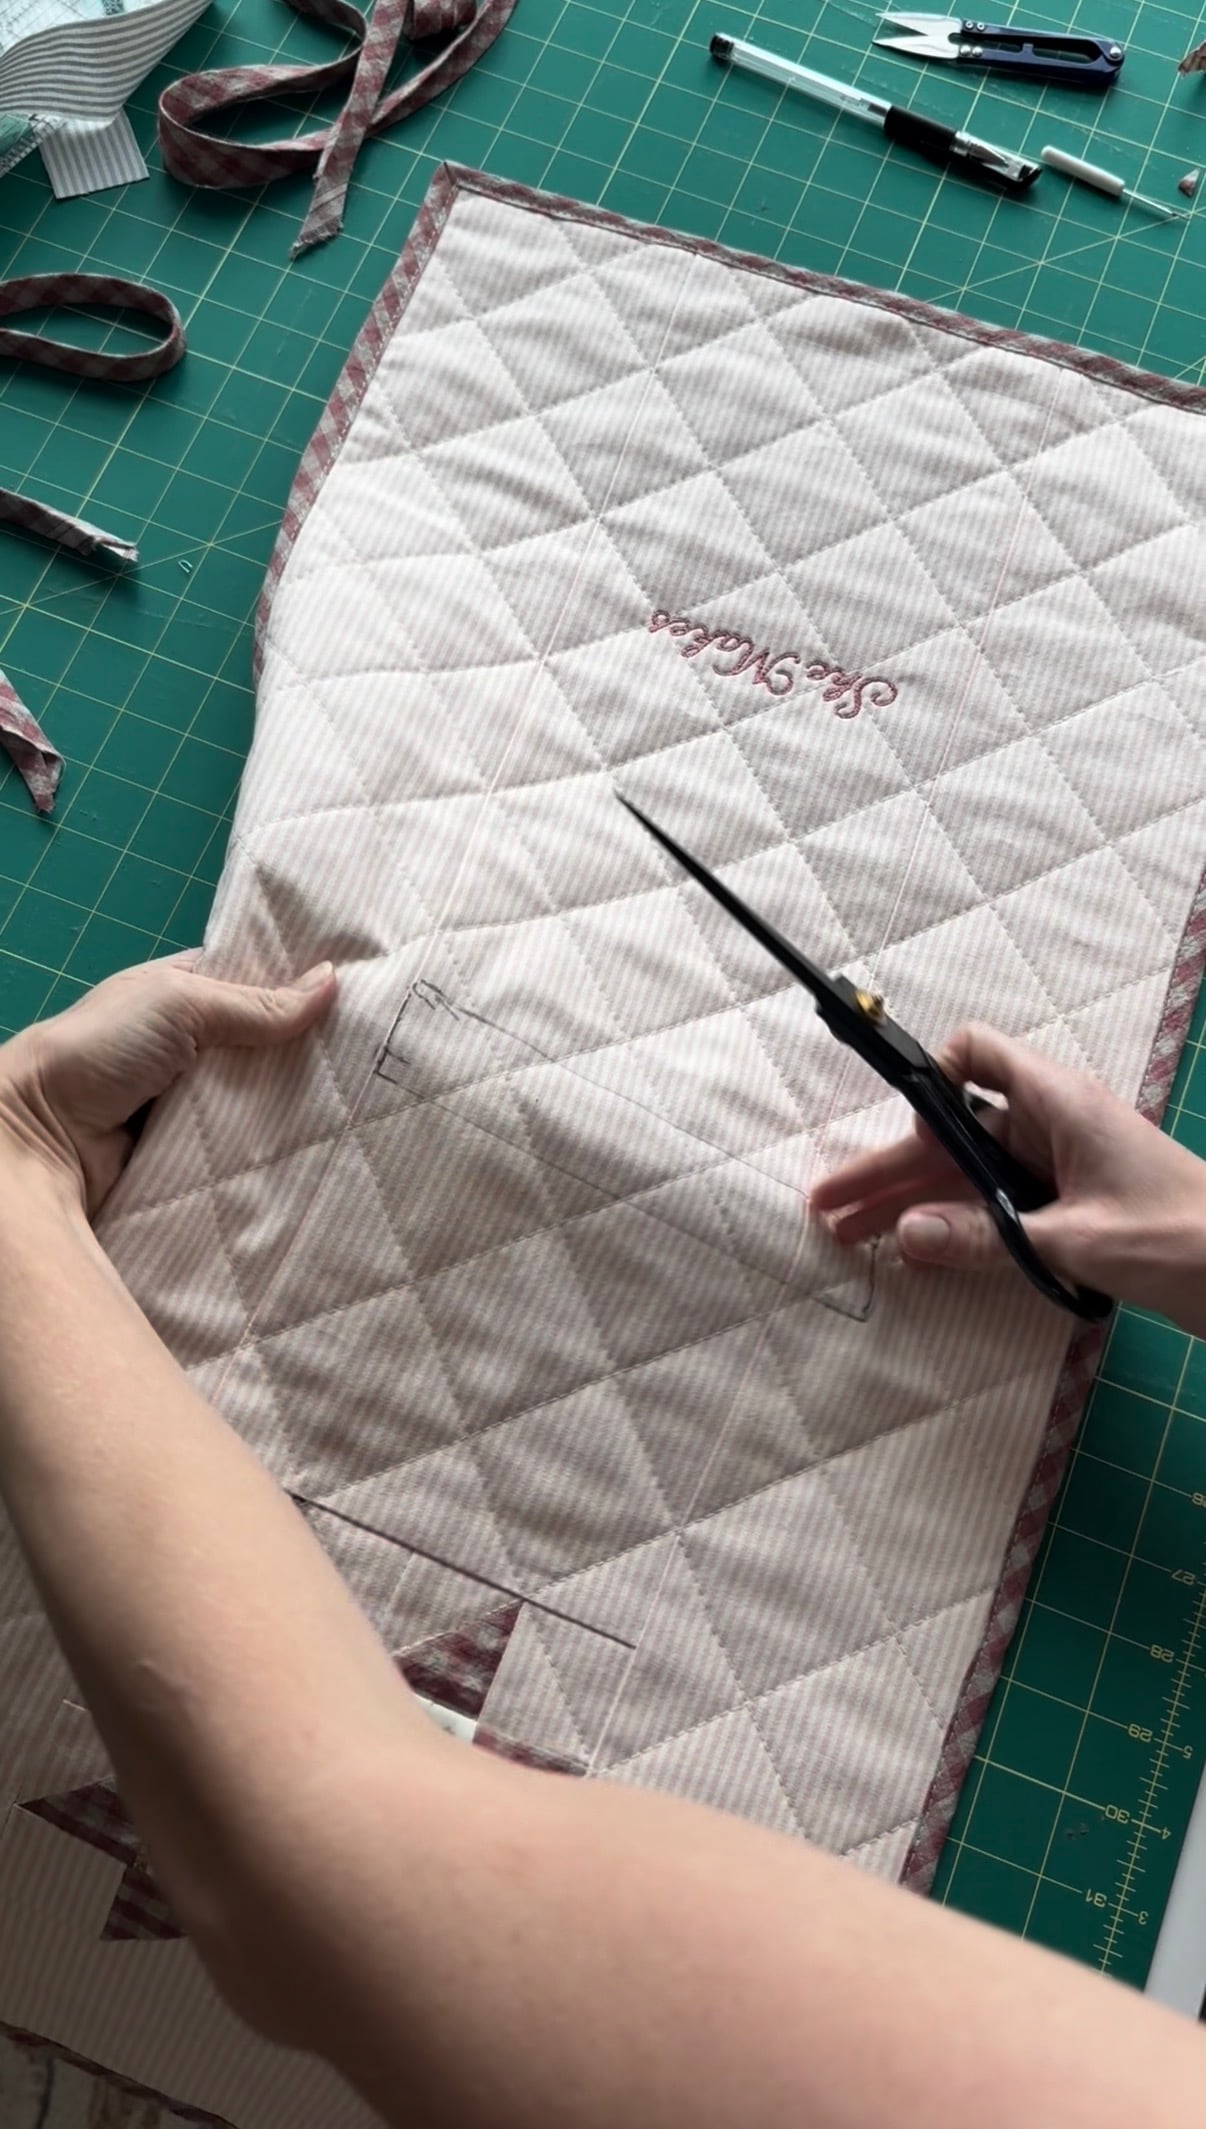
Drape your quilted panel over the machine and mark where the handle sits.
Carefully cut a rectangular opening at that location and finish the raw edges with binding.
I recommend starting with an opening that’s slightly smaller than you think you’ll need. You can always make it a little larger if necessary!
Step 4: Add the Binding
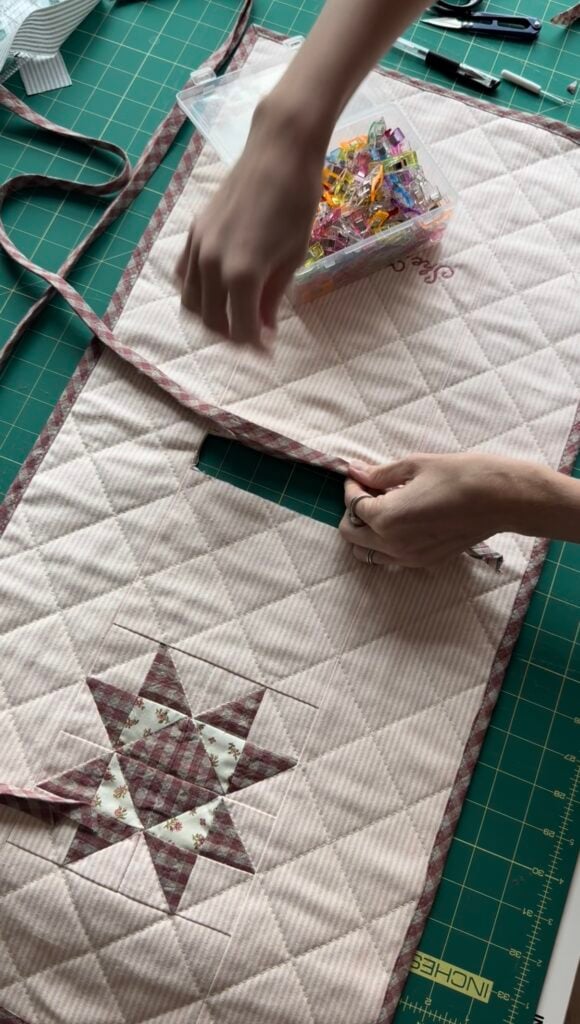
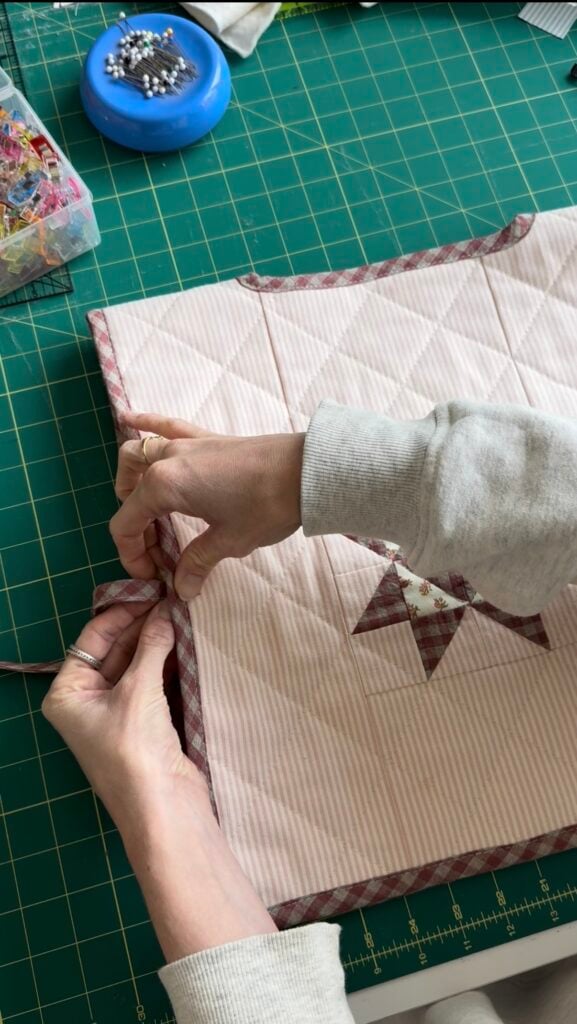
The last step is finishing the raw edges with binding.
I love using a contrasting fabric here because the binding really frames the entire project and gives the sewing machine cover a clean, finished look.
Attach your binding around the unfinished edges, give everything a good press, and you’re done!
Step 5: Make the Fabric Ties
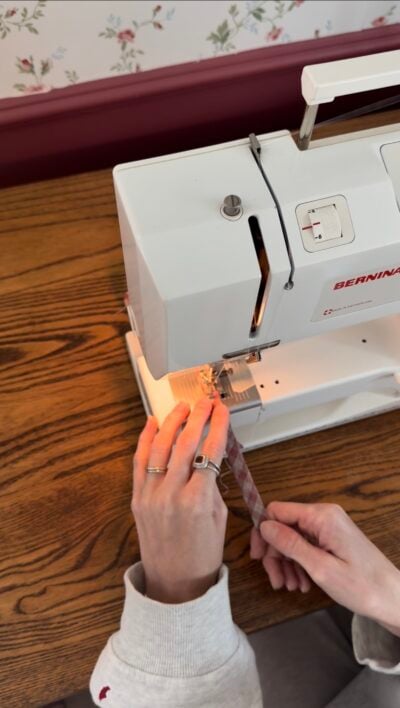
I made 4 strips of bias tape that are about 14 inches long. You can make your own bias tape or you can purchase store-bought tape. I cut my strips at 2-inches wide, which results in 1/2-inch wide bias tape when it’s finished. Again, sometimes store-bought is a little bit easier if you want to skip the hassle of making your own!
To make the bias tape into ties, fold one of the sides in 1 cm, and then another cm. Pin or clip in place. Then, sew a stitch on the long edge of the bias tape where the 2 folded edges meet. You just want to sew the bias tape closed. One short end should be left with raw edges and the other should be folded in.
Mark where you want the ties to go on the sides of your machine, and sew each tie (the raw edge end) to the wrong side of your cover, folding in the raw edges when you attach. You will need 2 ties on each side so that you can tie the sides together.
Done!
That’s it! This project looks much more complicated than it actually is. You’re essentially making one quilted panel, adding a handle slot, and finishing everything with binding.
And since you’re working from your own measurements, you can use this same method to make a sewing machine cover for just about any machine.
This would also be such a fun project for using fabric you already have in your stash. You could piece together scraps, use leftover quilt blocks, make a patchwork pocket, or keep everything simple and let one favorite fabric be the star.
I hope you guys loved this tutorial and I can’t wait to see your finished projects!
More DIY Inspiration
If you loved this project, and are looking for a few more beginner-friendly sewing projects, try one of these linked below! All three of them are reader-favorites and great for a quick, scrap-busting project.
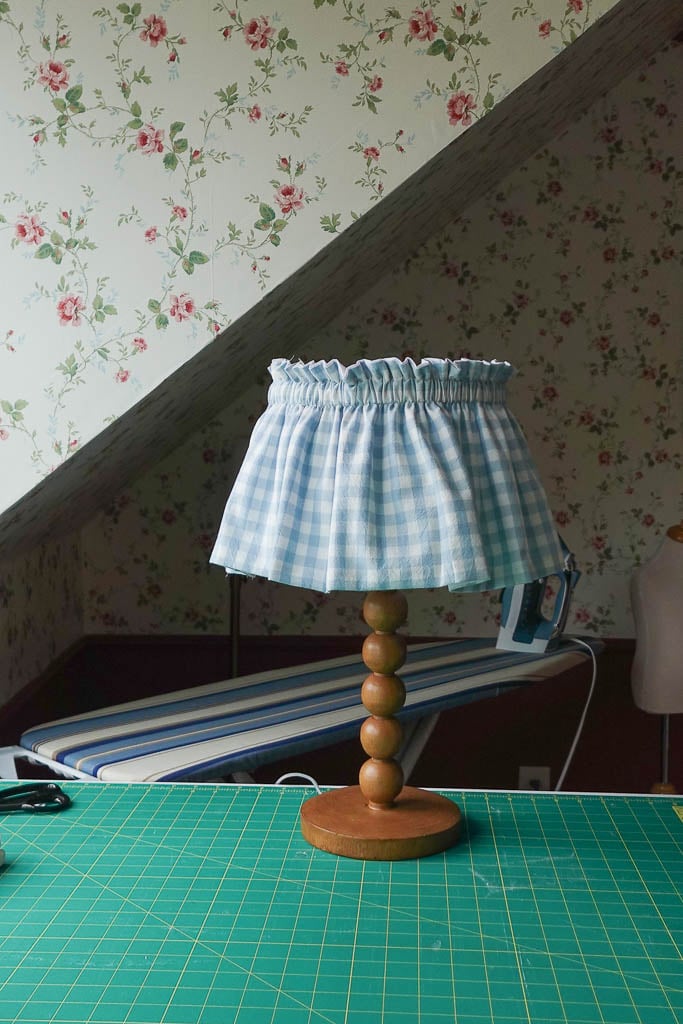
- DIY Fabric Lampshade: How to Make a Ruffled Lampshade Cover
- How to Make a DIY Pacifier Clip
- How to Sew a DIY Letter Banner
Love,
Sarah
“I will praise you, Lord, with all my heart; I will tell of all the marvelous things you have done.” -Psalms 9:1-
Leave A Comment