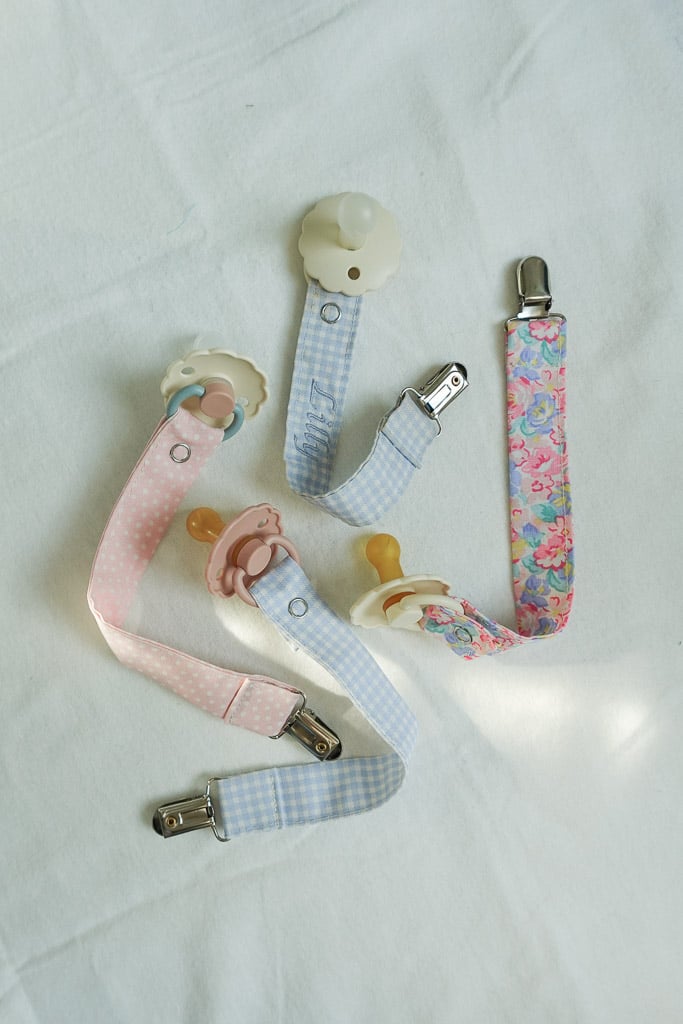
How to Make a DIY Pacifier Clip
A simple, 15 minute project that is perfect for mamas and beginner sewists. This DIY pacifier clip comes together in just a few minutes and requires few supplies!
How to Sew a Pacifier Clip
Pacifier clips are probably one of the easiest projects you can make as a beginner sewist. They come together so quickly and require just a few supplies. You will be making tons of these for friends, family, and your own babies! They’re also easy to personalize to your liking by altering length or even embroidering as I’ve done below.
If you’ve never sewn anything before, this beginner sewing project is a great place to start.
Supplies for Pacifier Clips
There are a few general sewing things you’ll need to get started with this sewing project, and you can a list of them here.
Here are a few more specific supplies you’ll need for these clips:
- Suspender (pacifier) clips – the metal part of a pacifier clip.
- Snap Fastener Kit – if you don’t have a snap fastener tool, this kit comes with the metal fasteners and the tool! I truly use this all the time.
- Fabric – go with a medium-weight cotton or linen. That’s what I’ve used every time and it never fails me! This is also a great project to use your fabric scraps for. You’ll only need 1 12-inch x 4-inch piece of fabric for this project.
- Thread – Choose a thread color that matches your fabric as you will be able to see some seams on this pacifier clip.
Now, let’s get into the how-to!
How to Make a DIY Pacifier Clip
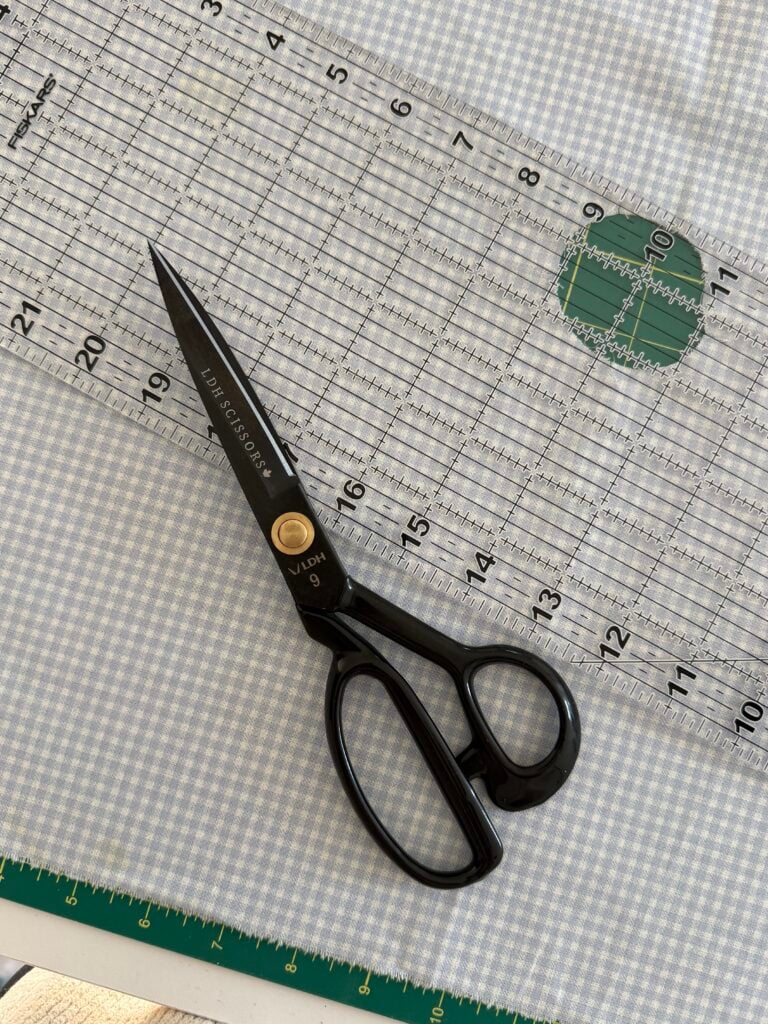
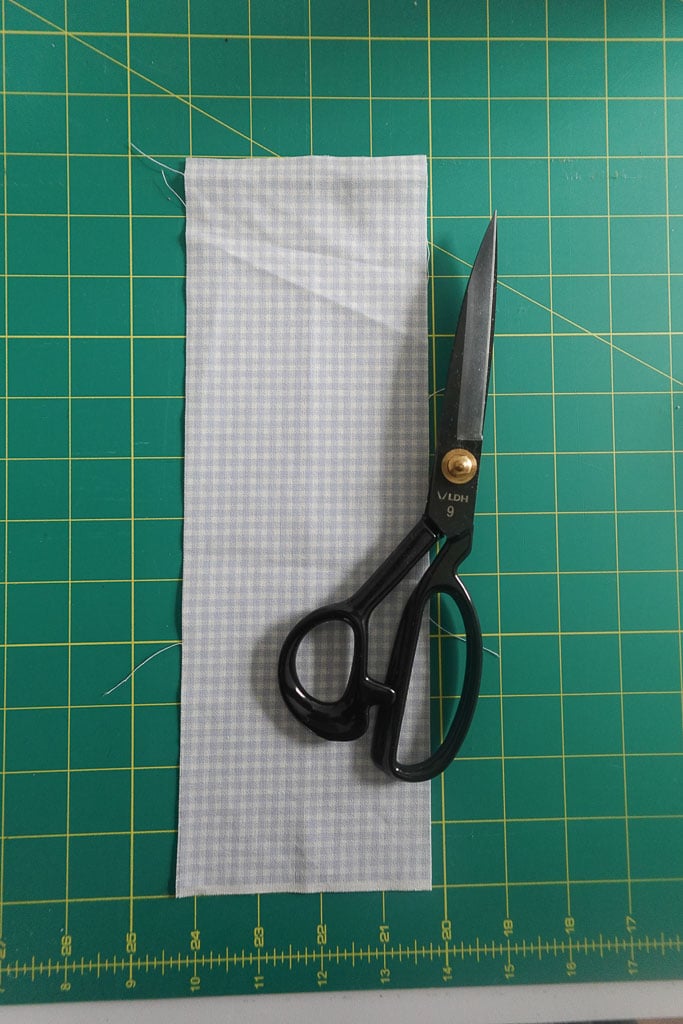
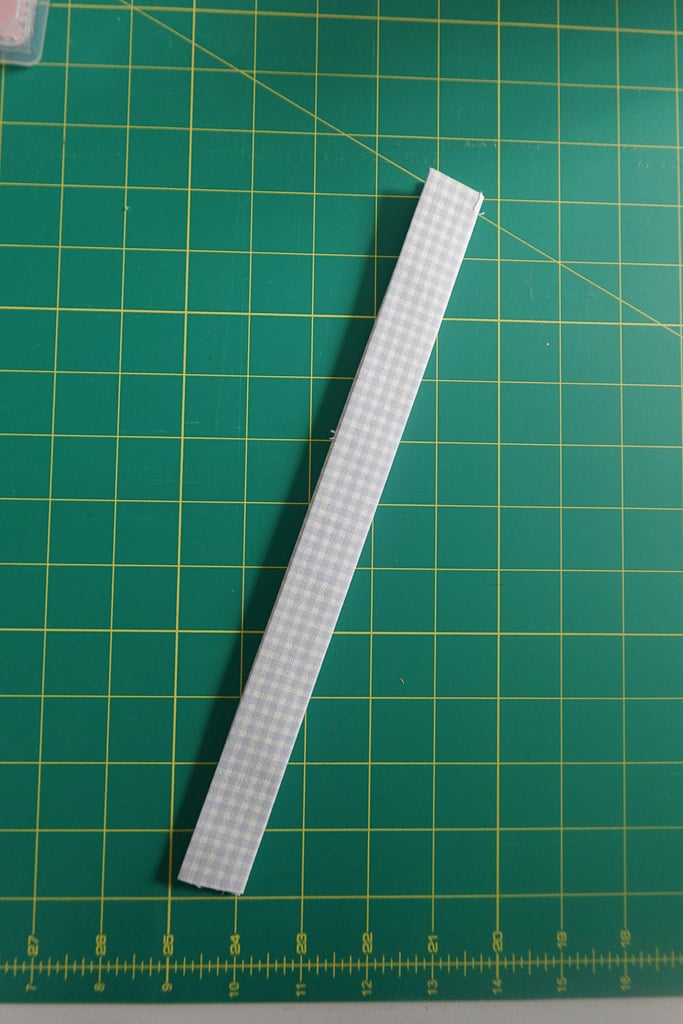
Step 1 – Cut one 12-inch x 4-inch piece of fabric using your fabric shears
Step 2 – Fold in half lengthwise and press
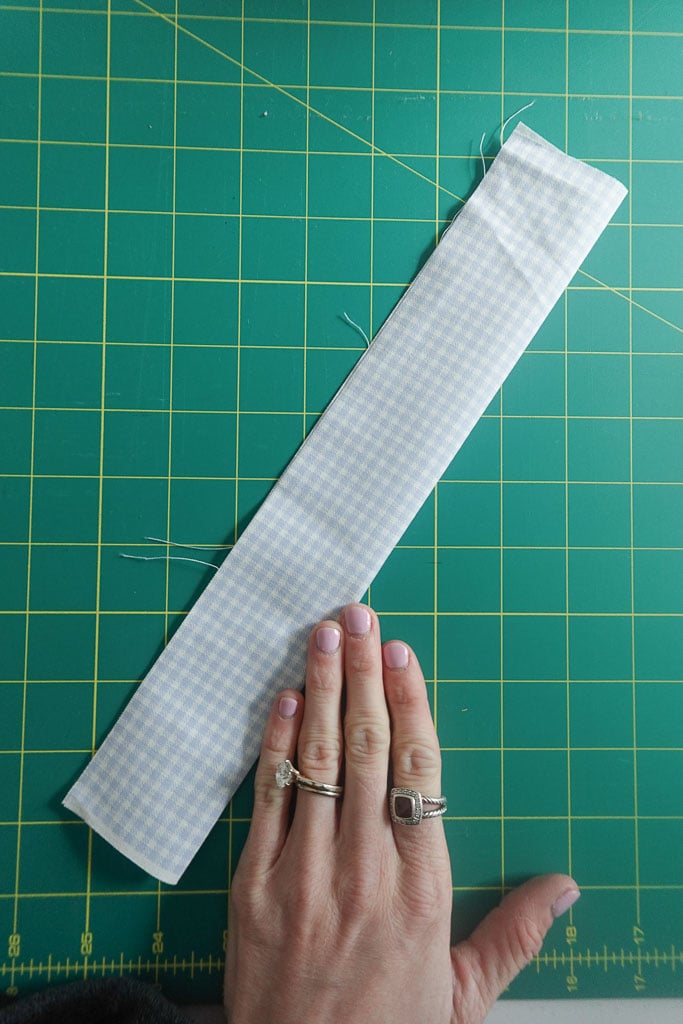
Step 3 – Unfold, then fold each long side in towards your middle fold line, and press


Step 4 – Fold in half legthwise again, enclosing the raw edges, and press
Step 5 – Unfold and fold one short end 1/4-inch in towards the center, and press
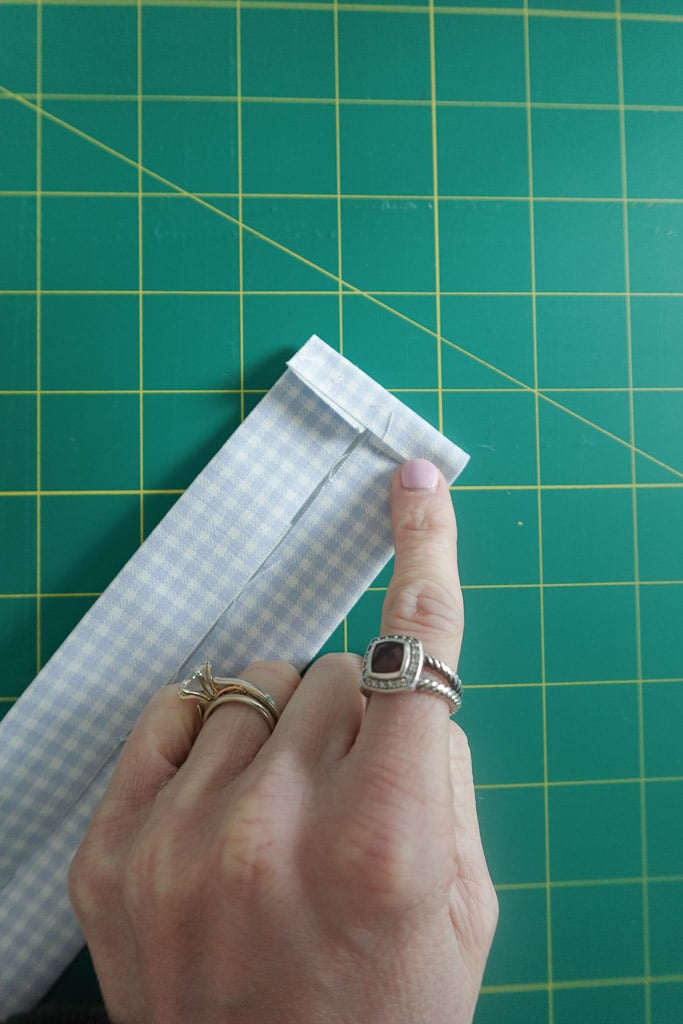
Fold everything back together once finished so you have one, long piece of fabric with exposed raw edges on one short end and enclosed raw edges on the other short end.
Step 6 – Pin in place and sew


You will be sewing along the folded short end and the long side to sew the folds together. You will leave the other short end with the raw edges exposed (they will get enclosed in the next step). Edge stitch along both of these edges.
Pinning the entire thing isn’t completely necessary, but I do find it helpful to pin the spot where the 2 corners meet just to hold everything together.
Step 7 – Add the suspender clip


Place the suspender clip onto the fabric on the side where the short raw edges are exposed. Pay attention to how you are placing the clip onto the fabric – you want the top of the clip facing up, as pictured above.
Turn the clip over and fold the raw edge under about 1/4-inch. Fold again by about 1/2-inch and stitch along the folded edge.
Step 8 – Attach the snaps to your DIY pacifier clip


Fold the other short end of your pacifier clip in by about 1 inch. Use your snap fastener kit to attach the snaps. Tip: Read the manual that comes with your fastener kit to learn how to attach the snaps! It’s also a good idea to practice on another piece of scrap fabric so you learn exactly how the process works.
This will be the side that the pacifier is attached, so make sure the loop you make is large enough for your pacifier hook to fit through.
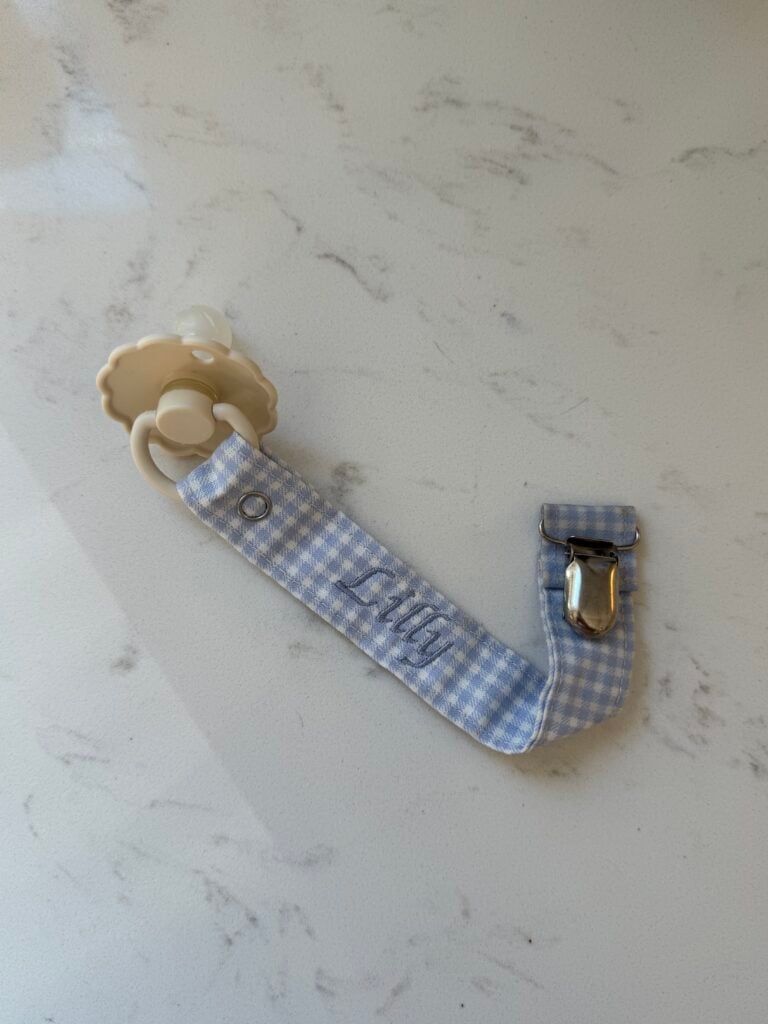
Step 9 – Personalize, if desired
If you’d like to personalize your diy pacifier clip, go ahead and do so now! You can use many different embroidery stitches, or use an embroidery machine if you have one, like I’ve done above.
Done!
I hope you all enjoy this tutorial, and I hope it’s helpful to see all of the photos! If you want to see a video walkthrough of me making a diy pacifier clip, head over to Instagram @sarahsdayoff and look for my pacifier clip reel!
If you love this tutorial, leave a comment down below!
Love,
Sarah
Leave A Comment