
How to Sew a Quilted Casserole Dish Carrier
Looking for a fun sewing project that’s just as practical as it is pretty? This DIY quilted casserole dish carrier is perfect for bringing your favorite dish to Thanksgiving dinner, holiday gatherings, or a meal with friends!
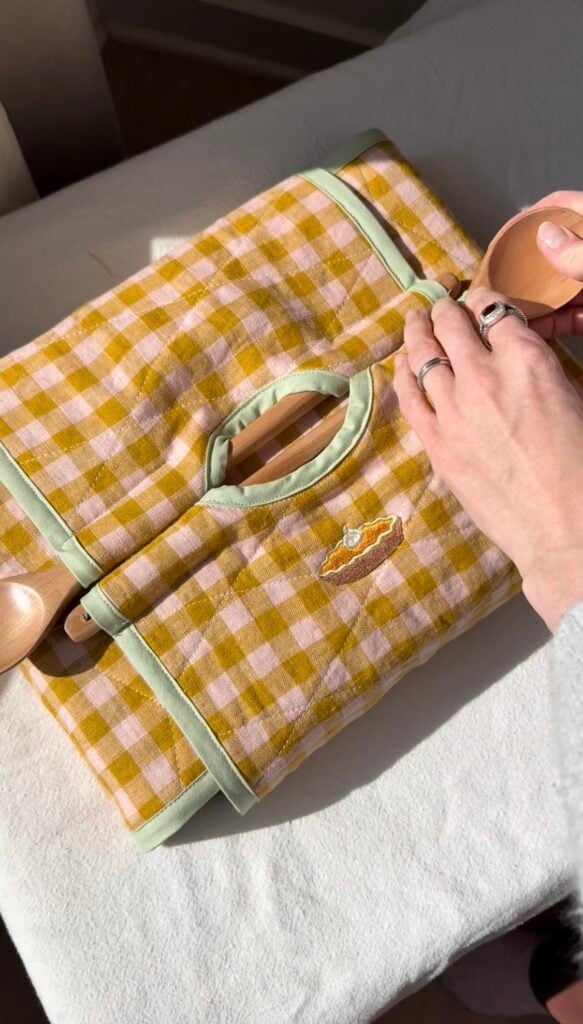
I love sewing projects that make everyday things feel a little more special, and this is definitely one of them. With amazing fabric, a little quilting, and some contrasting binding, you can create a casserole dish carrier that you’ll want to use over and over again.
It’s also a thoughtful handmade gift for someone who loves to cook or host!
In this tutorial, I’ll walk you through the process of making your own quilted casserole dish carrier.
Supplies You’ll Need
- Fabric for the exterior
- Coordinating fabric for the lining
- Quilt batting
- Double-fold bias tape or binding (store-bought or make your own)
- Coordinating thread
- Sewing machine
- Rotary cutter and cutting mat
- Fabric shears
- Quilting ruler
- Sewing clips or pins
- Heat-erasable fabric pens (or another fabric marking pen)
- Velcro
- Casserole dish
A note about fabric: Quilting cotton is a great choice for this project, but you’ll notice that I used linen for this project. Either will work just fine. You can also choose to make your own bias tape if you wish. Try and choose something that will coordinate nicely because it will be visible.
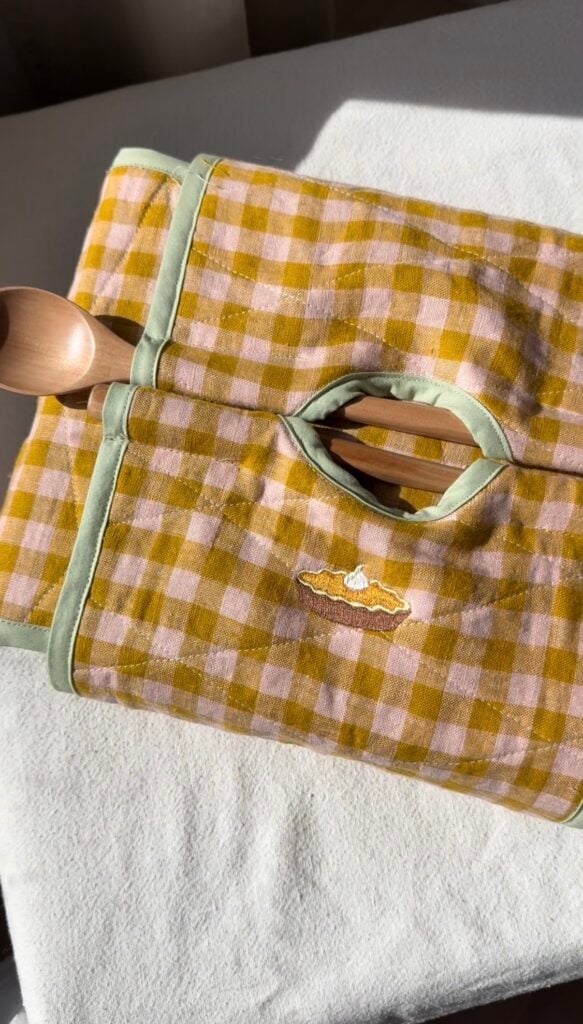
How to Make a Quilted Casserole Dish Carrier
Step 1: Measure your Casserole Dish
Start by measuring the width, length, and height of your casserole dish.
You will need 2 panels for this project (NOTE: these are the finished dimensions (NOT cutting dimensions)):
- Panel 1: (Length of your dish x 2) + (Height of your dish x 2) BY (Width of your dish)
- Panel 2: (Width of your dish x 2) + (Height of your dish x 2) + 6 inches BY (Width of your dish)
The 6 extra inches in panel 2 will account for the fabric that will be folded over, creating the spoon handles.
Step 2: Cut Your Fabric and Batting
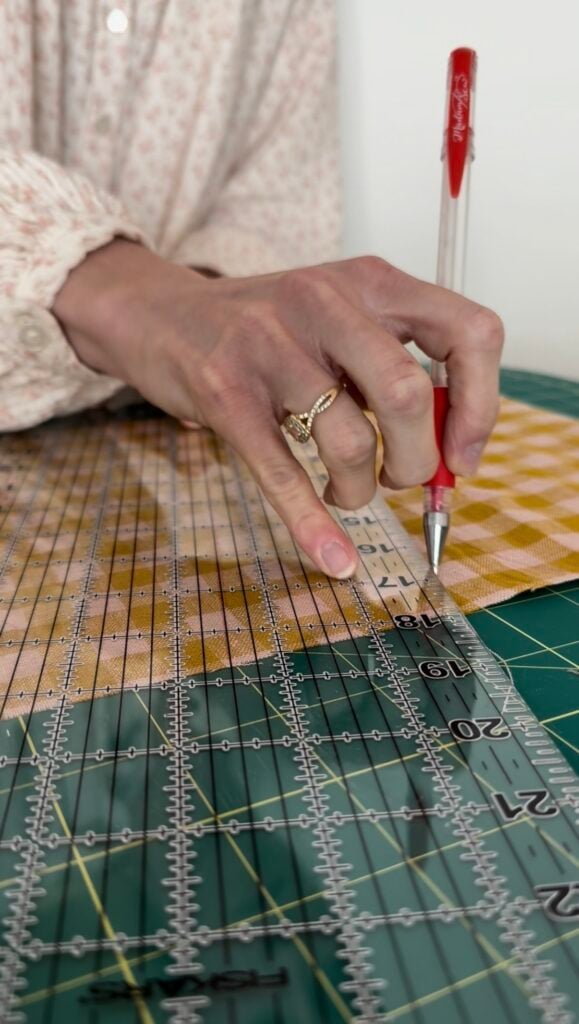
For the 2 panels, you will cut each rectangle out based on the dimensions listed above, but you will add about 1 inch to each side. This will allow for any shrinkage that may occur while you’re quilting the panels.
After we quilt, we will trim the panels back down to your original dimensions.
So, start by cutting your exterior fabric, lining fabric, and quilt batting to the panel dimensions listed above plus about 1 inch on each side.
Make sure your fabric is pressed before cutting. Taking a little extra time to get everything nice and even will make the rest of the sewing process much easier!
Step 3: Quilt Your Fabric
If you would like to draw quilting lines, go ahead and do that now. I use my 6-inch ruler and a heat-erasable pen to make lines. You can choose any design you’d like: diagonal, vertical lines, etc. I went with diagonal and they are about 2 inches apart. NOTE: you will be doing this same process for both of your panels, so it’s easiest if you do everything at the same time.
Sandwich your batting in between your lining and main fabric pieces, keeping everything smooth and free of wrinkles. Pin everything into place.
Using your sewing machine (and a walking foot is preferred here!), stitch through the layers to quilt the fabric. Continue quilting until your panel is finished.
Step 4: Cut and Shape Your Carrier
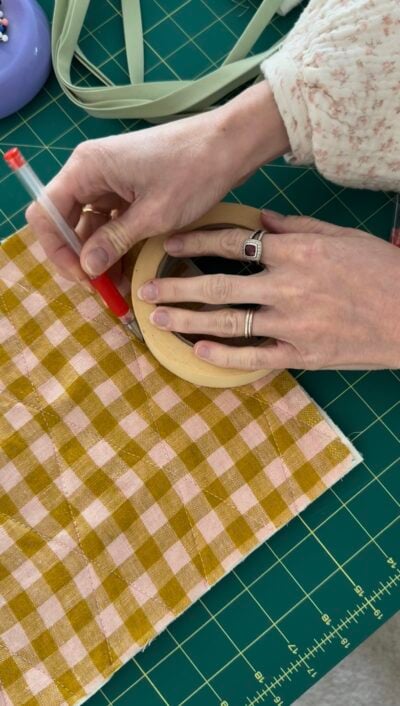
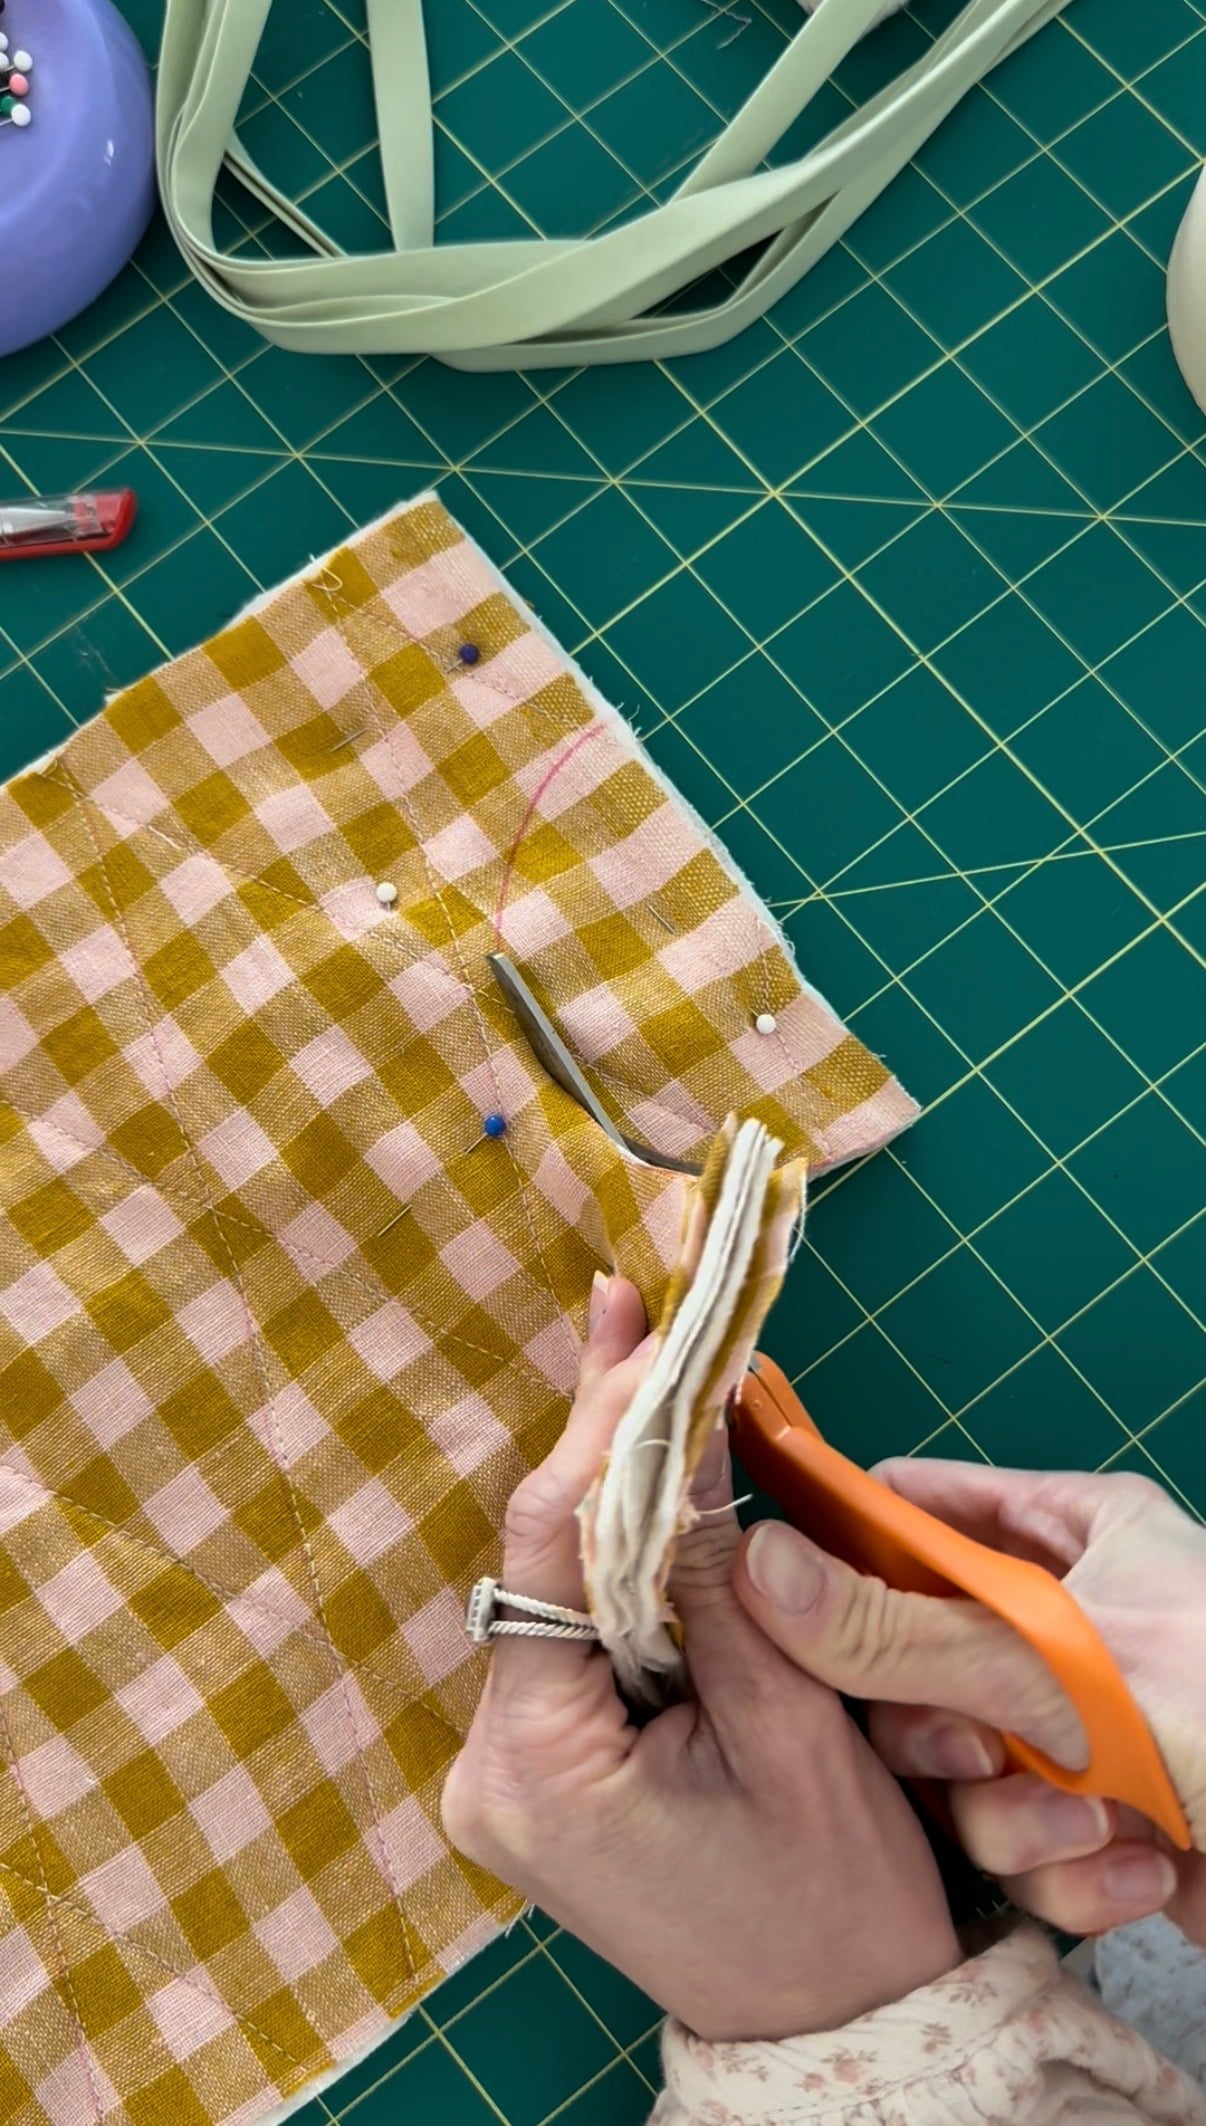
Once your fabric is quilted, we’ll trim the fabric panels back down to the final panel dimensions listed above.
On panel 2, use a circular object (about 5 inches in diameter), to cut half-circles into the short ends of the panel. You can fold the panel in half so that the short sides meet, and do it in one cut, to make sure it is symmetrical, if you’d like. I did them separately and it turned out just fine.
This is also a good time to place your fabric around your casserole dish to make sure everything is fitting as expected.
Step 5: Prepare Your Binding
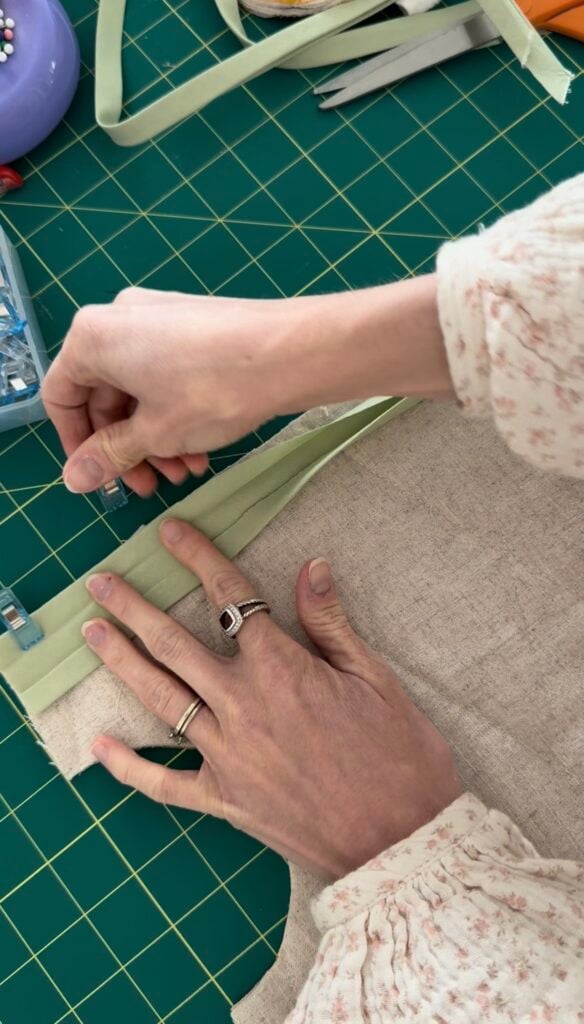
Now for one of my favorite details: the contrasting binding!
Binding gives the casserole dish carrier a clean, finished look while adding another opportunity to bring in a fun color or pattern.
Prepare your bias tape or binding, pressing it if necessary. Bias binding is especially helpful for finishing curved edges because it can bend around the curves more easily.
Step 5: Sew the Binding Around the Edges
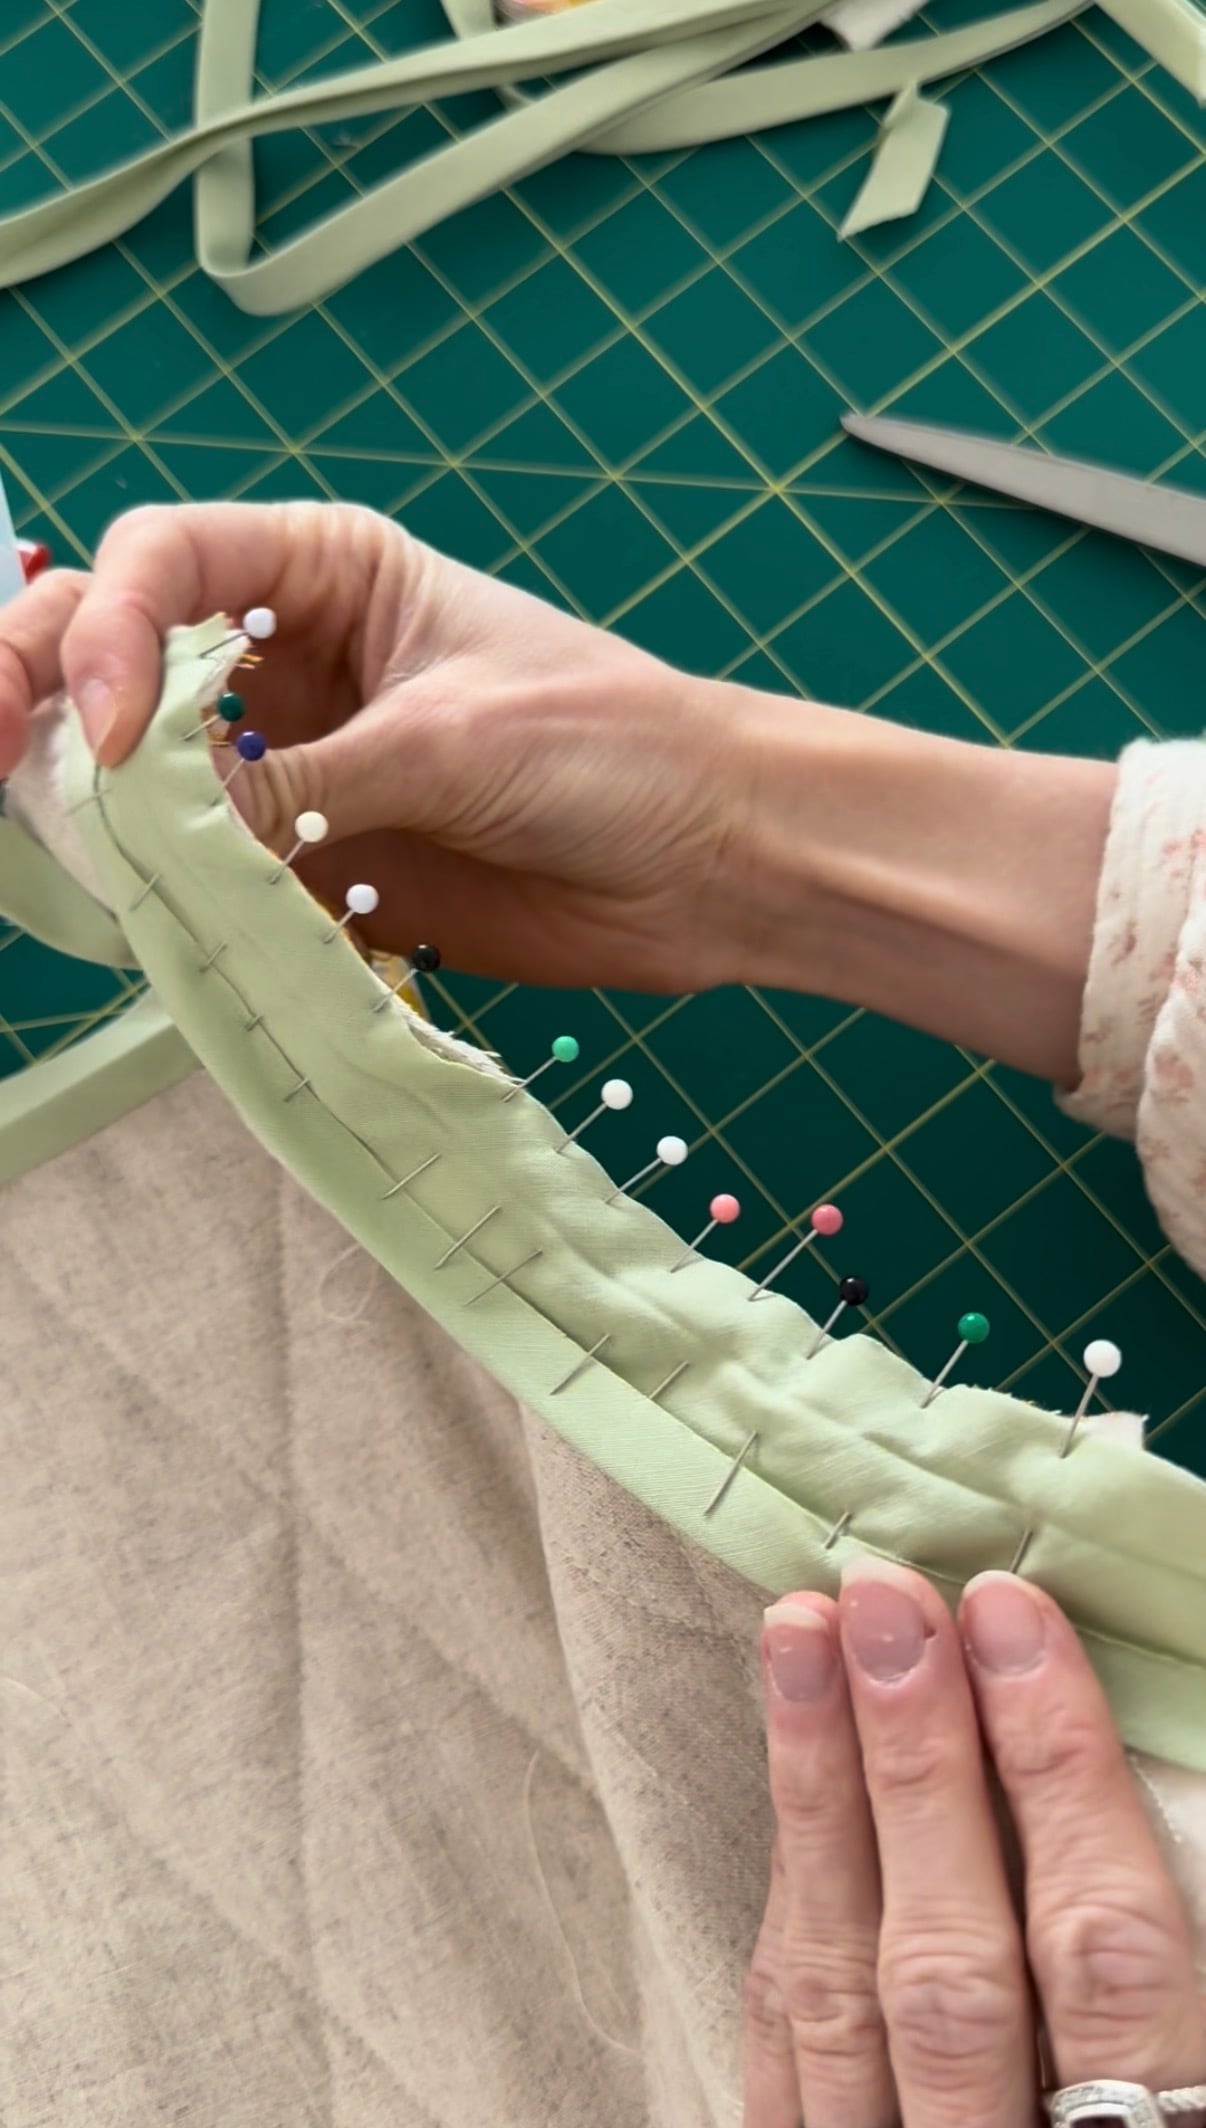
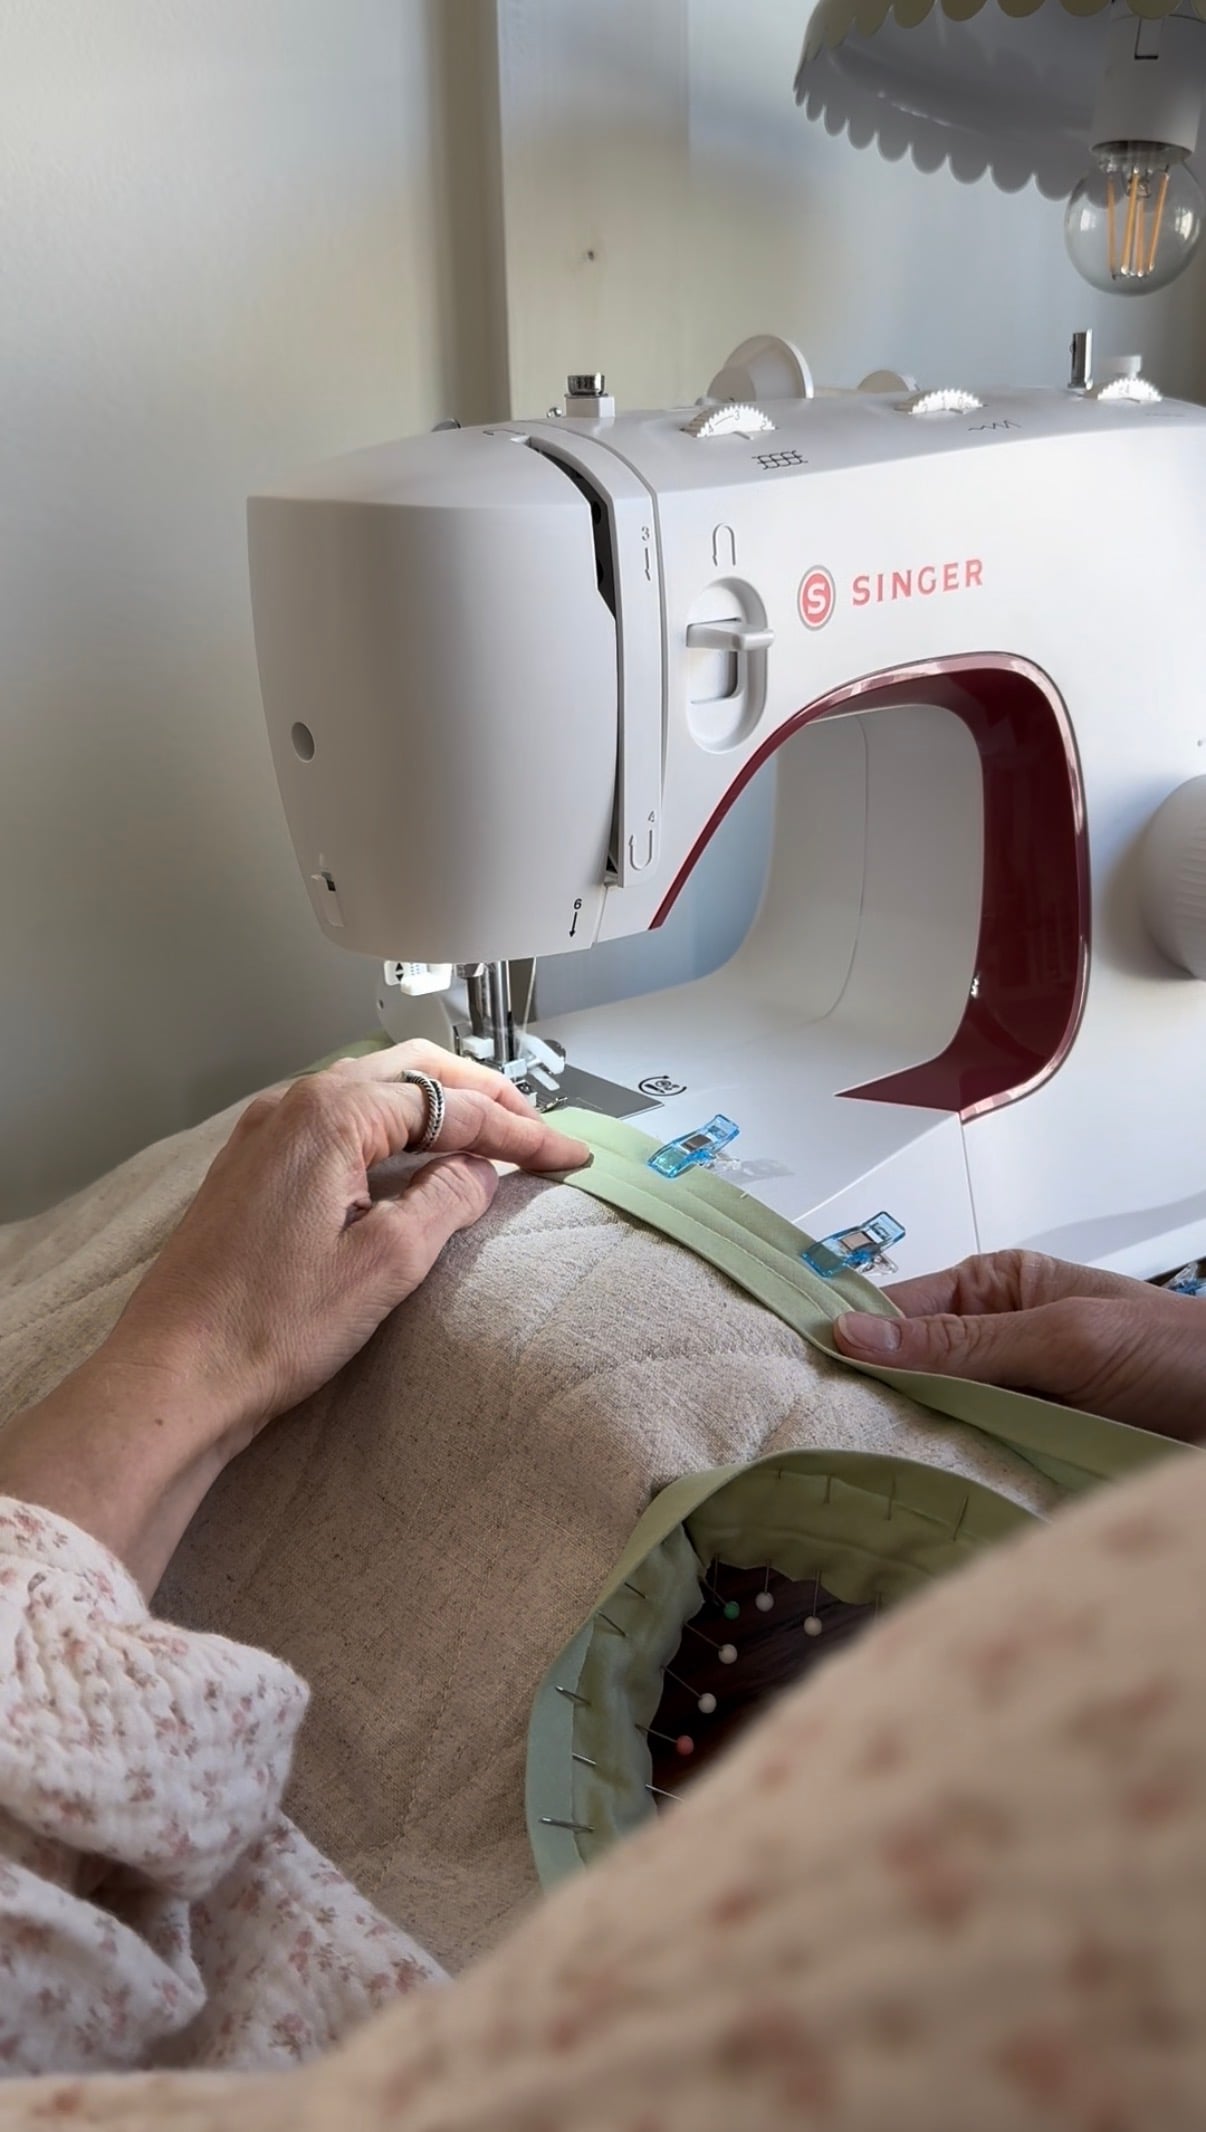
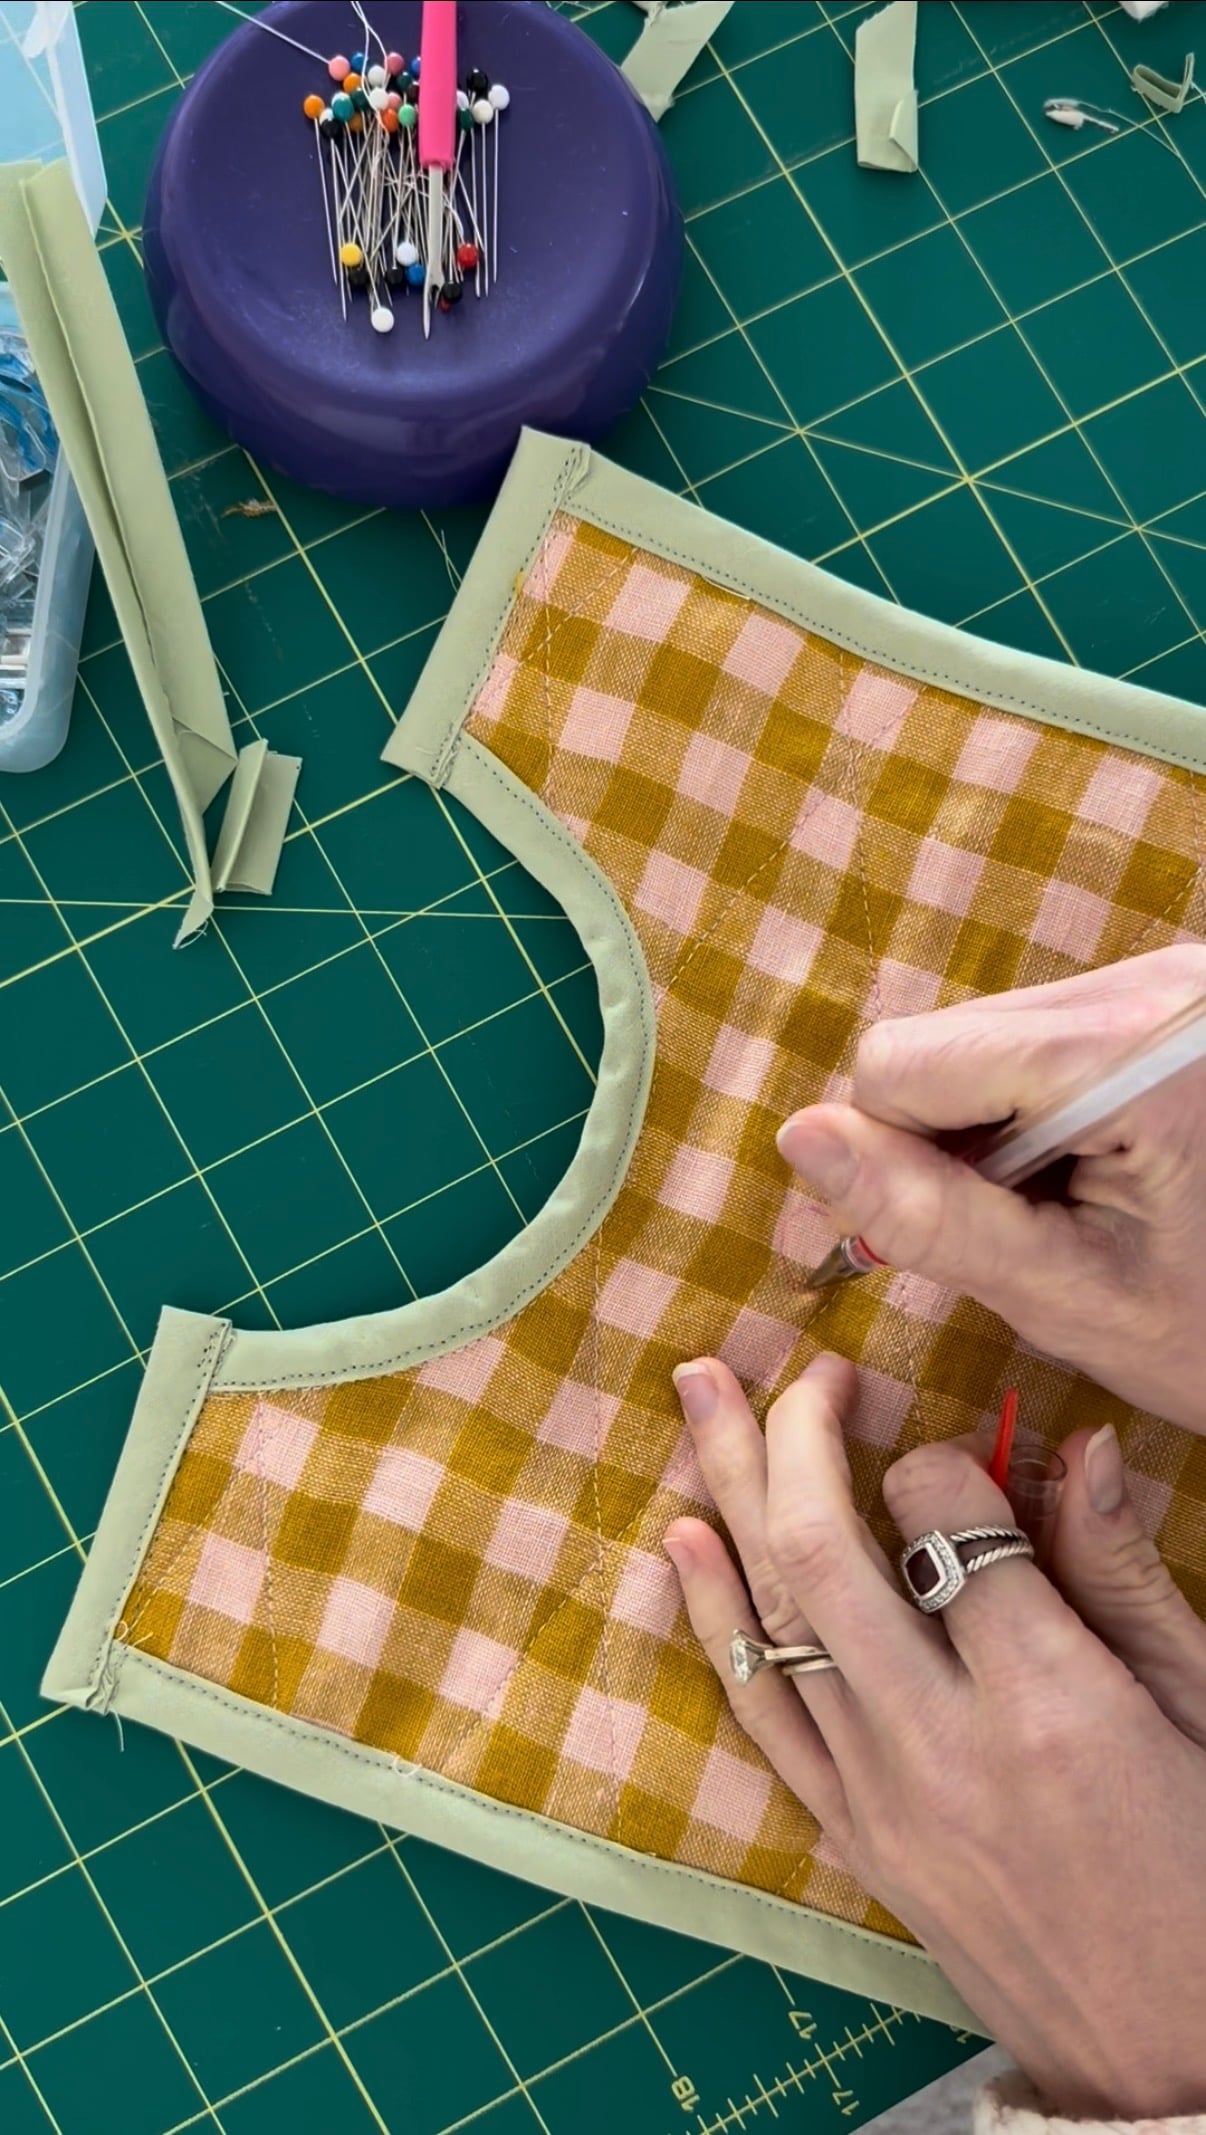
Begin attaching your binding around the raw edges of the quilted carrier. You can view a great tutorial for attaching binding to a quilted piece of fabric here.
I started with the long edges and the curves, then did the small short pieces last. I think this made everything a little bit more seamless.
Work slowly around the curved sections, using sewing clips or pins to keep the binding in place as you sew.
Make sure the binding wraps securely around the raw fabric edges so both sides have a neat finish.
My tip: Don’t rush the curves! Taking your time here makes such a difference in how your finished project looks.
Step 6: Finish the Handles and Openings
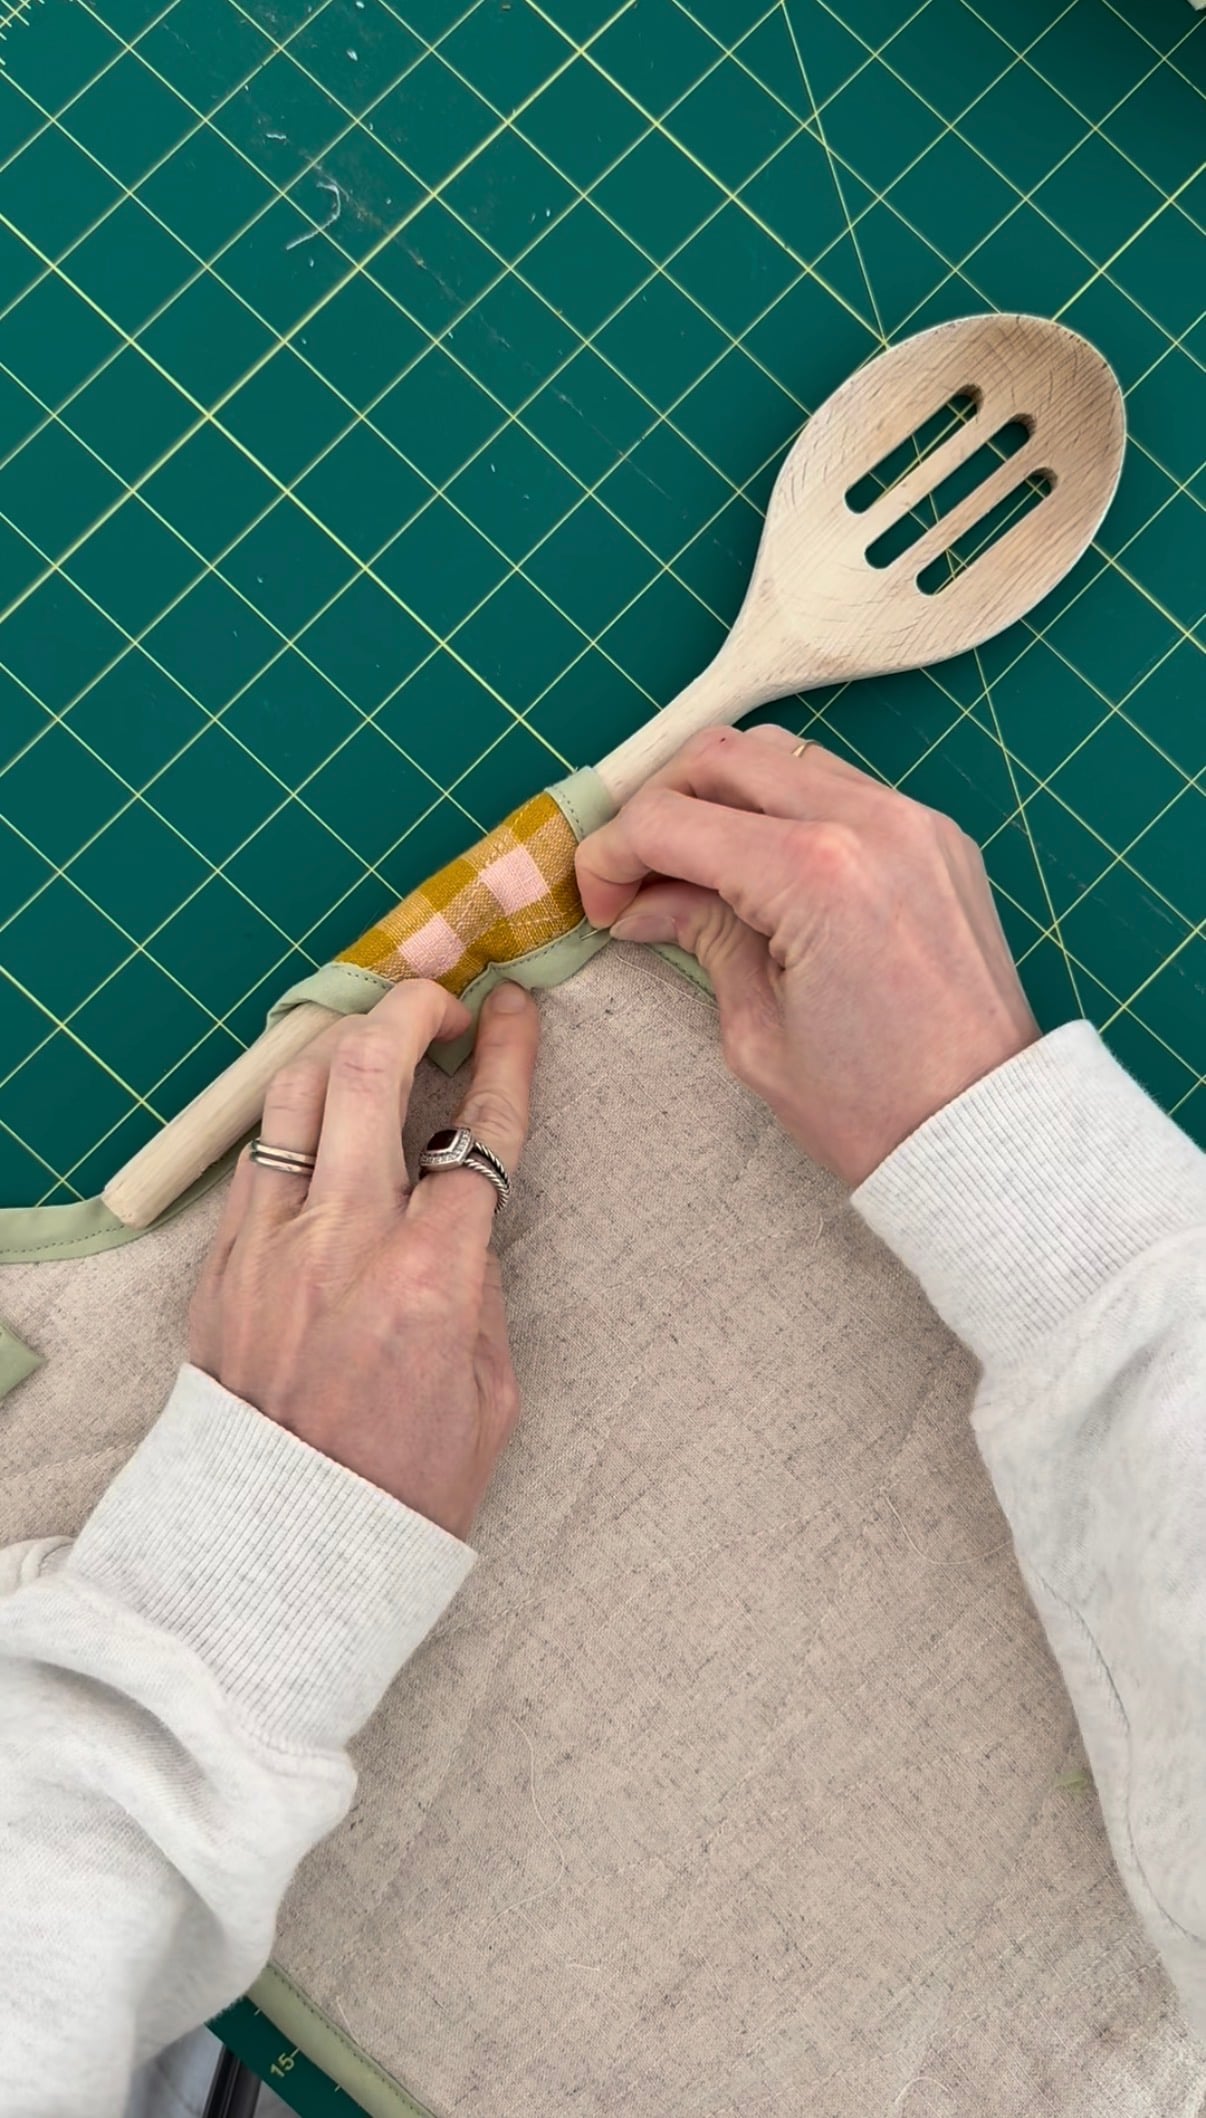
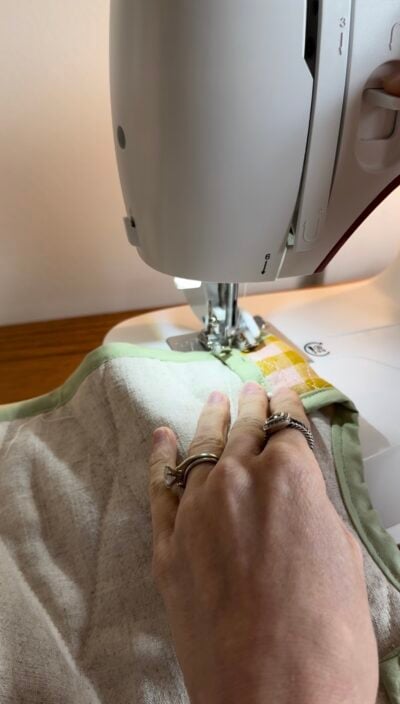
Next, find the spoons you plan on using as handles and fold your fabric over the spoon. Pin in place and remove the spoon, then sew straight lines along the edges. It would be good to do a few layers of stitches here for extra security, since these will be holding the handles in place!
Step 7: Add Velcro and Sew the Panels Together
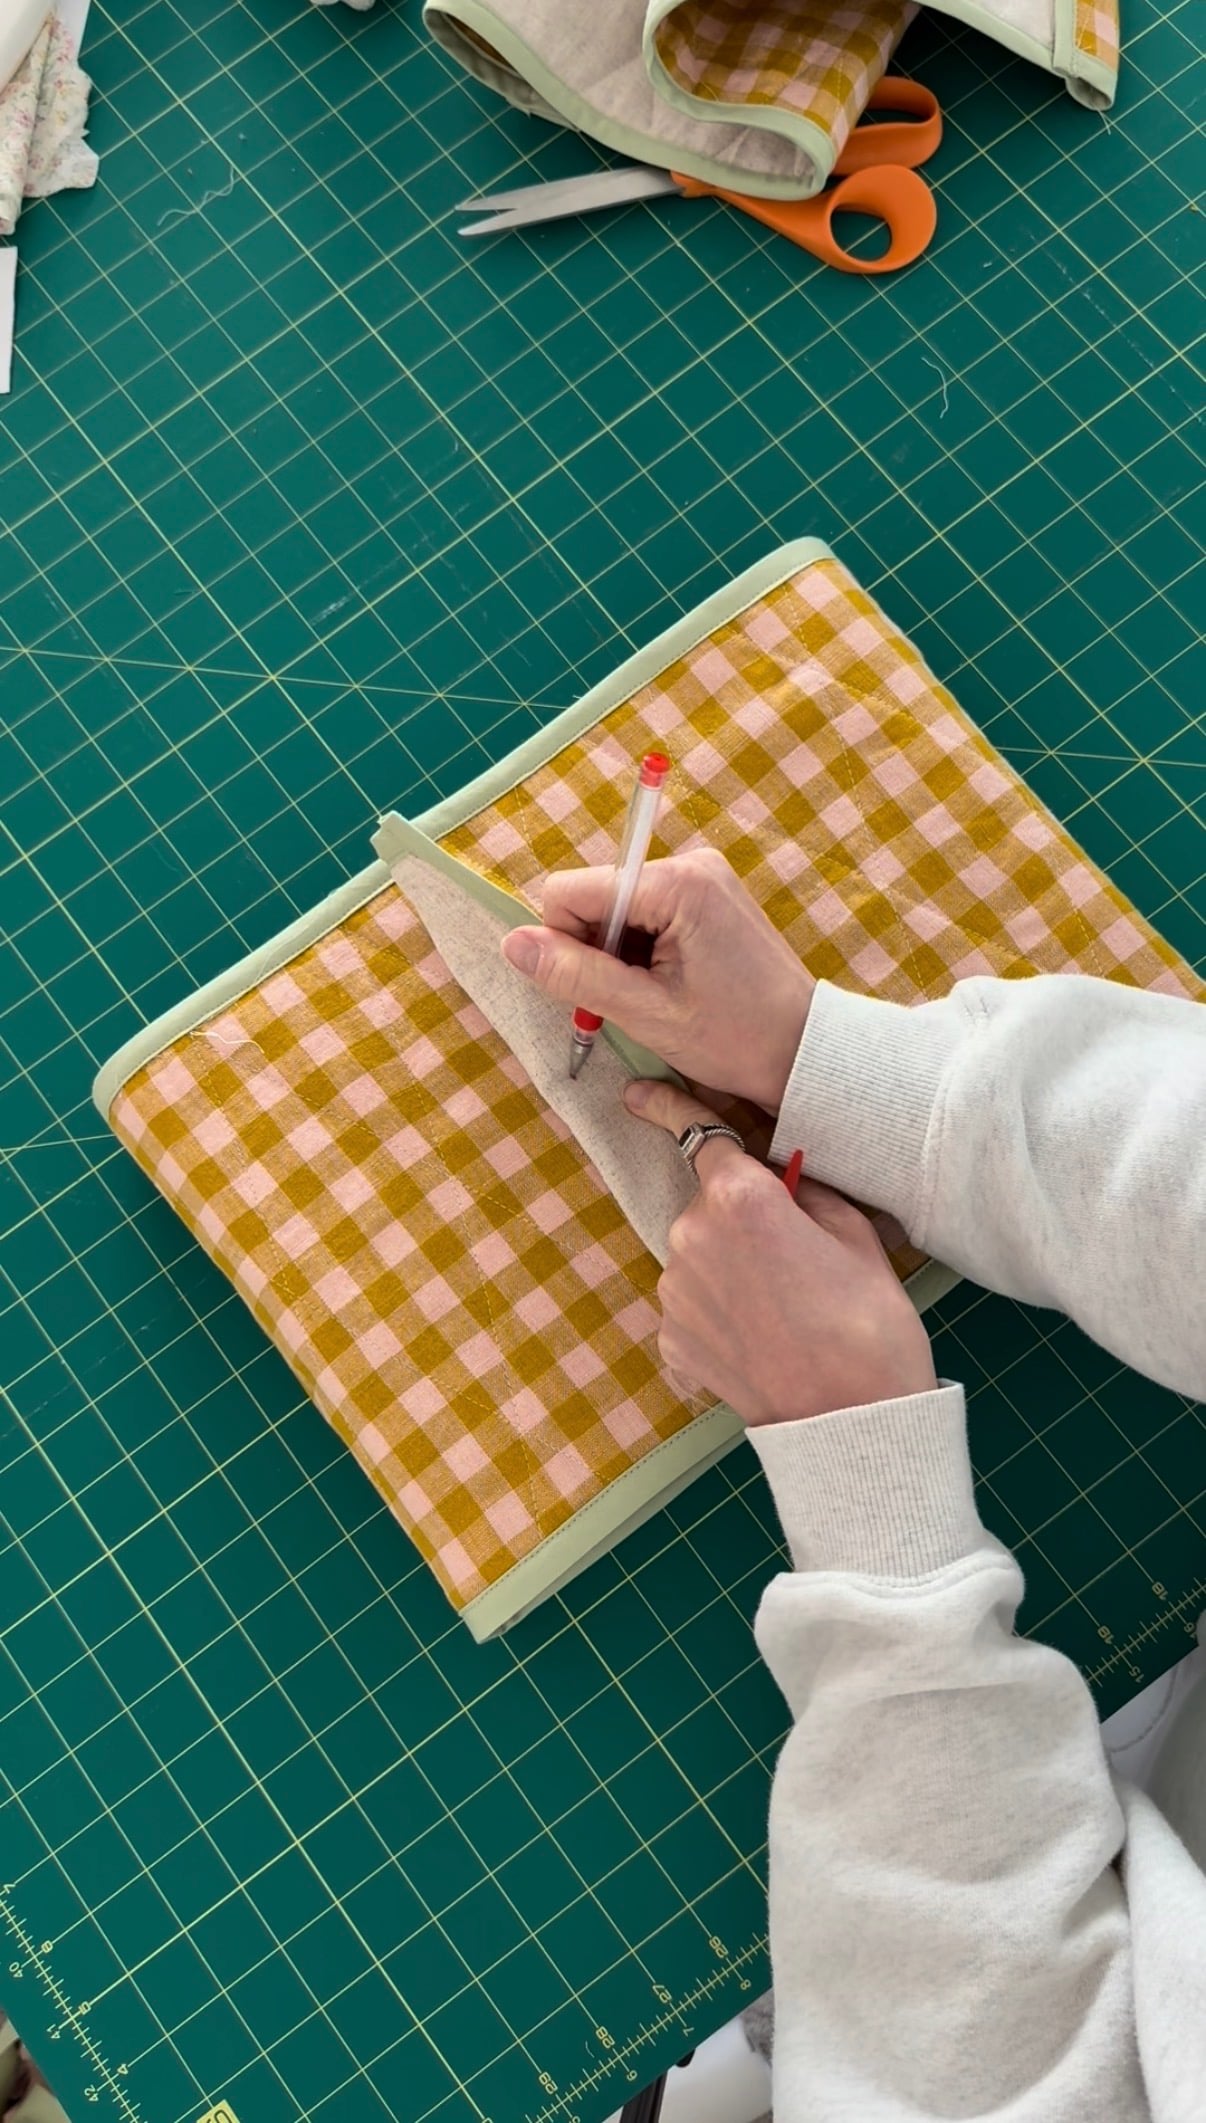
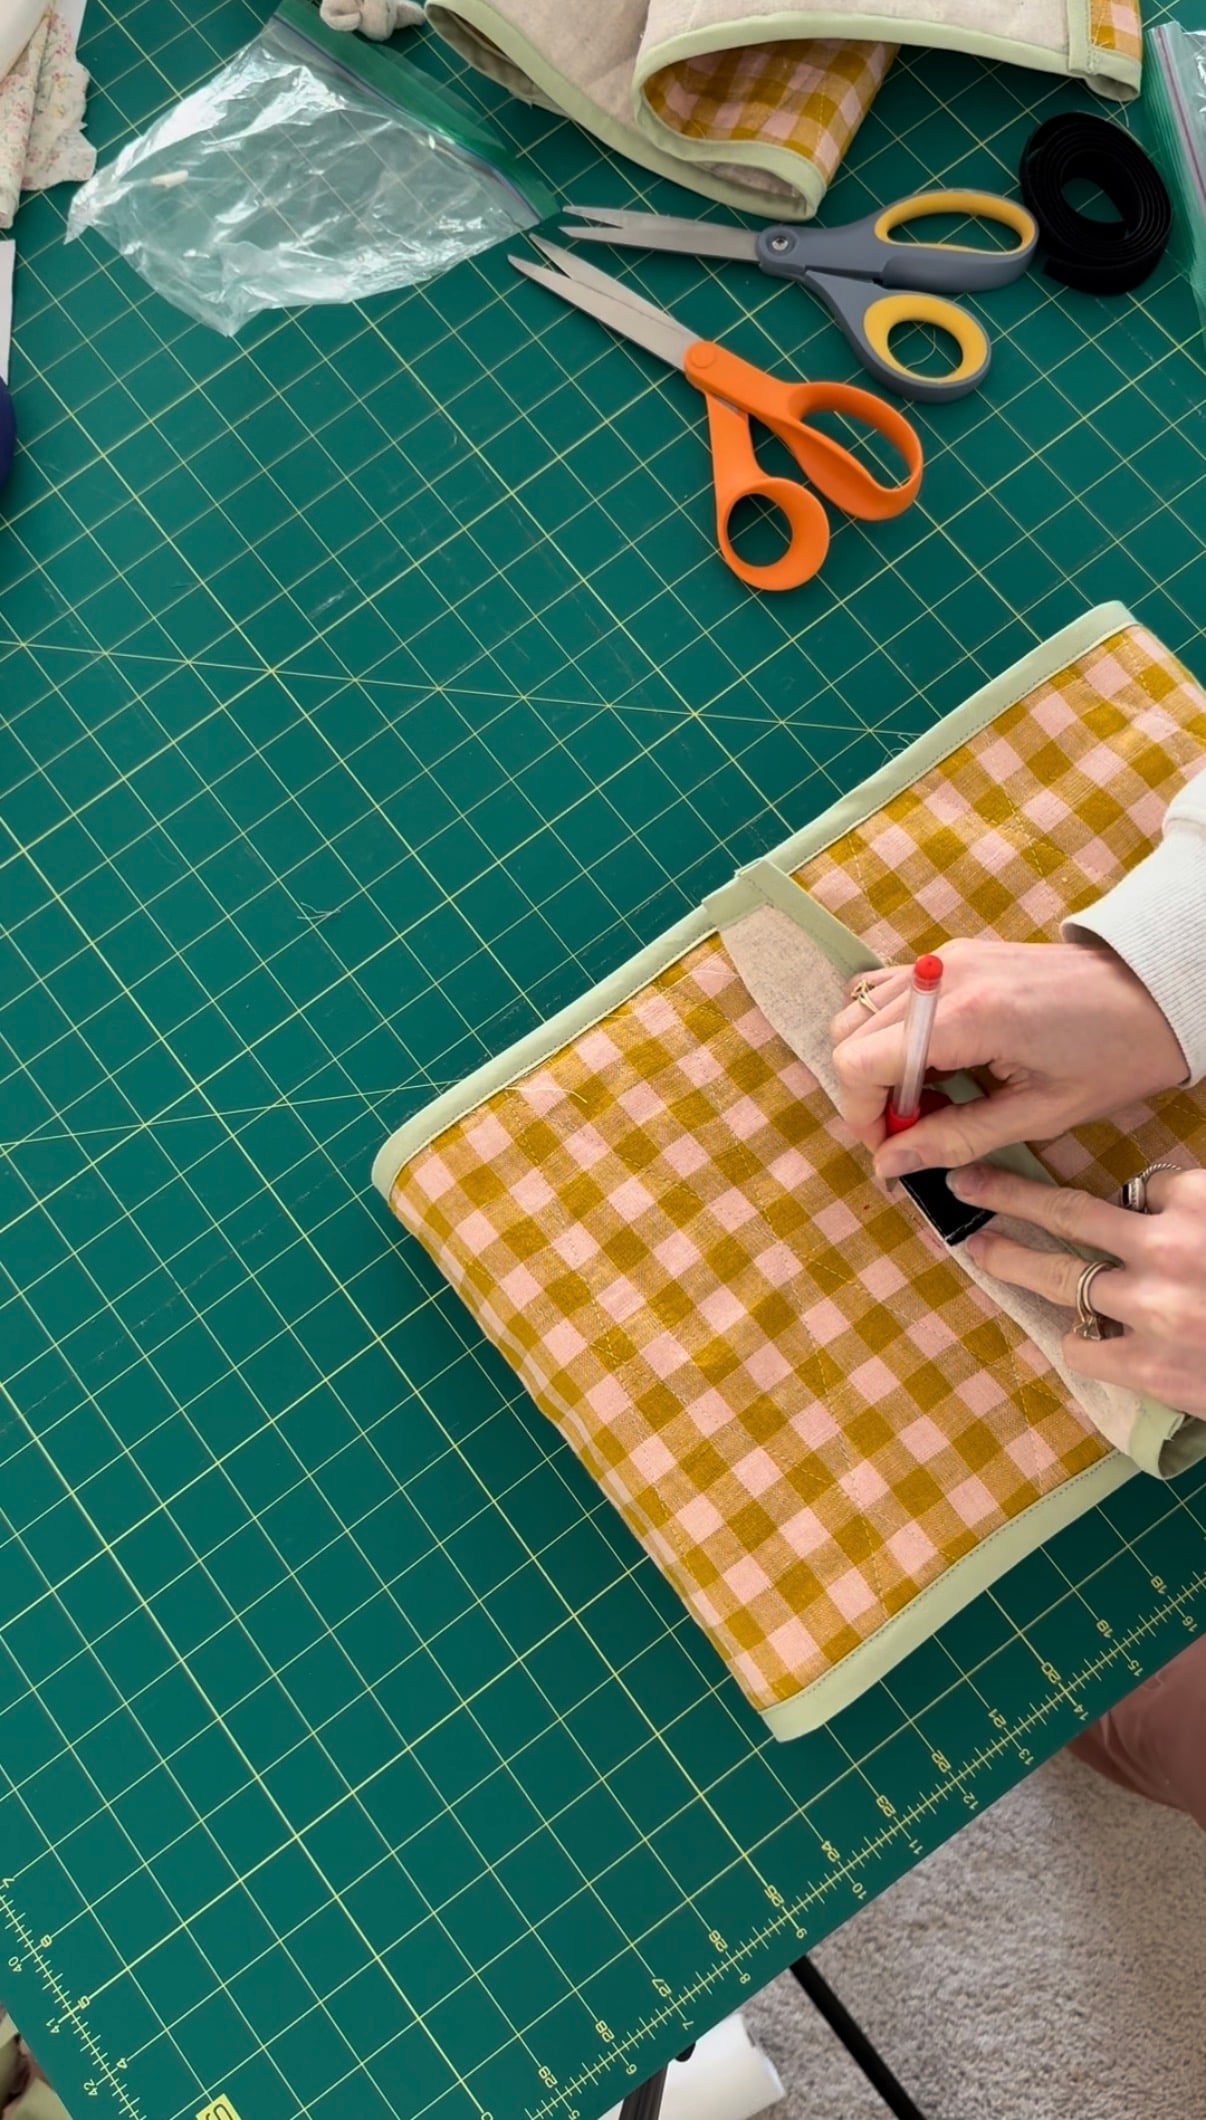
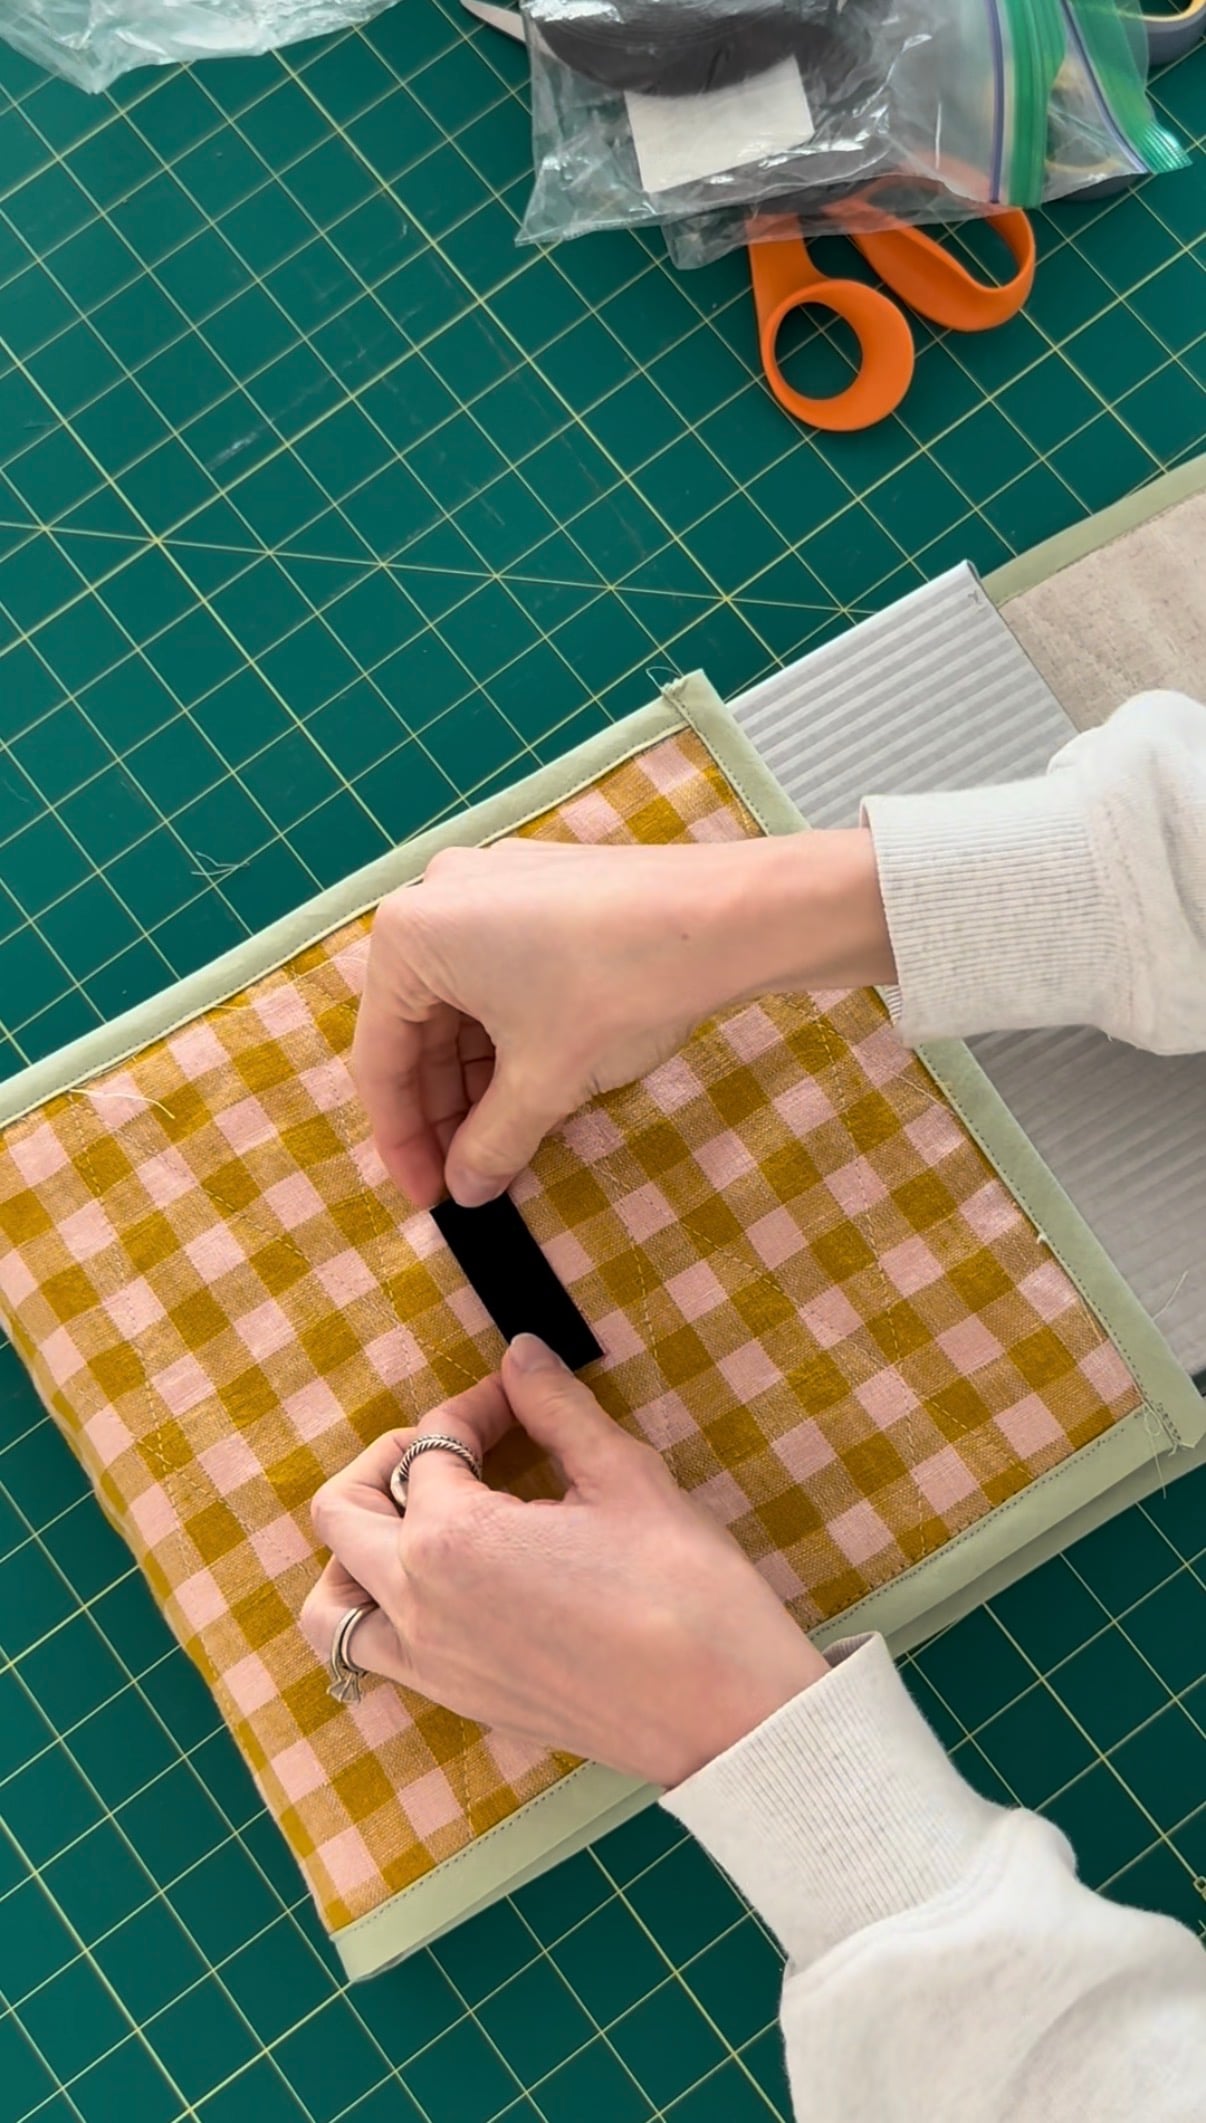
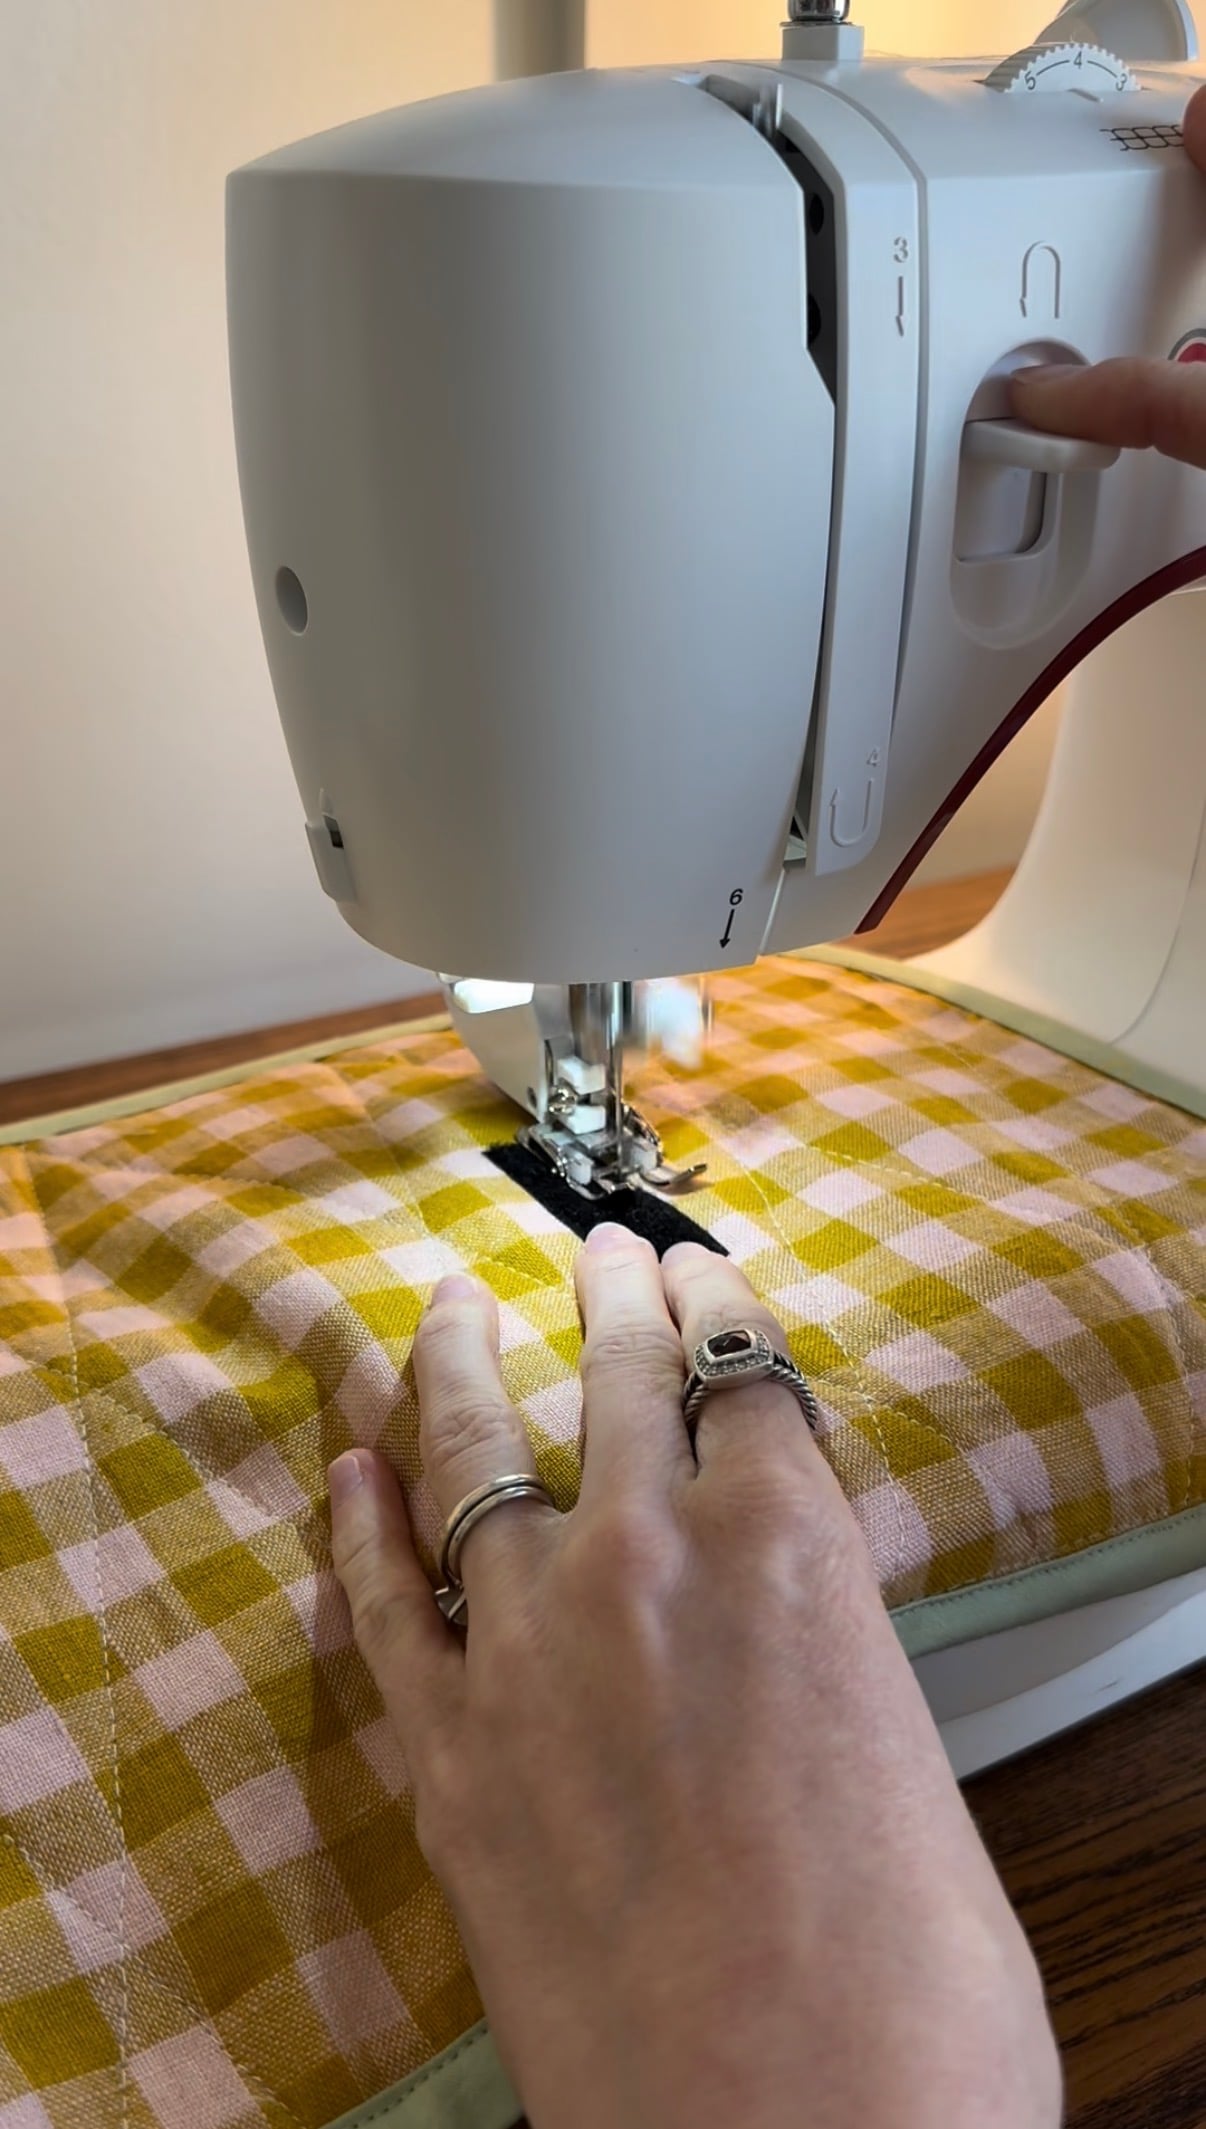
Mark the places you will attach your velcro to Panel 1. You will need your casserole dish for this one, to make sure you get it tight! Add each piece separately, marking each spot with a fabric marker before you attach it to make sure everything sits nicely.
Lastly, lay the 2 panels together perpendicular to each other, and sew along the binding edges to attach the 2 panels.
Step 8: Give Everything a Final Press
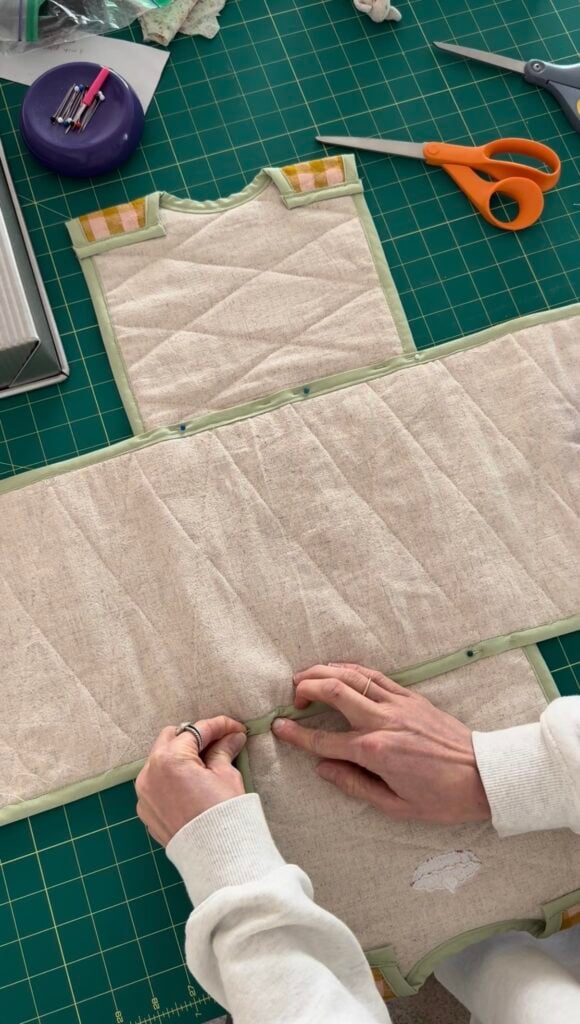
Once you’ve finished sewing, trim away any loose threads and give your quilted casserole dish carrier a final press.
Place your casserole dish inside, arrange the fabric around it, and admire your finished project!
You’ve made a beautiful, functional piece that can be enjoyed for years to come.
A Handmade Touch for Your Next Gathering
There’s something so special about showing up to a gathering with something you’ve made yourself. And I especially love that this quilted casserole dish carrier is both useful and beautiful.
Whether you’re taking your favorite casserole to Thanksgiving dinner, bringing a meal to a friend, or making a handmade gift, this is such a fun sewing project to add to your list.
I hope this tutorial inspires you to get out your sewing machine and make one of your own!
A quick safety note: This fabric carrier is intended for transporting a covered dish, not for replacing oven mitts or insulated hot-food equipment. Always check the temperature of your dish and use appropriate heat protection.
Happy sewing!
Leave A Comment