How to Sew a Valentine’s Day Heart Garland
Use fabric scraps to make this quick, simple heart garland. It’s perfect for Valentine’s Day or just as everyday decor around the house. It’s also a great project for sewing beginners!
Why Make a Valentine’s Day Heart Garland?
A handmade Valentine’s Day heart garland is one of those decorations that feels special year after year. Unlike store-bought decor that’s typically used once and thrown away after the holiday, a sewn garland can be:
- Reused every Valentine’s Day
- Customized to your home’s color palette
- Made from fabric scraps you already own
- A meaningful handmade tradition (I plan on using this garland every year now!!!)
Supplies for Valentine’s Day Heart Garland
Here are the materials you’ll need to gather for this project:
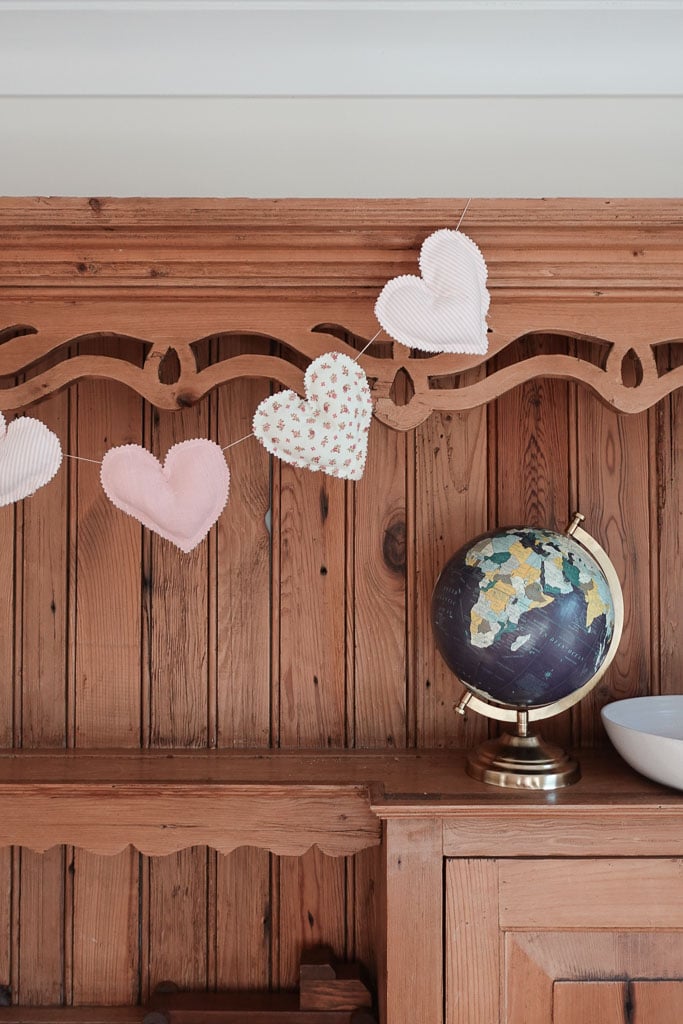
- Fabric – this is an amazing opportunity to use up some of those fabric scraps you have laying around. I used primarily cotton and linen scraps from old projects.
- Matching thread
- Heart template
- Fabric shears or a rotary cutter
- Sewing machine
- Embroidery floss – We will use this to hang the garland. You can use anything else you have (twine, yarn, etc.), embroidery floss is just something I always have on hand!
- Pins
- Polyfill stuffing – we’re going to use this to stuff the hearts. If you don’t have any on hand, this is also a great opportunity to use anything else you have laying around. Sometimes I will cut fabric scraps into thin shreds of fabric and use that for stuffing!
- Iron
- Heat-erasable pens – not required, but highly recommended for tracing your heart template.
- Pinking shears – not required, but it looks nice to have a fun pair of scissors to trim the edges of the hearts.
Now that you have your supplies, let’s get into the how-to!
How to Make a Valentine’s Day Heart Garland
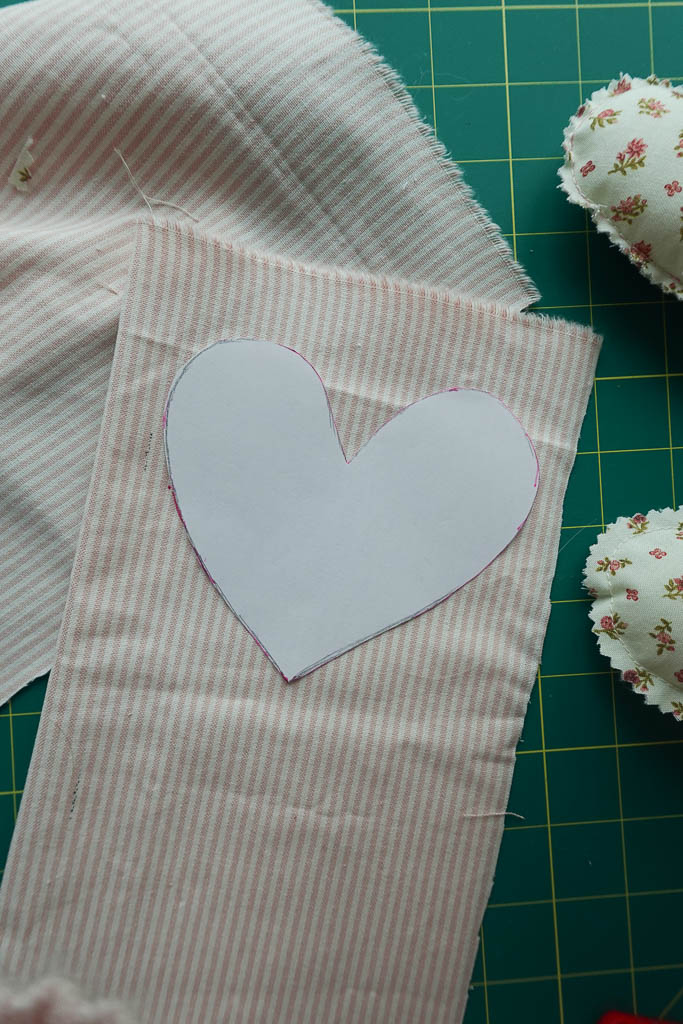
Step 1: Create your Heart Template
To keep your Valentine’s Day heart garland consistent, start by making a reusable heart template. You can draw this template or you can print one off. Cut a heart shape from cardstock or paper at your desired size. Mine is roughly 5 inches wide by 5 inches tall.
Step 2: Trace your heart shape onto your fabric
Use a piece of fabric that is large enough to fold in half, while still fitting the heart shape plus about 1 cm of excess on each side. Fold the fabric in half, wrong sides facing, and trace the template onto the right side of the fabric. Again, you should have 2 layers of fabric here, with right sides facing out.
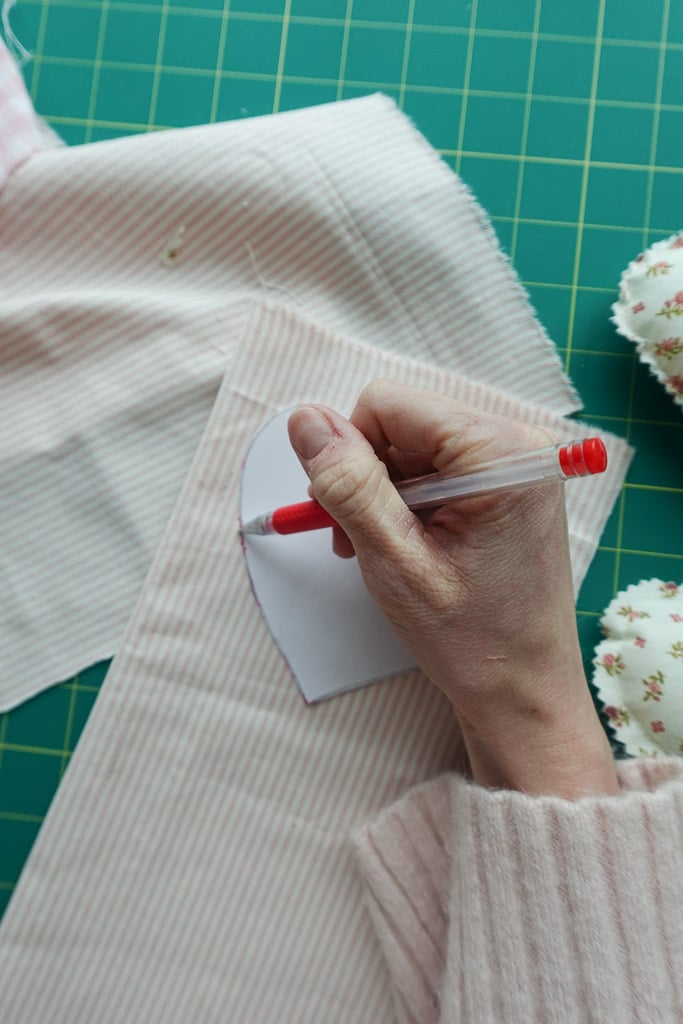
Trace your heart shape onto your fabric piece (I like to use heat-erasable pens for this), remembering to leave that little bit of excess fabric around the edges of the heart for cutting. Also be sure to mark about a 1-inch gap on one side of the heart shape where you will not stitch so you have an opening for stuffing the heart.
Pin the fabric together just to hold while you sew. I just place 2 pins inside each heart shape.
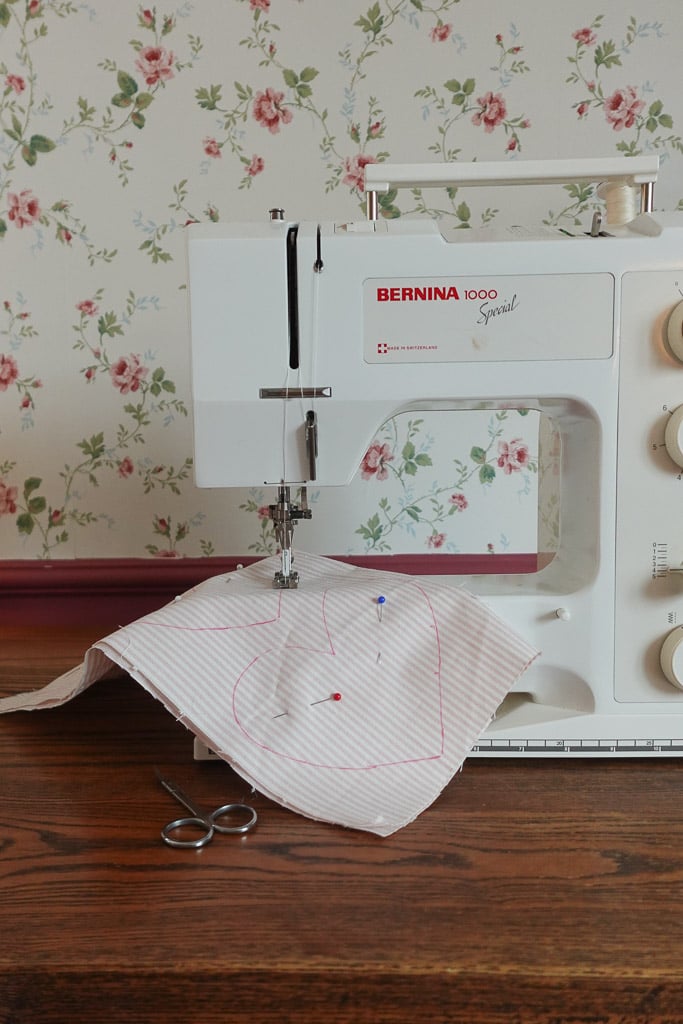
Step 3: Sew your heart shapes
Bring your fabric to your machine, and, starting at one of the opening lines, sew around the entire heart all the way to the other opening line. Make sure to backstitch on both sides.


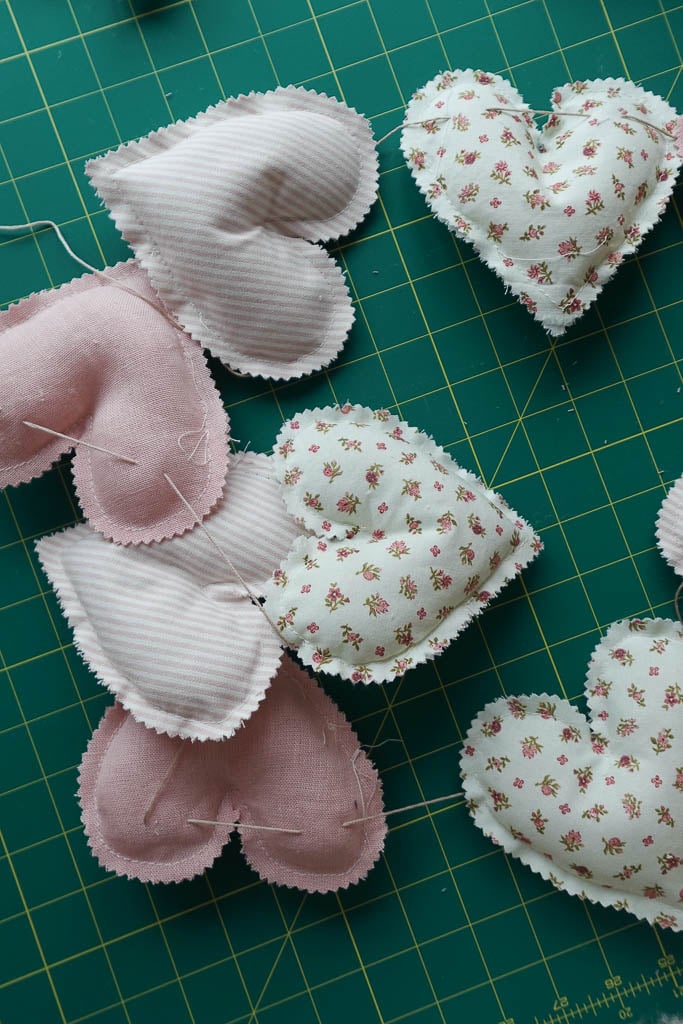
Step 4: Stuff the heart shapes and close the opening
Use your polyfill or other filling to stuff the heart shapes through the openings you left on the sides. I only stuff mine a little bit, as I think this makes a nicer garland. Overstuffing can also cause you to have some trouble when closing the opening.
Bring your heart back to your sewing machine and close the opening, following the template line.


Step 5: Trim the edges with pinking shears
Use your pinking shears to trim the edges down to about 1 cm. You can use regular fabric shears for this as well, but I think having a more decorative edge makes things look nice. This will also help the fabric to lay nicer.


Step 6: Tie everything together
Lay out your embroidery floss (or twine, ribbon, etc.) and evenly space the hearts. You can attach them in two ways:
Option 1: Sew Directly Onto the String
Stitch right behind the top of each heart, securing it to the floss.
Option 2: Glue
For a no-sew option, you can fabric-glue your hearts onto the floss/ribbon.
Both methods work beautifully for a Valentine’s Day heart garland—choose what fits your time and tools.
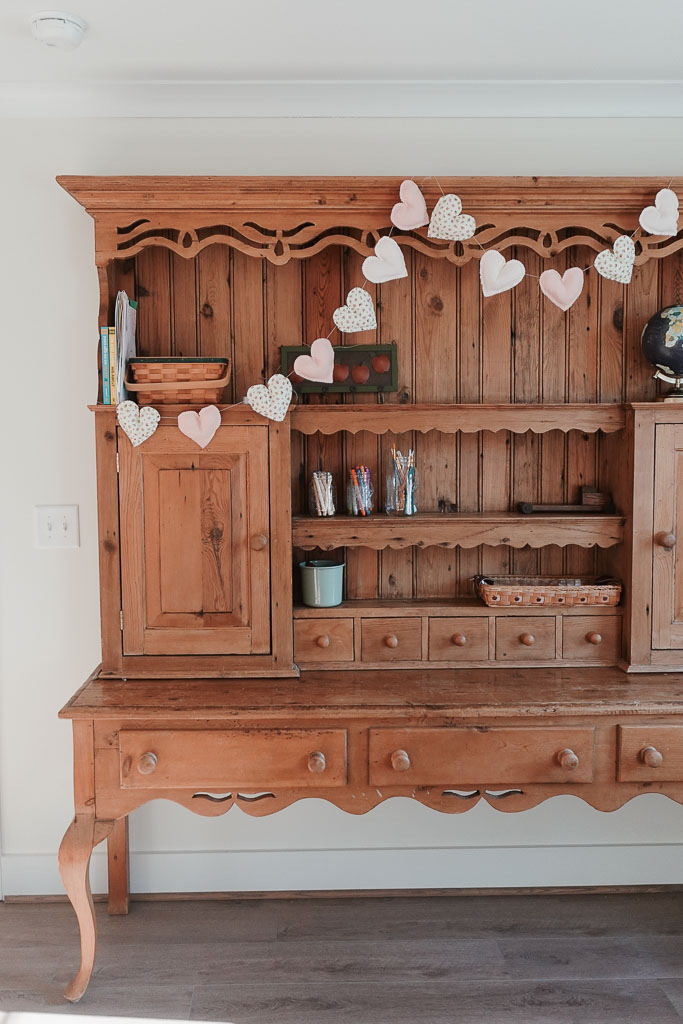
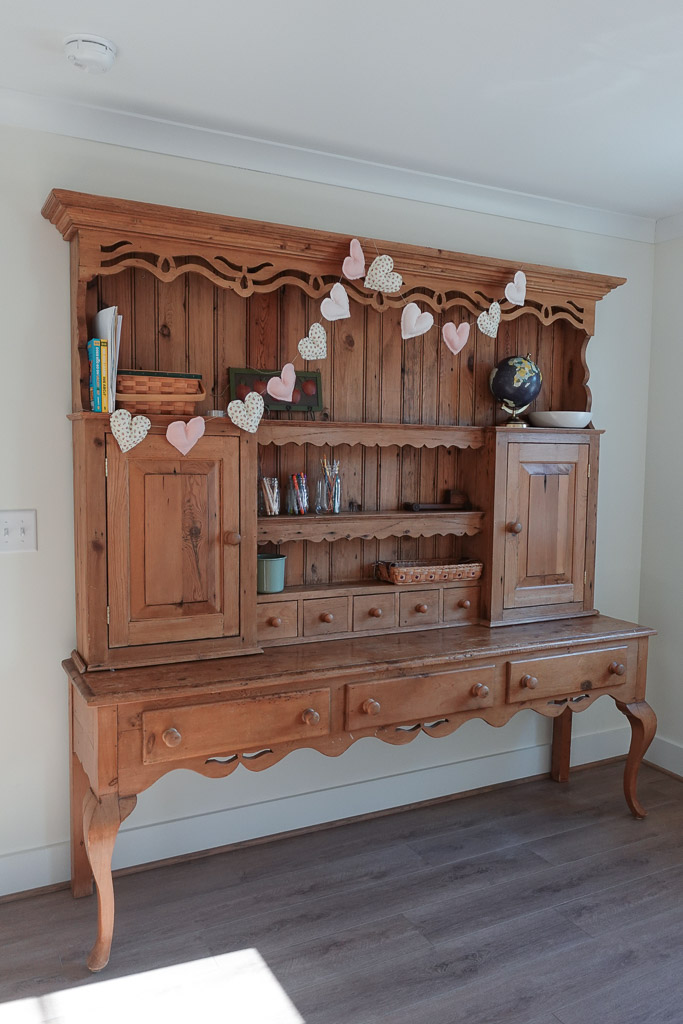
Styling your Valentine’s Day Heart Garland
Here are a few ideas for where you can hang your Valentine’s Day heart garland:
- Draped across a mantel
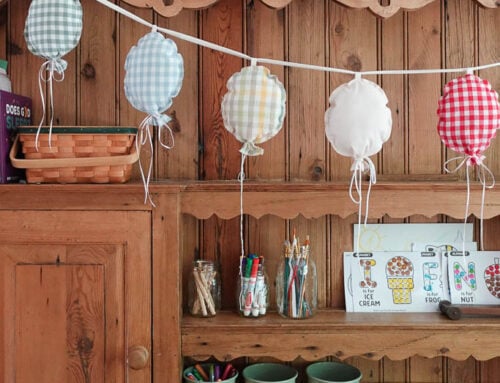
- Hung on a bookshelf or open shelving (my personal favorite)
- Strung above a dining table or sideboard
- Used as party décor or photo backdrop
- Hanging in your kids rooms across bookshelves
Make your garland more personalized
Something I love about sewing is how easy it is to personalize something. You can take almost any sewing pattern and make it completely your own with fabrics, embroidery, etc. This garland is the exact same! Here are a few ideas for customizing your heart garland:
- Adding embroidery or initials
- Mixing fabric textures (linen, cotton, muslin)
- Using other kinds of pinking shears (like these scalloped ones)
- Alternating heart sizes
Valentine’s Day Heart Garland
A handmade Valentine’s Day heart garland is a simple sewing project that is so much fun to make. I hope you all love this project, and if you make it please tag me in any photos @sarahsdayoff! It brings me so much joy to see your beautiful projects come to life. As always, if you have any questions, please drop a comment down below or send me an email at sarah@sarahsdayoff.com and I will get back to you as soon as I can!
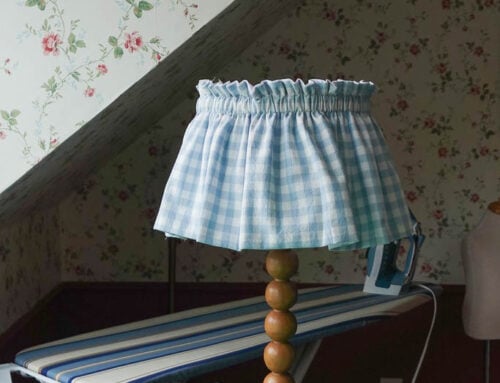
If you’re looking for another Valentine’s Day sewing project, check out this ruffle pillow!
Love,
Sarah
Leave A Comment