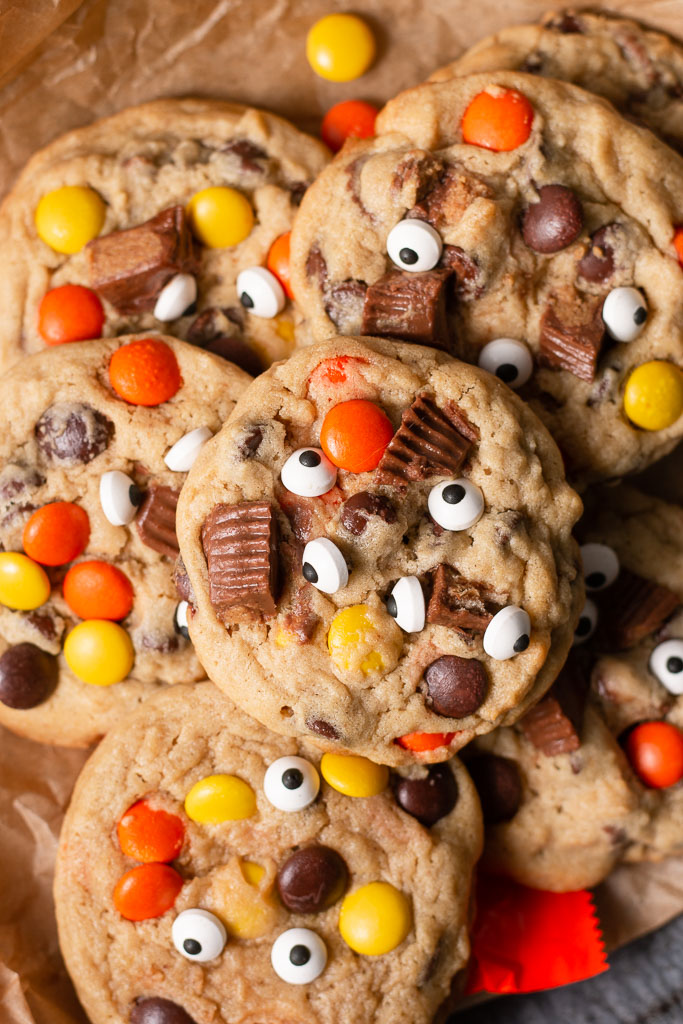
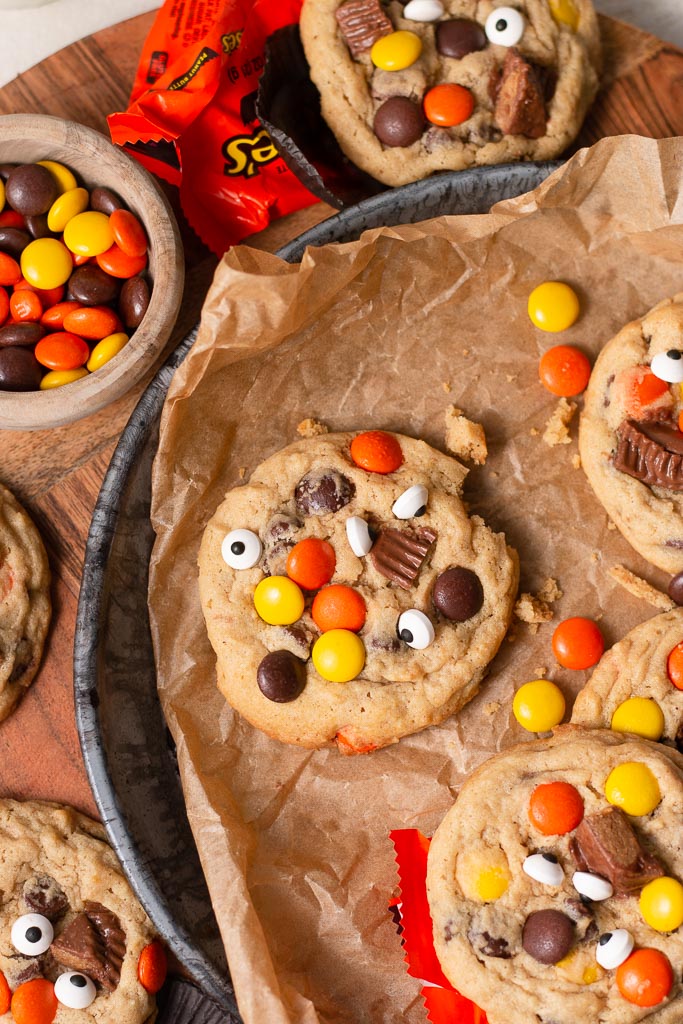
The Best Peanut Butter Monster Cookies
Putting a twist on your classic monster cookies with these peanut butter monster cookies. They’re full of creamy peanut butter, chocolate peanut butter cups, and peanut butter candies. Peanut butter lovers, this one’s for you!
The Best Peanut Butter Monster Cookies
Peanut butter will always be one of the best ingredients to incorporate into your baking routine. I love to add it to cupcakes, frostings, brownies, really the list could go on and on.
But where I really love to add peanut butter is in cookies. These peanut butter monster cookies are the perfect way to use up the rest of the peanut butter sitting in your jar in the pantry. They’ll be perfect for any gathering and they’re also such a fun baking project to do with your kids (they’ll love the candy eyeballs).
Why this recipe works
As with any of my favorite cookie recipes, we’re using lots of butter and sugar, but we’re also adding lots of peanut butter. These don’t just have a little bit of peanut butter so we can slap “peanut butter” on the title… I wanted these to scream peanut butter as soon as you bite into them, and thanks to the chocolate peanut butter cups and peanut butter candies, I think we got there.
The recipe also uses the perfect proportion of flour, butter, and sugar to create the perfect amount of spread and a crispy texture around the edges that we all love, while still keeping the centers gooey.
Cookies are peanut to be crisp on the outside and gooey on the inside, and it would take a lot to convince me otherwise.

Some equipment you may need…
- Stand mixer: if you’re new to baking, this is something I’d recommend saving up for. You can do so much with this one piece of equipment – I really couldn’t recommend it enough. This one from KitchenAid is the one I have in my kitchen and I don’t know that I’ll ever get a new one!
- Cookie scoop: you’ll need a good scoop to ensure you get equally-sized cookies. It makes the process a lot easier – trust me! I don’t love scooping dough into my hands and rolling it around because it makes such a mess and I feel like I can’t stop what I’m doing to tend to my toddler (who’s usually running around the kitchen), so for that reason a cookie scoop is a must for me!
- Sheet pans: just a universal pan that every baker needs. You’ll need 2 for this recipe!
- Mixing bowls: I love these glass mixing bowls from Amazon. They’re especially perfect for food photography.
- Wooden spoon: I only use wooden spoons and rubber spatulas when I’m baking, and I love these!
- Measuring cups/spoons: I’ve been linking these in all of my posts because I love them SO much! They are beautiful and look just like some other expensive ones on the market (but wayyy cheaper).
Ingredients for Peanut Butter Monster Cookies
This recipe only requires a few ingredients so be sure to grab these next time you’re at the store!
- All-purpose flour – I almost always use King Arthur flours in my recipes, and I think it’s important to have some consistency in baking because protein content can vary so much between brands. I recommend you use the same!
- Baking soda – this will be our leavening agent in this recipe. Aka what gives the cookies a slight rise and puff
- Kosher salt – Diamond crystal kosher salt is the brand gravitate towards in my recipes.
- Unsalted butter – see the below options on browning the butter (if you want to).
- Creamy peanut butter – I am unapologetically a believer in Jif, through and through. And I really don’t think that’ll change anytime soon either.
- Light brown sugar – Always a staple ingredient in any cookie recipe.
- Granulated sugar – this does more than just add sweetness. It helps with browning and binding of the cookie as well.
- Large eggs
- Egg yolk – I love adding an egg yolk to cookie recipes because it helps us get that chewy texture that I love

- Pure vanilla extract – the brand doesn’t really matter all that much, but make sure it’s pure vanilla extract and you’ll be good to go!
- Semisweet chocolate chips – you can also use chocolate chunks or chopped bittersweet chocolate if you’d like. Milk chocolate can tend to be just a little bit too sweet for me, so I think this cookie is best with semisweet or bittersweet chocolate.
Optional ingredient substitutions
Salted butter
Just like in my peanut butter chocolate chip cookies, you can also substitute salted butter for the unsalted butter for these cookies.
A lot of people cook with salted butter and have that more readily available in their homes, so if that’s you I wouldn’t make a trip to the grocery store just for unsalted butter, simply just reduce the salt amount to 1/4 tsp.
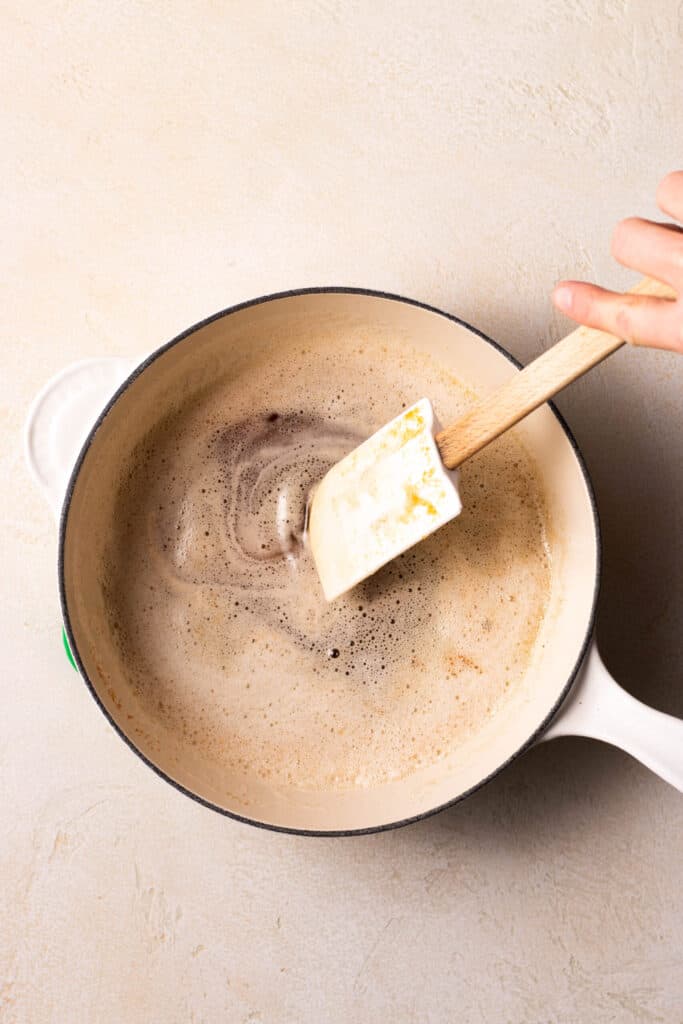
Brown butter
I personally love the combination of peanut butter and brown butter. They compliment each other so well and adding another layer of flavor to the mix of these peanut butter monster cookies would be incredible. I opted to use regular butter to keep things simple, but if you have the extra time I’d definitely recommend browning your butter!
You’ll just need to increase the butter amount to 18 Tbsp (2 sticks + 2 Tbsp) to offset the moisture lost during the browning process. If you’ve never browned butter before I’d recommend reading through this step-by-step tutorial so you can see how I do it!
Once you master this technique, you can make things like Chewy Brown Butter Brown Sugar Cookies and Browned Butter Peanut Butter Rice Krispie Treats (2 of my personal favorite recipes on the blog).
My Kitchen Tips
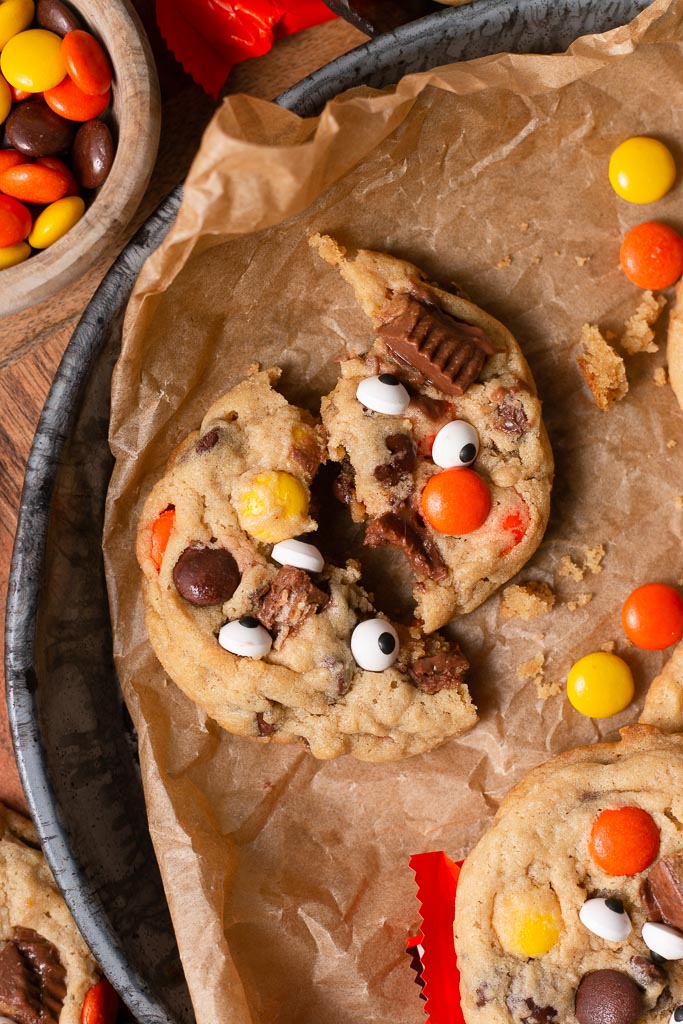
Use leftover halloween candy
Do you also have an excessive amount of leftover halloween candy?! Then this recipe is for you. I know there’s some chocolate peanut butter cups in one of those giant bags of halloween candy, and they’ll be perfect for these peanut butter monster cookies.
PS: you can also see another way I’ve used my leftover halloween candy in this brownie recipe.
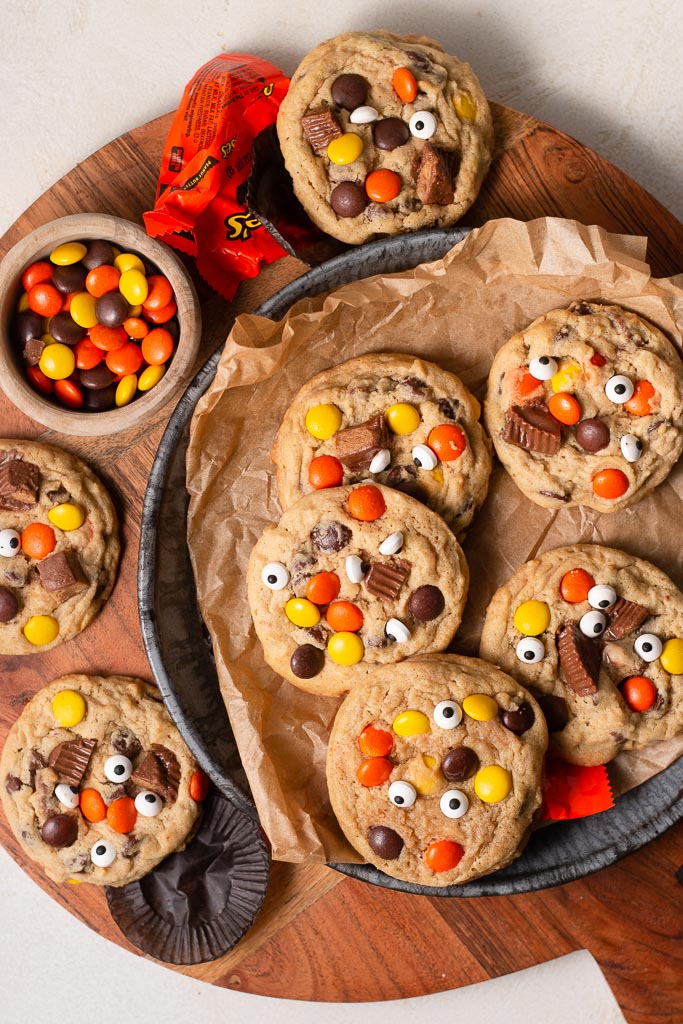
Add some candies to the top before baking
Sometimes the toppings can get lost in the mix a little bit when you’re forming your peanut butter monster cookies. I’d recommend pressing a few candies into the tops of the cookie dough balls before you put them in the oven. That way you know exactly what they are and you can see the candies in the cookies!
Want perfectly round cookie edges?
I can’t blame you. Especially when you add candies to the tops of your peanut butter monster cookies before baking, some of your edges may look a little wonky right when they’re removed from the oven. They may not look the greatest, but they are fixable!
Simply grab a big circle cookie cutter or the rim of a large drinking glass and move it in a circular motion around the cookie. This will pull the edges back in towards the center to create a perfectly round edge!
Recipe FAQs
How should I store these cookies?
I like to keep my baked peanut butter monster cookies in an airtight container at room temperature for up to 3 days.
You can also freeze them by wrapping them individually in plastic wrap and keeping them in the freezer for up to 3 months. Just let them come back down to room temperature before eating them 🙂
Can I make these ahead?
Yes! And if you’ve been around the site long enough you know that I freeze most of my cookie dough. Unless I’m baking for someone or an event, I can’t eat 2 dozen cookies in 3 days, so I freeze most of the dough.
In fact, I wrote this blog post all about how to freeze cookie dough so you can also have a fresh cookie anytime you want one!
I hope you all love these peanut butter monster cookies, and I encourage you to get your kiddos involved in the baking process because I think they’ll enjoy it too.
If you make this recipe, be sure to tag me on socials @sarahsdayoff so I can see them! I love seeing what you guys create in your kitchen, it truly brings me so much joy. If you have a question about this recipe or any others on my site feel free to email me at sarah@sarahsdayoff.com and I’d be happy to chat with you.
Happy baking 
Love,
Sarah
“Search for the Lord and for his strength; continually seek him.” -1 Chronicles 16:11-

Peanut Butter Monster Cookies
Ingredients
- 1 cup (2 sticks) unsalted butter, at room temperature
- 1/2 cup creamy peanut butter
- 1/2 cup granulated sugar
- 1/2 cup packed light brown sugar
- 2 large eggs at room temperature
- 1 egg yolk at room temperature
- 2 tsp pure vanilla extract
- 2 cups (279g) all-purpose flour
- 1 tsp baking soda
- 3/4 tsp kosher salt
- 1/2 tsp baking powder
- 1/8 tsp ground nutmeg (optional)
- 1 cup semisweet chocolate chips
- 1 cup chocolate peanut butter candies (reese's pieces)
- 1/2 cup coarsely chopped chocolate peanut butter cups (about 10 large peanut butter cups)
- Candy eyeballs
Instructions
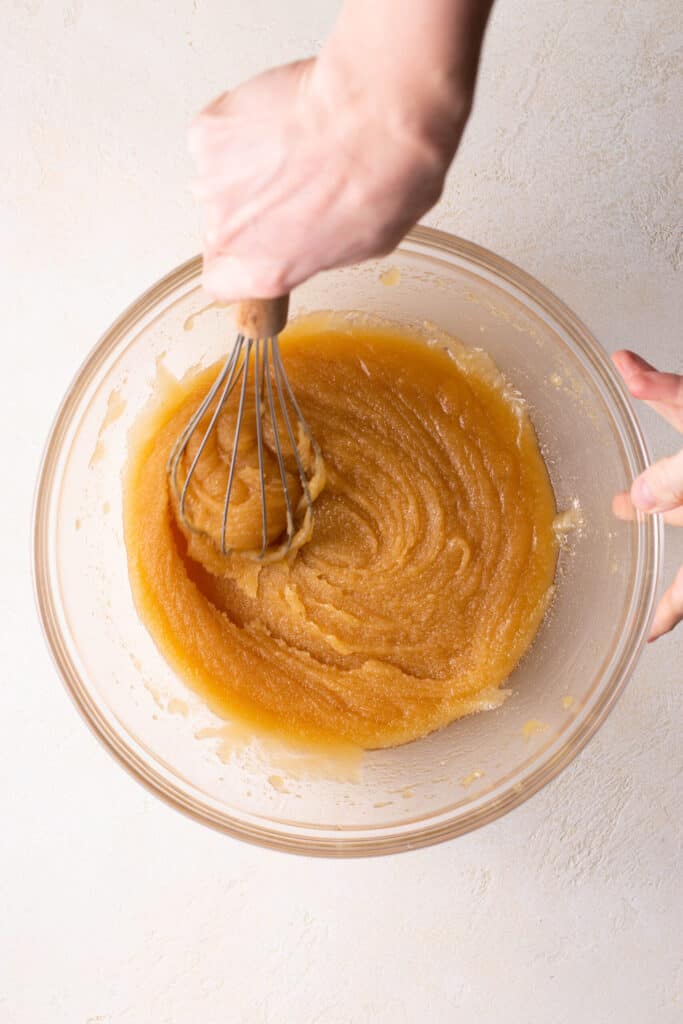
- Add the butter, peanut butter, granulated sugar, and brown sugar to the bowl of a stand mixer fitted with the paddle attachment. Beat on high speed for 3 minutes, until light and fluffy.
- Meanwhile, combine the flour, baking soda, salt, baking powder, and nutmeg in a separate bowl, whisking to combine. Set aside.
- Scrape down the bowl of the stand mixer. Beat in the eggs and egg yolk, one at a time, beating well after each addition. Scrape down the bowl and beat in the vanilla.
- With the mixer running on low speed, gradually beat in the dry ingredients until only a few streaks of flour remain. Scrape down the bowl and remove the bowl from the mixer.
- Add the chocolate chips and candies to the cookie dough, mixing by hand with a wooden spoon or rubber spatula. Make sure you mix in any dry dough that may be left at the bottom of the bowl, this always happens to me!
- Cover the bowl and chill the cookie dough for at least 1 hour, but up to 3 days. When you're ready to bake your cookies, preheat the oven to 350°F. Roll the dough into balls and place them evenly spaced apart on a sheet pan lined with parchment paper. Alternatively, you can freeze the dough balls and bake them only when you want to eat them.
- If you want, press some extra candies and chocolate chips onto the outsides of the dough balls before you bake them, that way they'll be more visible when they're done! The candy eyeballs should be added after baking.
- Bake the cookies for 11 to 13 minutes - just until the edges begin to turn golden brown. If they still look underbaked in the centers, that's ok. They will continue to cook on the sheet pan when you remove it from the oven.
- Press a few candy eyeballs onto the baked cookies, and sprinkle them with flaky sea salt, if desired.
- These cookies are more fragile, so let them cool down enough for you to pick them up without any breaking. Serve warm or store in an airtight container for 3 to 5 days.
Notes
This blog post contains affiliate links which make me a small commission at no cost to you. Thank you for supporting Sarah’s Day Off!


Leave A Comment