No-Chill Cut-Out Sugar Cookies
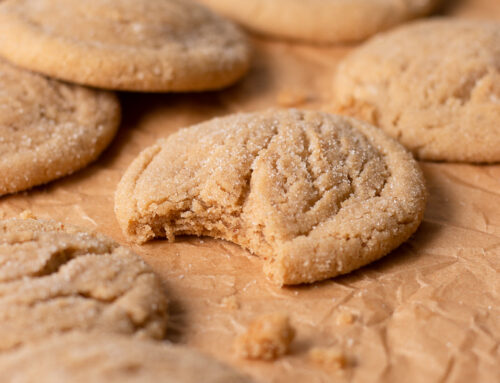
These buttery, soft, and chewy no-chill cut-out sugar cookies are the perfect thing to bake for any occasion. I make these for Christmas, Valentine’s Day, Easter, and also for no good reason because they’re that good!
No-Chill Cut-Out Sugar Cookies
I can honestly say that I’ve been making these no-chill sugar cookies as long as I can remember. They might even be the reason I got into baking in the first place. Growing up, every year during Christmas we’d all gather around the kitchen island in preparation for Santa’s arrival. These no-chill cut-out sugar cookies – all served up on a big plate – are a cherished childhood tradition, and one I have every intention of continuing with our family as well!! We made these with Owen already this year and even though he didn’t have a clue what was going on, I have a feeling our kiddos will all enjoy it one day 🙂
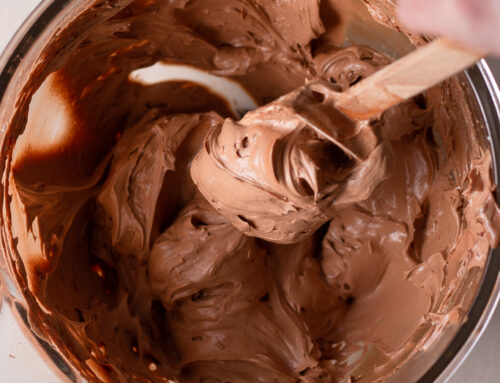
The best thing about these no-chill cut-out sugar cookies is that you can top them with really just about anything you’d like, though I will ALWAYS prefer a good old-fashioned American-style buttercream on these (like the one from this cake recipe). It’s the perfect addition to these buttery-soft sugar cookie cut outs.
And I think it’s important to note that if you’d like to decorate them with specific lines and shapes, I’d recommend using a royal icing – this will give you a lot more control. I personally love the taste of a classic buttercream the most with these no-chill cookies, but you can choose really anything you’d like.

Why this recipe works
I love sugar cookies that are chewy, fluffy, and thick, but I also love the ones that are buttery and rich on the inside. This no-chill cut-out sugar cookie recipe is a happy merriment of those 2 types of cookies that I absolutely adore.
Typically with a sugar cookie cut-out recipe you’ll need to chill the dough once you finish mixing it. This helps the dough relax and get ready for you to roll it out (you’ll need to roll it out before you use your cookie cutters to make shapes). With this no-chill cut-out sugar cookie recipe though… drumroll please… there’s no need to chill it!! Hallelujah and Amen. That’s right you guys, we can all be baking our perfect sugar cookies right when we finish mixing them.
These no-chill cut-out sugar cookies also hold their shape. Even though we’re not chilling the dough, we still maintain clean lines and a great shape, which makes this sugar cookie perfect for decorating.
Cut-out sugar cookies are also typically frosted with a decorative royal icing. It makes them a lot of fun to decorate, but you can choose whichever style of frosting you’d like. You don’t even need to worry about piping the buttercream onto the cookies, you can definitely just use a knife to do this!
Ingredients for No-Chill Cut-Out Sugar Cookies
- Unsalted butter – ahh yes, my favorite ingredient. Butter is what makes these cookies magic. By using butter as our primary fat for this cookie recipe, you’ll find that the flavor is 10x better than if you were to use a different kind of fat. It’s a must for any of the best cut-out sugar cookies recipe in my opinion.
- Granulated sugar – another must-use in these no-chill cut-out sugar cookies! Sugar will provide our sweetness. I’ve never tried these with anything but granulated sugar, but I’d be interested to know if anyone has ever tried them with maybe brown sugar or powdered sugar? If you have, comment down below or shoot me an email (sarah@sarahsdayoff.com)!
- Vanilla bean paste (or use pure vanilla extract) – another one of my favorite ingredients to bake with. I love using vanilla bean paste when I can, but especially in recipes or baked goods that are lighter in color. That way, you can see the vanilla bean specks in the final product! I think it makes whatever you’re baking that much more special. Vanilla bean paste can be expensive, so I don’t use it too too often, but for something special like cookies for Santa, this is a must.
- Large egg – to bind everything together, and for a chewy texture!
- All-purpose flour – we’ll need lots for this recipe, so make sure you pick up a bag during your next trip to the grocery store. I almost always use King Arthur flours, because I think consistency is important when developing recipes. Protein content can vary between brands, so I’d recommend sticking with King Arthur as well!
- Baking powder – this will be our chemical leavening agent for these no-chill cut-out sugar cookies.
- Kosher salt – Diamond crystal kosher salt is the brand I always use in my recipes!
If you’re wanting to frost them with my American Buttercream recipe (what makes this sugar cookie great for decorating), you’ll need these too:
- Unsalted butter
- Powdered sugar
- Vanilla extract
- Whole milk (or use heavy cream)
Some equipment you may need…
- Cookie cutters: if you’re wanting to make a Christmas-themed cookies for Santa plate like I’ve done above, use these cookie cutters. They’re perfect and work great for this project. But there are a ton of great options all over the internet!
- Half sheet pans: I love USA pan and all of their products, but especially these half sheet pans. They’re great for no-chill cut-out sugar cookies because they’re really light in color, which will help prevent browning!
- Stand mixer: this is the one I have and I love it! I’ve had it for years now and I’ve never had any trouble with it. You definitely don’t “need” a stand mixer for this recipe, but it sure does make life a lot easier.
- Offset spatula: this is two-fold. The offset spatula will help you transfer the cookies to a baking sheet, and help you frost your buttercream onto the cookies!
- Parchment paper sheets: I will forever buy my parchment paper in sheets. No more annoying rolls everyone! These make life so much easier.
- Mixing bowls: I love these glass mixing bowls from Amazon. They’re especially perfect for food photography.
- Wooden spoon: I only use wooden spoons and rubber spatulas when I’m baking, and I love these!
- Measuring cups/spoons: I’ve been linking these in all of my posts because I love them SO much! They are beautiful and look just like some other expensive ones on the market (but wayyy cheaper).
How to Make Cut-Out Sugar Cookies
Step One – Make the Dough
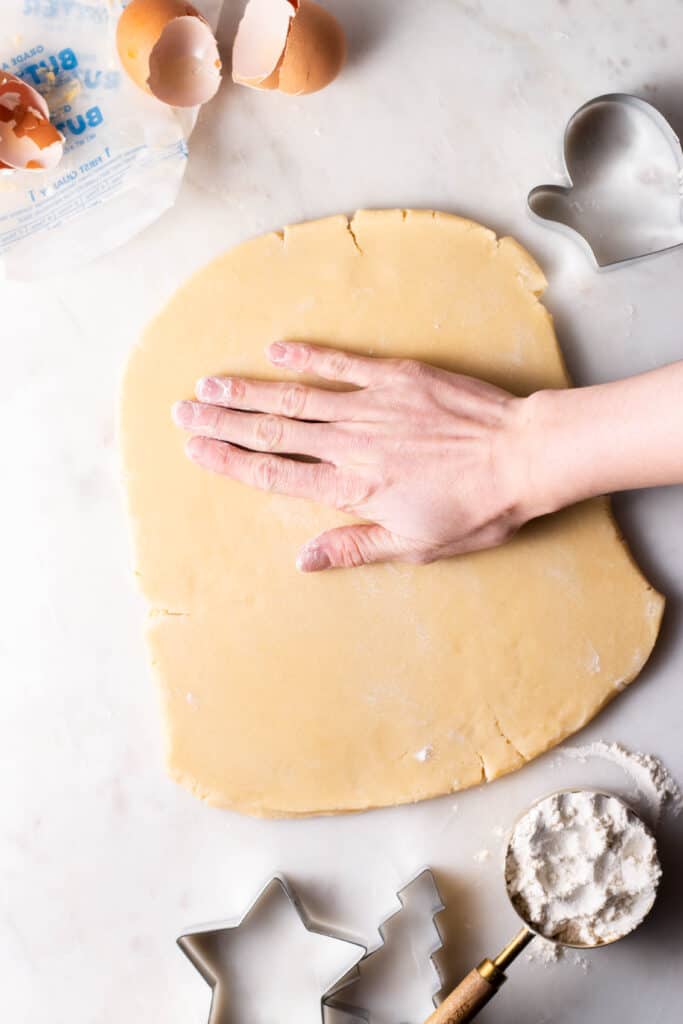
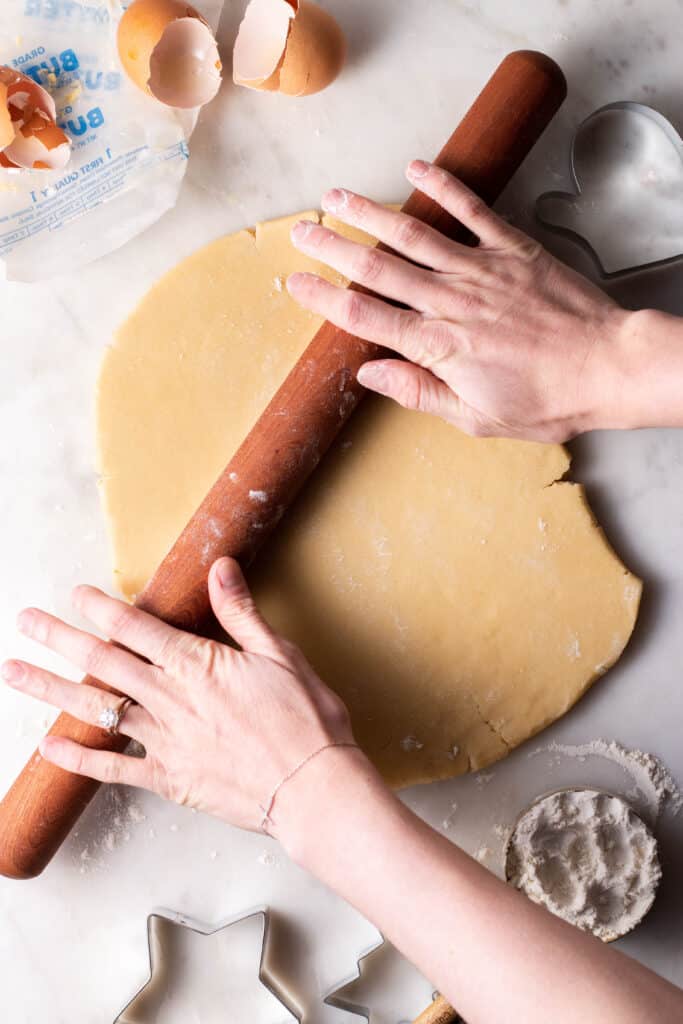
First, you’ll want to prepare the dough – and make sure you’re careful to not overmix it. We’re going for soft and chewy not brittle and hard!! From here, you can either chill the dough or just skip straight to rolling it out to your desired thickness (I usually shoot for about 1/4-inch thickness). These cookies won’t puff up too much, and they also won’t spread too much, so you’ll want to roll it out to your desired finished thickness.
Step 2 – Roll out the Dough & Cut
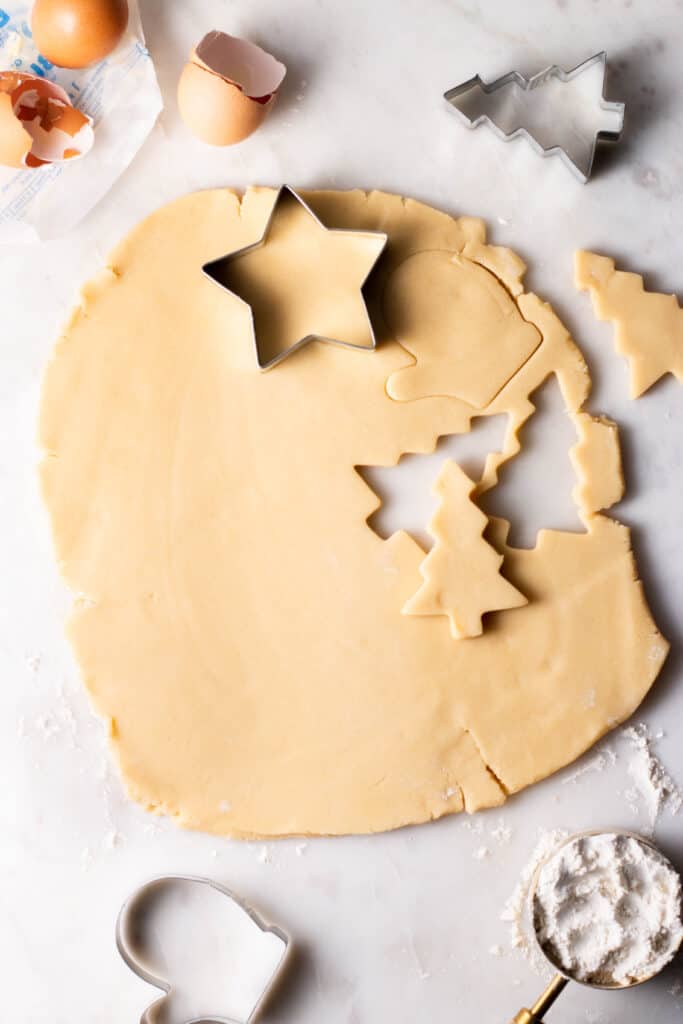
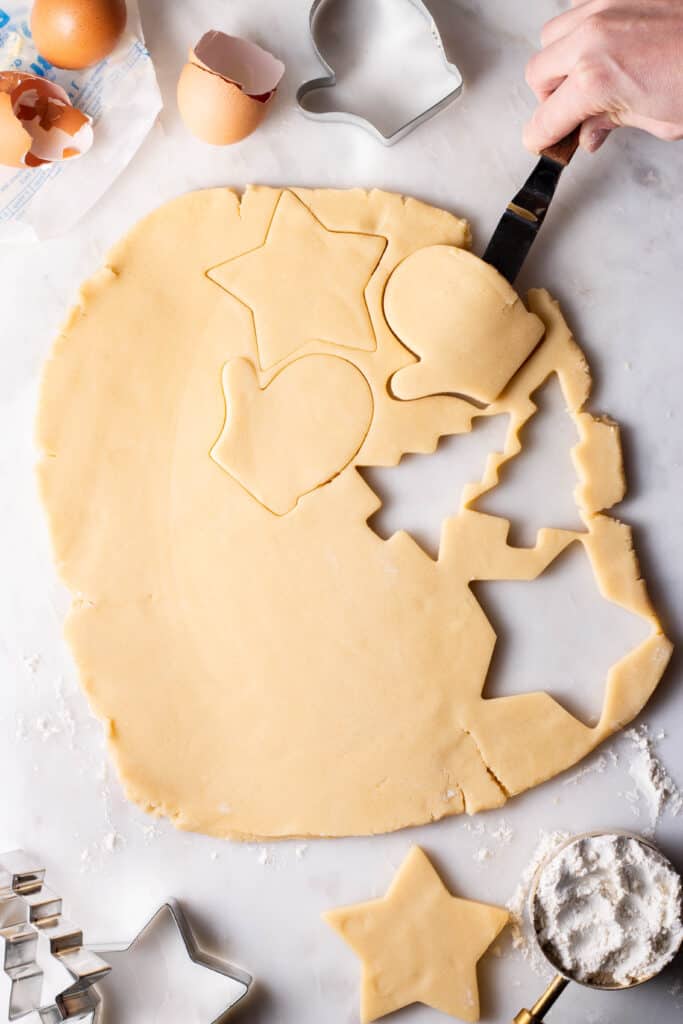
Next, we’ll start cutting the cookies out! You can use any shape you’d like, there’s seriously soooo many to choose from. I’ve done cookies for baby showers, Valentine’s Day, Easter, etc. That’s why I love them so much – they’re so versatile!
I also like to use an offset spatula to help lift them from the work surface to a sheet pan lined with parchment paper. This offset spatula is the best thing ever, it’s small and perfect for projects like this!
Also, just a little secret – if you love baking and you don’t have these parchment sheets (or something like it), let me help you out. No more fussing trying to get the parchment to sit down, they come in perfectly flat sheets so you can just bake your little heart out a lot easier 🙂
Step 3 – Bake
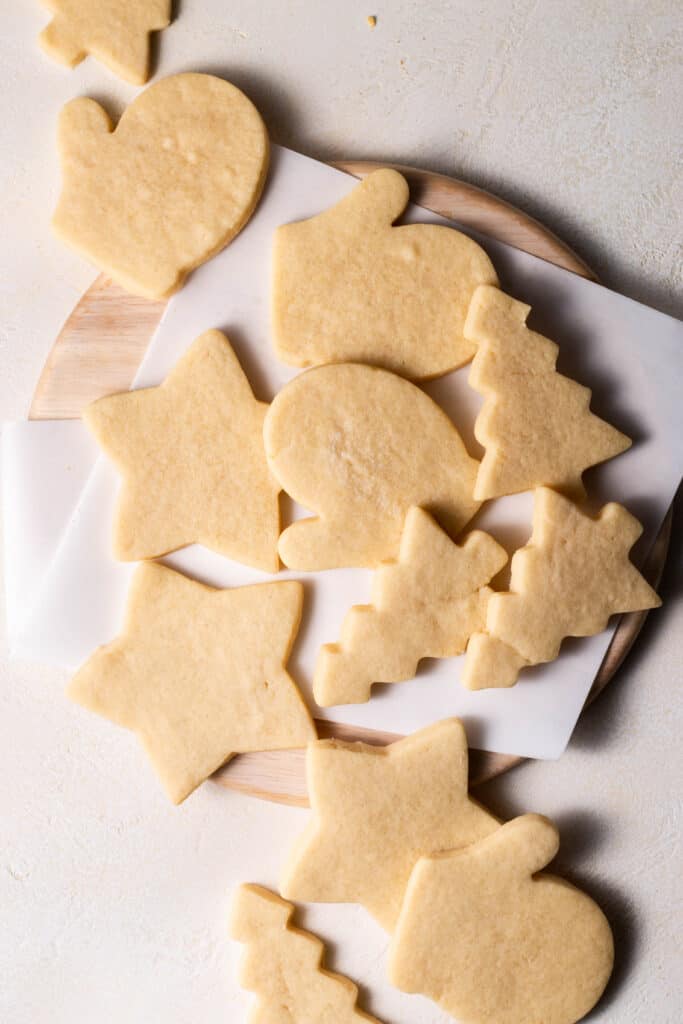
Now we’re baking our yummy little cookies! Like I said, these won’t spread too much so you only need to place them about a 1/2-inch apart on the sheet pan. They’ll only bake for about 8 minutes at 350°F – that’s not long, so keep a sharp eye on them!!
Here’s the key though: you’ll want to take these cookies out before they even begin to THINK about starting to brown on the edges. That’s the secret to perfectly chewy interiors on these no-chill cut-out sugar cookies. No waiting for the edges to get slightly golden brown like in my chocolate chip cookie recipe – we don’t want brown edges on these!!!
Step 4 – Frost
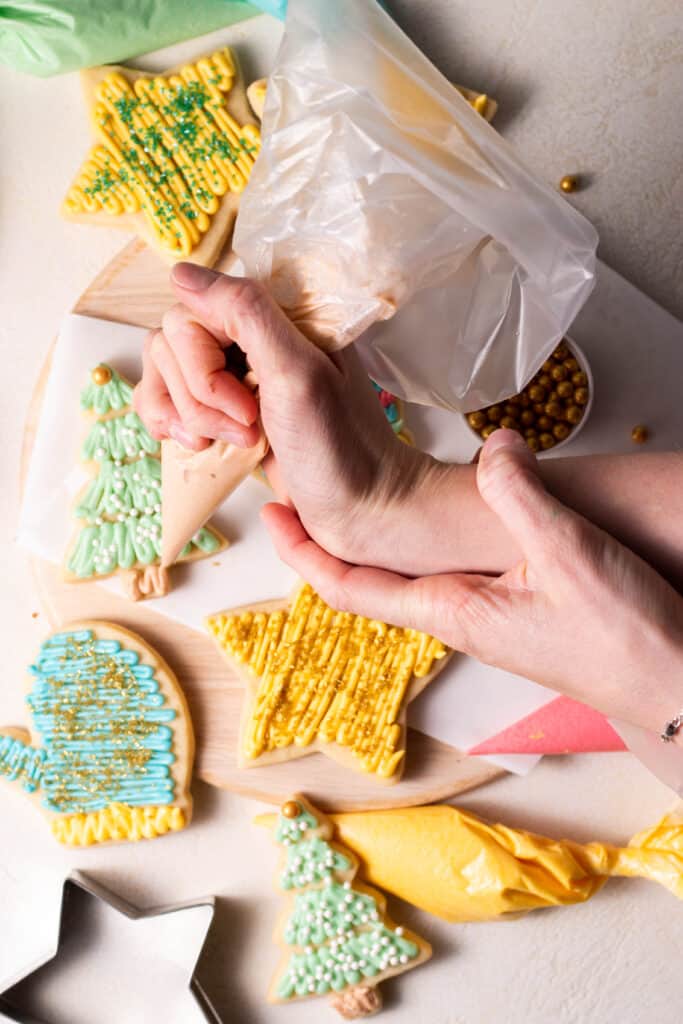
I like to put my frosting in these little piping bags, cut a reaaaaally small slit in the top, and frost them that way. Obviously you can just use a knife or an offset spatula and slather them with your delicious frosting, but I feel I have more control this way!
You can color your frosting any way you want, add allll the sprinkles, and voila – the perfect sugar cookie for any occasion!

My Kitchen Tips…
Do NOT over-bake these no-chill cut-out sugar cookies.
Like I said above, you want to remove your no-chill cut-out sugar cookies from the oven before they even begin to THINK about turning brown around the edges. You want to give them just enough time in the oven to where the centers of the cookies are fully cooked, but you still have delicious chewy centers once they cool completely. Sugar cookies can be tricky because if they’re over-baked, they tend to be brittle. Not what we’re going for.
Color your frostings.
Sugar cookies will always be better with colorful frostings. Especially if you have little ones, it’s so much fun to put all the different color frostings in separate piping bags for them to decorate themselves. Mom tip: it’s also a lot cleaner if you use piping bags! If you’re making a cookies for Santa plate like I’ve done above, you’ll want to be sure you’re making multiple different colors for different uses!
Don’t forget the sprinkles
Also a must for any sugar cookie, SPRINKLES. Am I right?! I will always be a lover of sprinkles (ask my funfetti sheet cake or funfetti rice krispie treats), but especially when they’re piled onto a sugar cookie. Make sure you get lots of different colors for every cookie!
If you have the time – chill your dough
I know I said above that this dough CAN be baked right when you finish making the dough, but if you wanting to make sugar cookies keep their shape, I’d recommend chilling the dough. This will give the dough time to relax, and give the flour time to absorb moisture from the other ingredients. Which will prevent spreading in the long run!

Recipe FAQs
How to keep cut out sugar cookies from spreading
If you’re wanting to keep your cut-out sugar cookies from spreading and ruining your perfect lines, you first need to be sure you’re using the correct proportion of flour to butter. Too much butter and too little flour can result in a cookie that spreads to much, which is what ruins your lines. Too little butter and too much flour will yield a cookie that’s completely hard and brittle.
Why is my dough so dry?
Just like I said above, the proportion of flour to butter here is very important. Because this is a no-chill cookie dough, the amount of flour is just a little bit higher than most other non-chill doughs. If your dough is overly dry and crumbly, however, you may have measured your flour improperly. I always recommend weighing the flour amount (which is why I try to include it in all of my recipes), or measuring it via the spoon and level method.
Will these be Santas favorite cookies?
Duh, I guarantee that on Christmas morning when you’re warming up your homemade cinnamon rolls, the plate you left out for Santa will be wiped clean of these cut-out sugar cookies!
What to bake sugar cookies for?
I love baking these cookies during the holidays – a 12 days of Christmas cookie swap, a cookies for Santa jar, Easter, Valentine’s Day, really you name it. These are so fun to make seasonally, but they’re incredible to make anytime you’re craving a sweet treat.
These are seriously the best cookies for so many different reasons, and I just know that you’ll love them too. If you get around to baking these this holiday season, be sure to tag me in socials @sarahsdayoff so I can see 🙂
If you have any questions about this recipe or any others on my site, you can reach out to me at sarah@sarahsdayoff.com and I’d be happy to chat with you!
Happy Baking 🙂
Love,
Sarah
“God blesses those who mourn, for they will be comforted.” -Matthew 5:4-
No-Chill Cut-Out Sugar Cookies
Ingredients
For the Sugar Cookies
- 1 cup unsalted butter at room temperature
- 1 cup granulated sugar
- 1 Tbsp vanilla bean paste or use pure vanilla extract
- 1 large egg at room temperature
- 3 cups (437g) all-purpose flour
- 2 tsp baking powder
- 1 tsp kosher salt
For the Buttercream Frosting
- 1 cup unsalted butter at room temperature
- 2 tsp pure vanilla extract
- Pinch of kosher salt
- 3 1/2 cups powdered sugar sifted
- 2 to 3 Tbsp heavy cream (or use milk)
- Assorted food colorings (optional)
Instructions
For the Sugar Cookies
- Beat butter and sugar on high speed in the bowl of a stand mixer fitted with the paddle attachment 3 minutes or until light and fluffy.
- Scrape down the bowl, and beat in vanilla. Scrape down the bowl again and beat in egg until smooth.
- Combine flour, baking powder, and salt in a large bowl, whisking to combine. Slowly beat into butter mixture until a soft dough forms.
- Turn dough out onto a floured surface and bring dough together into a disc. Wrap tightly in plastic wrap and chill 1 hour or overnight (if you're crunched for time and don't want to chill the dough, skip straight to rolling out).
- Preheat oven to 350°F. Roll dough out on a lightly floured surface to desired thickness (I like mine to be 1/4-inch thick). Cut shapes out of dough using cookie cutters, and transfer to a sheet pan lined with parchment paper.
- Bake 6 to 8 minutes or until tops are no longer glossy and centers are slightly puffed. Cool completely on pan before transferring to a wire rack.
For the Buttercream Frosting
- Beat butter in the bowl of a stand mixer fitted with the paddle attachment 3 minutes or until color turns a pale yellow.
- Beat in vanilla and salt until smooth. Gradually beat in powdered sugar. Once all the sugar is added, beat on high 5 minutes. Stop the mixer and scrape down the bowl. Add heavy cream, 1 Tbsp at a time, until desired consistency is reached (add more if you want a thinner consistency, add less if you want a thicker consistency). I typically add 3 Tbsp.
- If desired, divide frosting between bowls and mix food colorings into each bowl. Frost cooled cookies with frosting.
This blog post contains affiliate links which make me a small commission at no cost to you. Thank you for supporting Sarah’s Day Off!



Leave A Comment