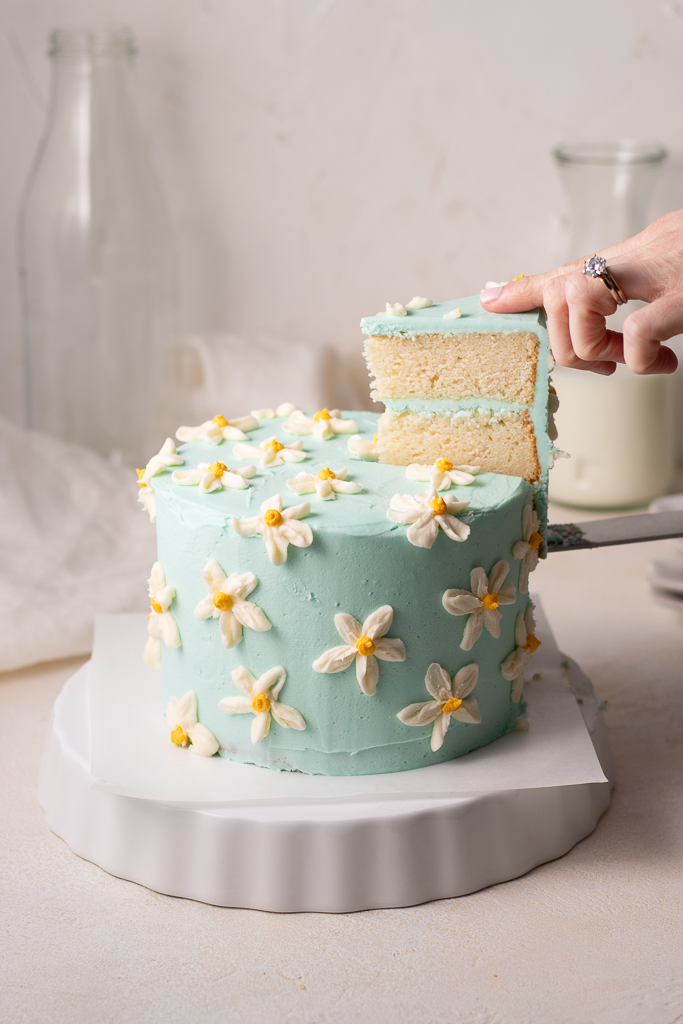
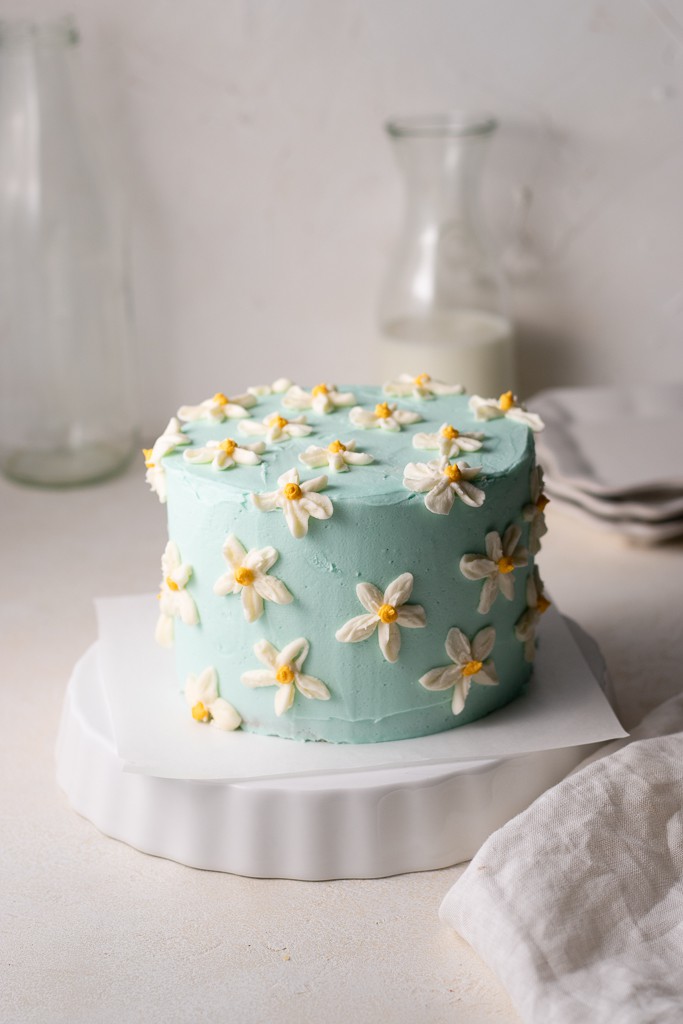
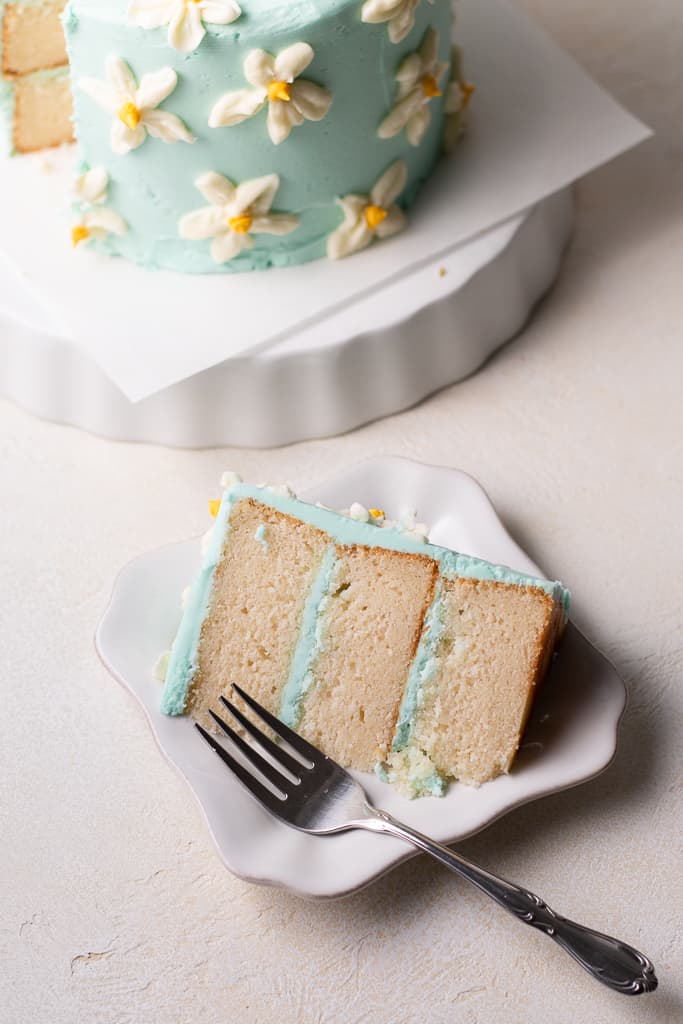
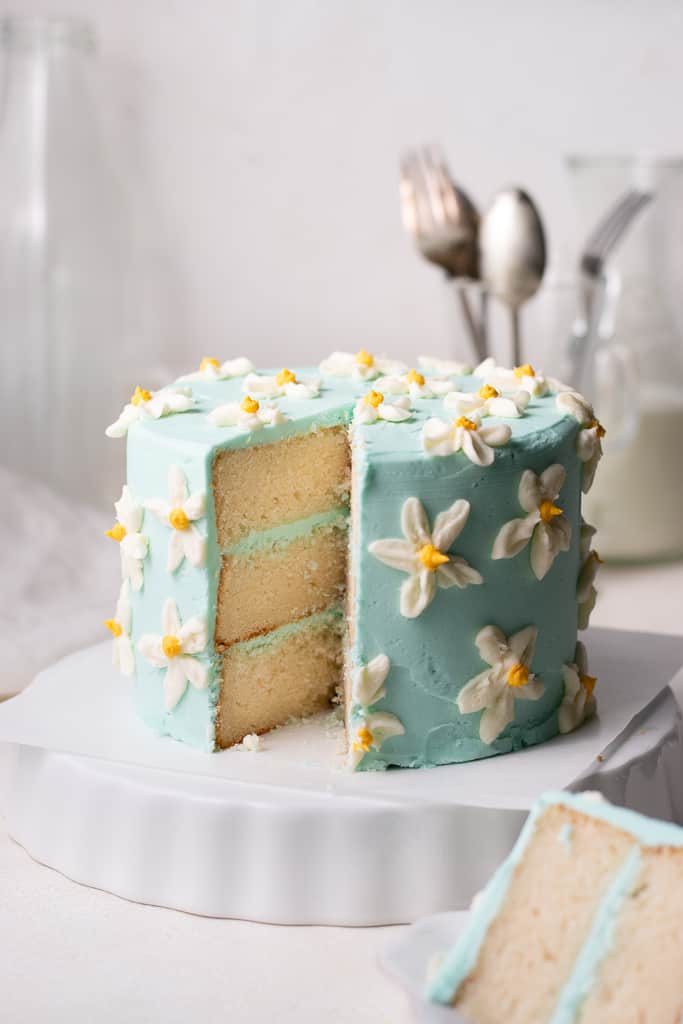
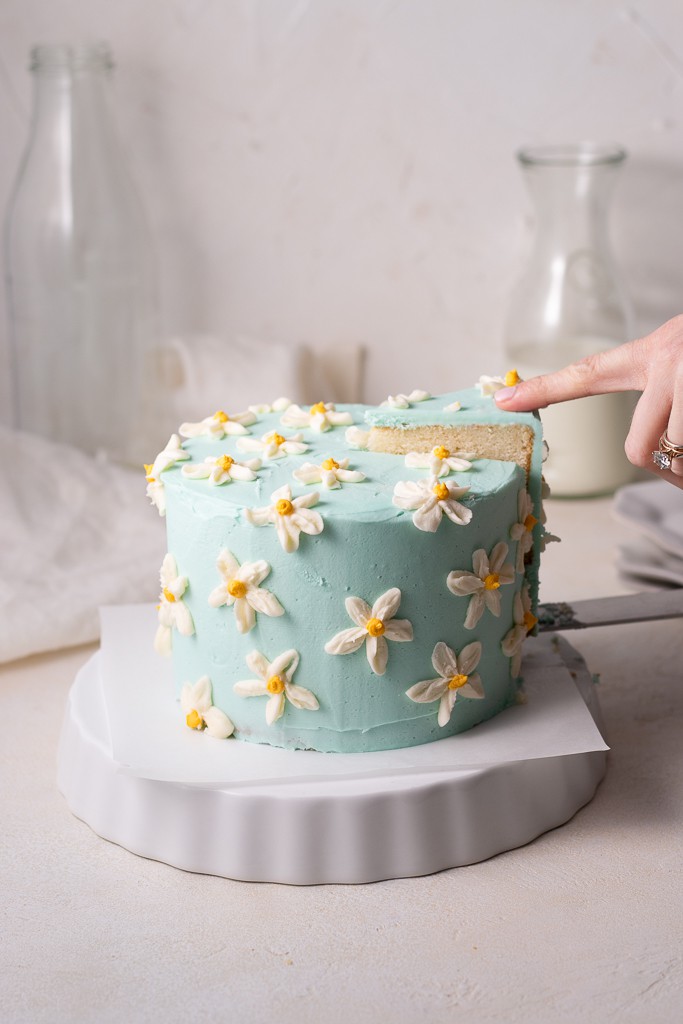
Three tender vanilla cake layers plus smooth vanilla buttercream makes for the perfect 6-inch vanilla layer cake.

6-inch Vanilla Layer Cake
I think I’ll always be able to remember my first experience baking a layer cake. I mean, when there’s an event and someone asks to to make a cake… obviously you’ll be making a layer cake, right?! Well let’s just say things don’t always go to plan, and still to this day when I’m testing new recipes, many end up in big giant failures.
That’s exactly what happened with the layer cake I was making for a friend’s graduation party… I ended up rebaking the layers 3 different times, and I still wasn’t even satisfied with the final batch. How many of you know I definitely considered going and buying one from Publix that day?! But what I can tell you is that friends and family love a homemade dessert, it doesn’t really matter what you put down in front of them. When they know it’s made by you, in your home kitchen, it just adds the homemade touch that every baked good needs.
This 3 layer 6 inch cake recipe is the perfect addition to your baking book. I love baking this for every occasion – there’s always an excuse to bake a 3 layer 6 inch cake! As Julia Child would say… “a party without cake is just a meeting.” Couldn’t have said it better myself, Julia.
What is a 6-inch Layer Cake?
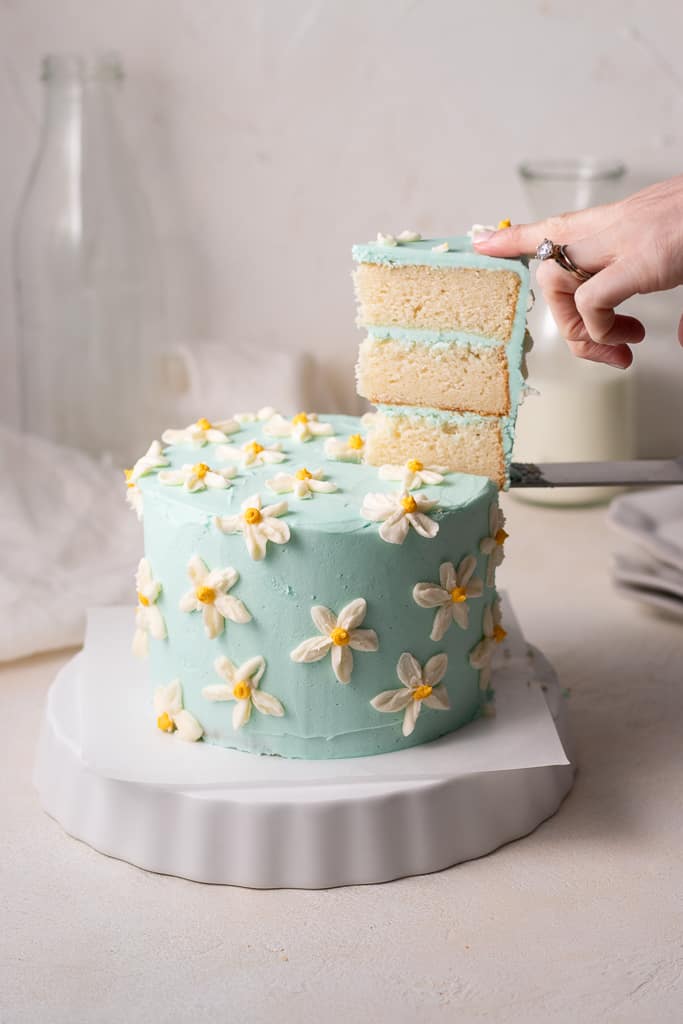
9-inch layer cakes are a little bit too big for me, and honestly even 8-inch layer cakes are somewhat too big. My thinking is, and I think you’ll agree once you try it, 6-inch cakes are just the perfect size. Whether you’re just craving a slice of cake, or you’re needing to bake one for a group of friends or family, I don’t think you’ll be disappointed in the size of this cake. Hint: I’ll also be using this size for a smash cake I’m baking for Owen’s first birthday party!
All that to say, this is absolutely a staple recipe to tuck away in your kitchen apron for when you’re in need of a small dessert that’ll still please a crowd.
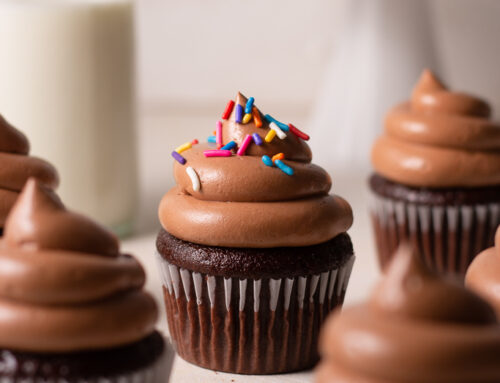
If you’re not a layer cake lover, check out these No-Fail Vanilla Cupcakes for your next event, people will love them all the same!
Some equipment you may need…
- 6-inch cake pans: you’ll definitely want to get your hands on a set of these for this cake. You’ll need 3, and lucky for you, this set comes with 3!
- Stand mixer: this is the one I have and I love it! I’ve had it for years now and I’ve never had any trouble with it. You definitely don’t “need” a stand mixer for this recipe, but it sure does make life a lot easier.
- Offset spatula: the best little utensil for almost any baking project. I find myself reaching for this one allll the time in the kitchen. It’s so helpful to use when spreading the frosting onto the layers.
- Bench scraper: I love using this to smooth out the sides of my cake both when I’m doing the crumb coat and the final coat. It makes everything so much easier.
- Cake turntable: if you’re wanting to get into layer cakes and baking them for other people, I highly suggest investing in a turntable. It allows you to smooth everything out much easier than if you were using just a regular cake stand.
- Measuring cups/spoons: I’ve been linking these in all of my posts because I love them SO much! They are beautiful and look just like some other expensive ones on the market (but wayyy cheaper).
- Mixing bowls: I love these glass mixing bowls from Amazon. They’re especially perfect for food photography.
Ingredients for this cake
- All-purpose flour – I use King Arthur in my recipes always. I suggest using the same so your outcome is as similar as possible to mine!
- Baking powder
- Kosher salt – I use Diamond Crystal Kosher Salt always. This is also something I’d suggest using as the sodium content can vary across brands.
- Granulated sugar
- Unsalted butter
- Vegetable oil
- Egg whites – be sure they’re at room temperature!
- Sour cream
- Pure vanilla extract – now is not the time for artificial vanilla. Since this cake is all about the vanilla, I suggest using a high quality one!
- Whole milk
- Powdered sugar
- Heavy cream
- Gel food coloring
My Kitchen Tips:
- Grease your pans really well. As my queen, Ina Garten, would say: “what’s the point of making a cake if you can’t get it out of the pans?” Ina knows, and we should always follow her advice. There’s nothing worse than spending time baking a homemade cake only to struggle to remove it from the pan… that’s why I make sure to spray mine with cooking spray, then line with a parchment paper round, then spray a little bit more. This will ensure a cake that slides out of the pan easy peasy.
- Chill your layers before you decorate. The amazing thing about layer cakes is that you can wrap them up in plastic wrap and store them in the refrigerator (or the freezer) for a few days before you decorate them. Aka you can make this cake wayyyy in advance. And here’s a little hint: when you decorate cake layers that have been chilled, the frosting goes on much easier, so I always pop mine in the refrigerator for at least 30 minutes before decorating either way.
- Transfer the frosting for the crumb coat to a separate bowl. When we do the crumb coat, we don’t want to end up with crumbs in all of the frosting (which can happen when you dip your offset spatula or other utensil back into the frosting bowl). I mean, the point of a crumb coat is to encapsulate the crumbs so they don’t end up in the final product. So I like to remove a portion of the frosting to a separate bowl, then use that for my crumb coat. That way I won’t end up with crumbs in all of my frosting.
What makes this cake special?
Y’all know I love a good cake or a good cupcake. But the reason I especially love this cake recipe is because we’re using the reverse creaming method. So when you go to bake the cake you’ll realize things are in a different order. Instead of creaming the butter and sugar together, then adding the dry ingredients and liquid ingredients a little bit at a time, we’re actually adding the dry ingredients straight into the bowl first, then adding everything in after that. Backwards, right?
The reverse creaming method is also referred to as the “paste method,” and you’ll realize very quickly why it’s called that when you’re preparing the batter. The beautiful thing about this method is that it lends a perfectly tender, velvety crumb, and a flat, less-domed cake layer. Just what we want when we’re stacking up a cake. I love using this method in recipes for layer cakes or any cakes, and I think you will too!
Can I make this in advance?
Yes, absolutely. Because cake layers keep so well in the refrigerator, I like to make mine about 2 to 3 days in advance for when I’ll actually need to assemble the cake.
Can I store this cake?
YES! Once you’ve finished assembling and decorating the cake, you can store it in an airtight container in the refrigerator for up to 3 days. I have this cake container that seals on the sides making it perfect for storage and transporting.
You can also store the individual layers themselves. Simply wrap each one separately in plastic wrap, refrigerate them for up to 1 week, or freeze them for up to 3 months. This makes it a lot easier to prep things in advance.
I hope you all love this recipe as much as I do, and if you have any questions be sure to leave a comment or drop me a line at sarah@sarahsdayoff.com. And if you make this recipe, be sure to tag me @sarahsdayoff so I can see your beautiful cake 🙂
Love,
Sarah
“One thing I ask from the Lord, this only I seek: that I may dwell in the house of the Lord all the days of my life, to gaze on the beauty of the Lord and to seek him in his temple.” -Psalm 27:4-
6-inch Vanilla Layer Cake
Ingredients
For the Vanilla Cake
- 2 1/4 cups (343g) all-purpose flour
- 1 Tbsp baking powder
- 1/2 tsp kosher salt
- 1 1/2 cups (374g) granulated sugar
- 3/4 cup whole milk at room temperature
- 3/4 cup sour cream at room temperature
- 1/2 cup (1 stick) unsalted butter at room temperature and sliced into 8 Tbsp-sized pieces
- 1/4 cup vegetable oil
- 2 tsp pure vanilla extract
- 4 large egg whites at room temperature
For the Vanilla Buttercream
- 1 cup unsalted butter at room temperature
- 2 tsp pure vanilla extract
- Pinch of salt
- 3 1/2 cups powdered sugar sifted
- 2 to 3 Tbsp heavy cream
- Gel food coloring (optional)
Instructions
For the Vanilla Cake
- Preheat oven to 350°F. Grease 3 (6-inch) cake pans with cooking spray, and line each with parchment paper. Spray tops of parchment with more cooking spray.
- Add flour, baking powder, salt, and sugar to the bowl of a stand mixer fitted with the paddle attachment. Mix on low speed for about 10 seconds, just to combine the ingredients.
- Combine the milk and sour cream in a large (2-cup) liquid measuring cup.
- Add butter slices, oil, vanilla, and half of the milk mixture to the bowl of the stand mixer. Beat on medium speed until the mixture looks slightly crumbly. Stop the mixer and scrape down the sides of the bowl.
- If you haven't separated your eggs already, crack the egg whites into the liquid measuring cup with the remaining milk/sour cream mixture (save the egg yolks for another recipe, like this French Silk Pie). Whisk to combine.
- With the mixer running on low speed, slowly add the milk mixture, in 2 additions, beating for 15 seconds in between each addition. Stop the mixer and scrape down the bowl once everything is incorporated.
- Mix for an additional 15 seconds on medium speed. Divide batter evenly between prepared cake pans. Place the pans on a sheet pan and bake 25 to 30 minutes or until the sides pull away from the pan and a toothpick inserted into the center of the cake comes out clean.
- Cool cake layers completely in pans. Once cooled, remove from pans and cool completely on a wire rack before frosting.
For the Vanilla Buttercream
- Beat butter in the bowl of a stand mixer fitted with the paddle attachment 3 minutes or until color turns a pale yellow.
- Beat in vanilla and salt until smooth. Gradually beat in powdered sugar. Once all the sugar is added, beat on high 5 minutes. Stop the mixer and scrape down the bowl. Add heavy cream, 1 Tbsp at a time, until desired consistency is reached (add more if you want a thinner consistency, add less if you want a thicker consistency). I typically add 3 Tbsp.
- Add 2 to 3 drops of desired food coloring (if desired), and beat until combined.
To Assemble the Cake
- Use a serrated knife to gently trim the top of each cake layer so that it's completely flat on the top and bottom.
- Place 1 cake layer on a cake stand or turntable. Add about 1/3 cup frosting on top and spread into an even layer. Top with the next cake layer, and spread about 1/3 cup of frosting into an even layer on top of that one.
- Add the third cake layer, and spread about 1/4 cup frosting on top of that cake layer. Use an offset spatula or a knife to spread a thin layer of frosting around the sides of the cake. This will be your crumb coat. You just want to encapsulate the crumbs, so we're not spreading the full amount of frosting on the cake yet.
- Hold a bench scraper up to the side of the cake and spin the cake stand or turntable to scrape frosting off so you have a thin layer of frosting. Place the whole thing in the refrigerator to chill for at least 30 minutes but up to 4 hours.
- Use an offset spatula or knife to spread the remaining buttercream on the tops and the sides of the cake. Use a bench scraper to smooth the sides. Decorate, with sprinkles or additional buttercream, if desired.
This blog post contains affiliate links which make me a small commission at no cost to you. Thank you for supporting Sarah’s Day Off!


This one looks beautiful.
Thank you Margaret! I hope you’re able to bake it 🙂
The grams for the flour and sugar are not accurate to cups, are those grams in the recipe what you used when you measured your ingredients?
Hi Shanell, yes, I would suggest using the gram measurement provided in the recipe if possible!
Wow – this one looks professional. I plan to try and make it.