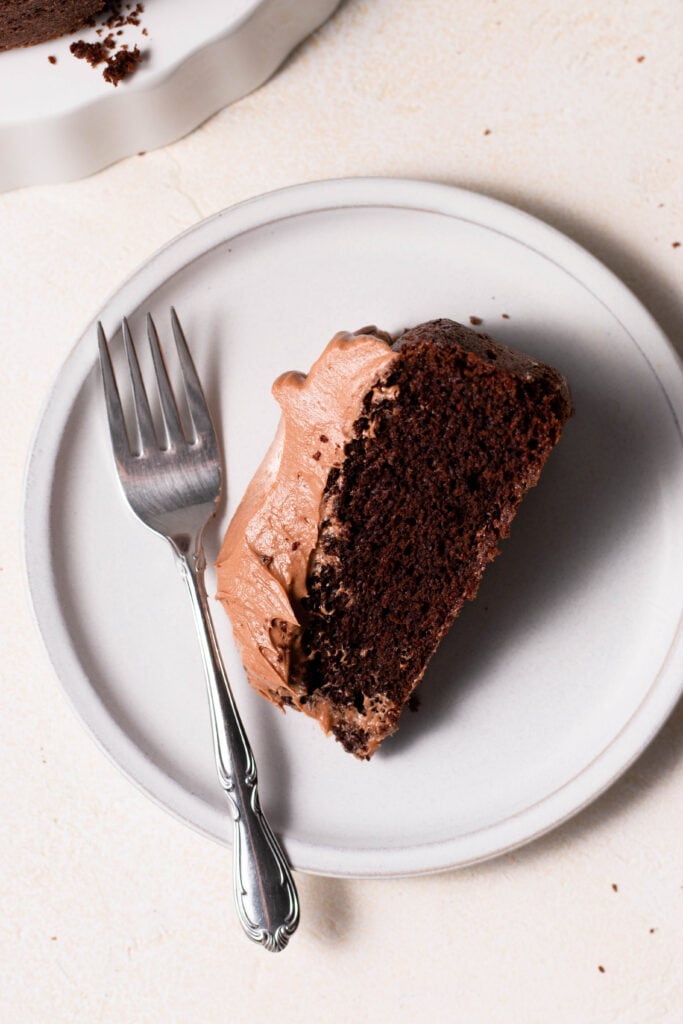
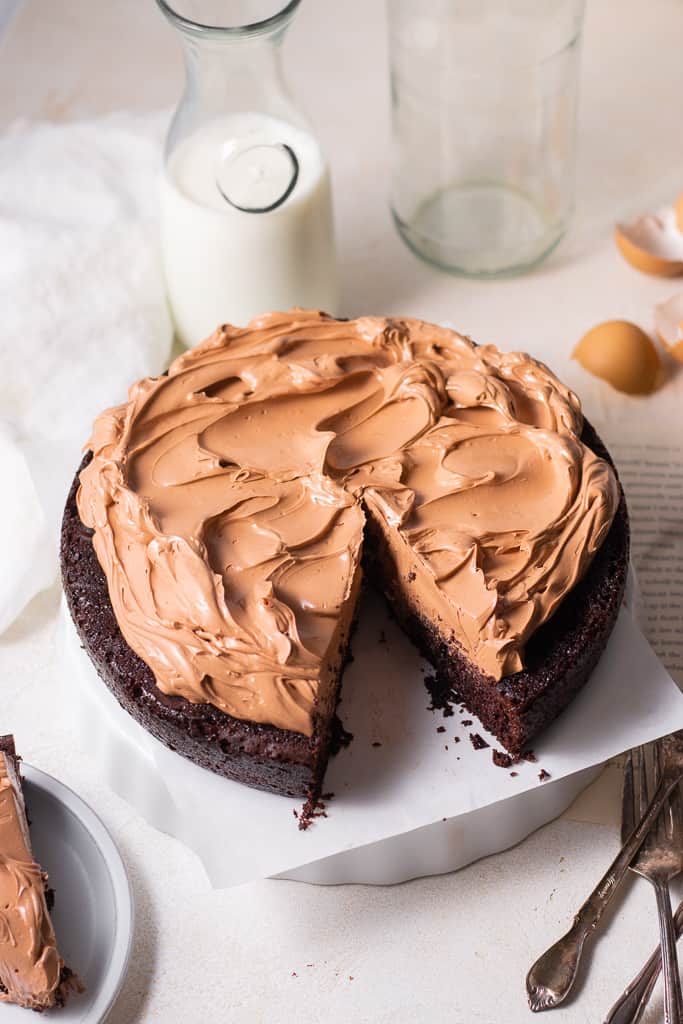
What could possibly be better than a chocolate layer cake? This Super Moist One-Layer Chocolate Cake literally takes the cake.
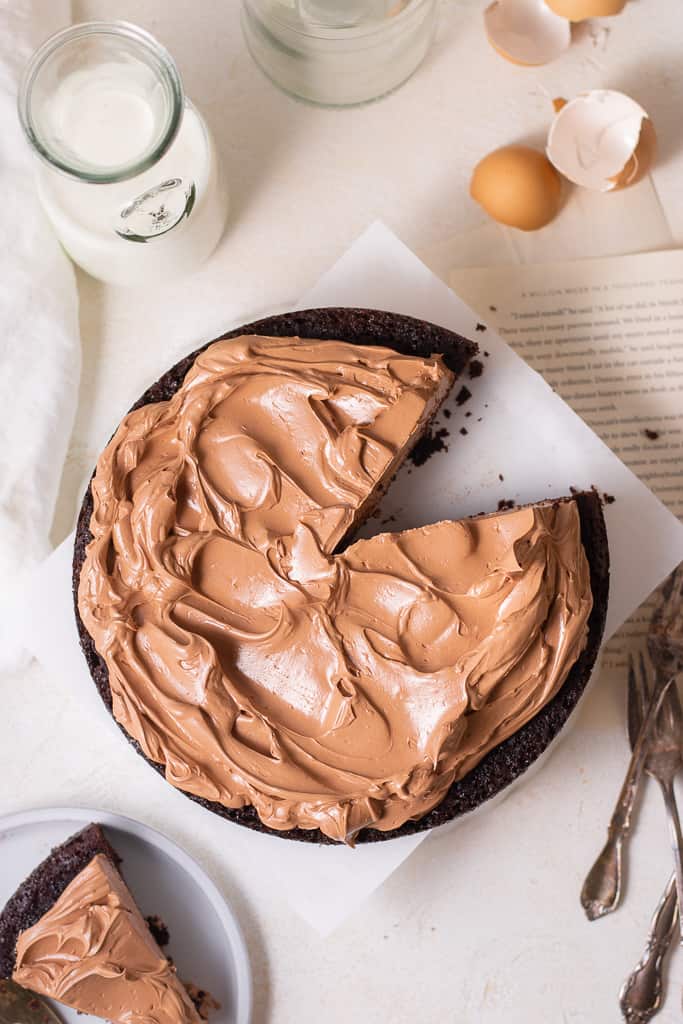
Super Moist One-Layer Chocolate Cake
Soooo you really want a chocolate cake but you don’t want to take the time to make 3 whole layers of cake, enough frosting to cover the entire thing, and spend the precious minutes you could be enjoying your cake by meticulously decorating each layer?! Then this recipe is for you 🙂 It could also be called lazy girl’s chocolate cake lol, because let’s be honest, sometimes you really want a chocolate cake but you don’t want to take the time to make a big cake. Enter this super moist one-layer chocolate cake.
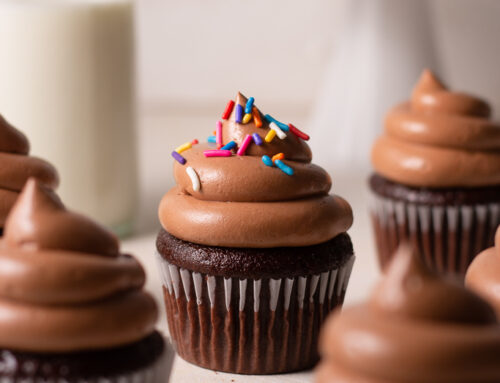
We all know I love a good cake recipe, especially in the form of cupcakes. Have you seen these chocolate fudge cupcakes yet? They’re a new personal favorite here on the blog. Anyway, although I do love making chocolate layer cakes, there’s just something about the ease of making a super moist one-layer chocolate cake that I can’t get over. Everything comes together in practically 1 bowl, and the buttercream is just sheer perfection. It’s easy, simple, and the perfect recipe for you to add to your baking list!
What is a One-Layer Chocolate Cake?
Typically, layer cakes are made by baking 3 layers of cake, sandwiching frosting in between them, and covering the entire thing in even more frosting to create a totally decadent dessert that everyone will fall in love with. Similar to my 3-layer chocolate cake recipe, this one is a little less batter and a lot less of a fuss. I wanted to develop a recipe that could be made in 1 bowl – so that’s what I did!
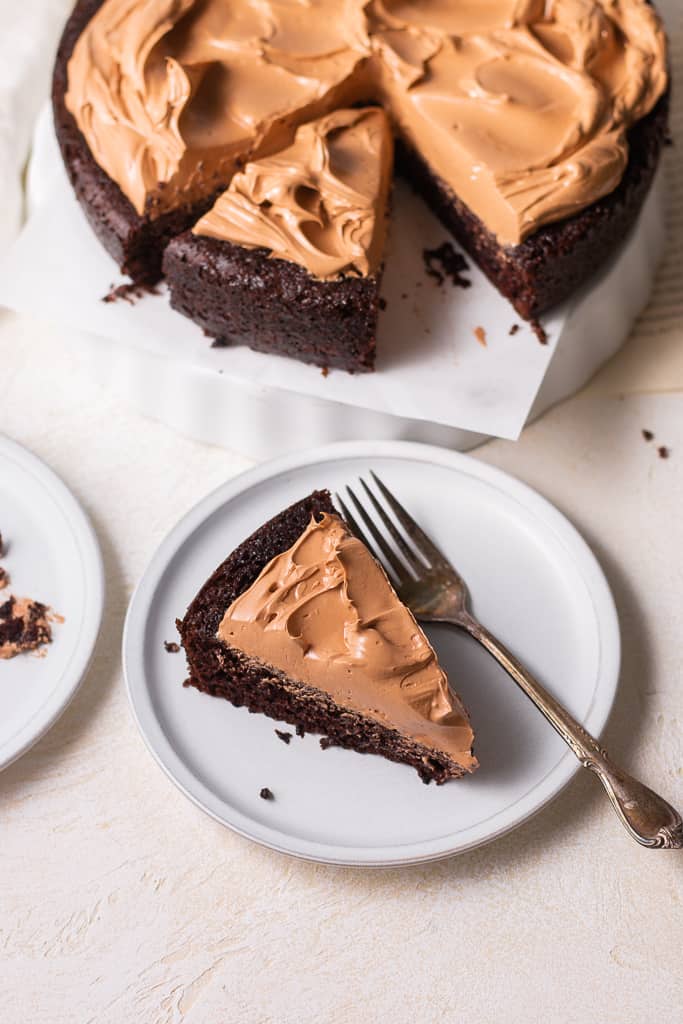
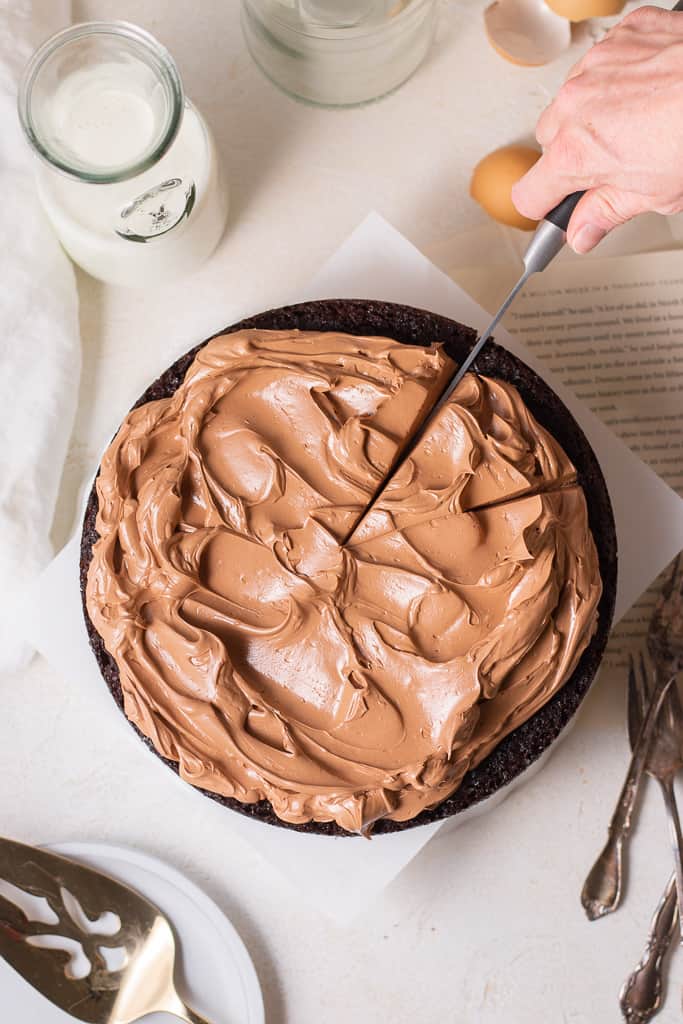
If you love cake at all, for any reason, this cake is for you, because this super moist chocolate layer cake comes together so quickly and is way too easy to serve up to a crowd. One-layer cakes may just become a regular here on the blog because I’m simply obsessed with how simple they are and how easy they are to slice into! Sheet cakes are also another personal favorite. Everyone knows it can be so frustrating to slice and serve a 3-layer chocolate cake, because the slices fall sideways when you try and take them out of the cake, then go crashing onto the plate you’re serving on… the list goes on and on. With this one-layer chocolate cake recipe the slices are the perfect size and everyone is satisfied.
Also, if you love baking cakes and/or cupcakes, definitely check out my cakes and cupcakes page for cake heaven.
Equipment for this cake
- Stand mixer: this is the one I have and I love it! I’ve had it for years now and I’ve never had any trouble with it. You definitely don’t “need” a stand mixer for this one-layer chocolate cake recipe, but it sure does make life a lot easier.
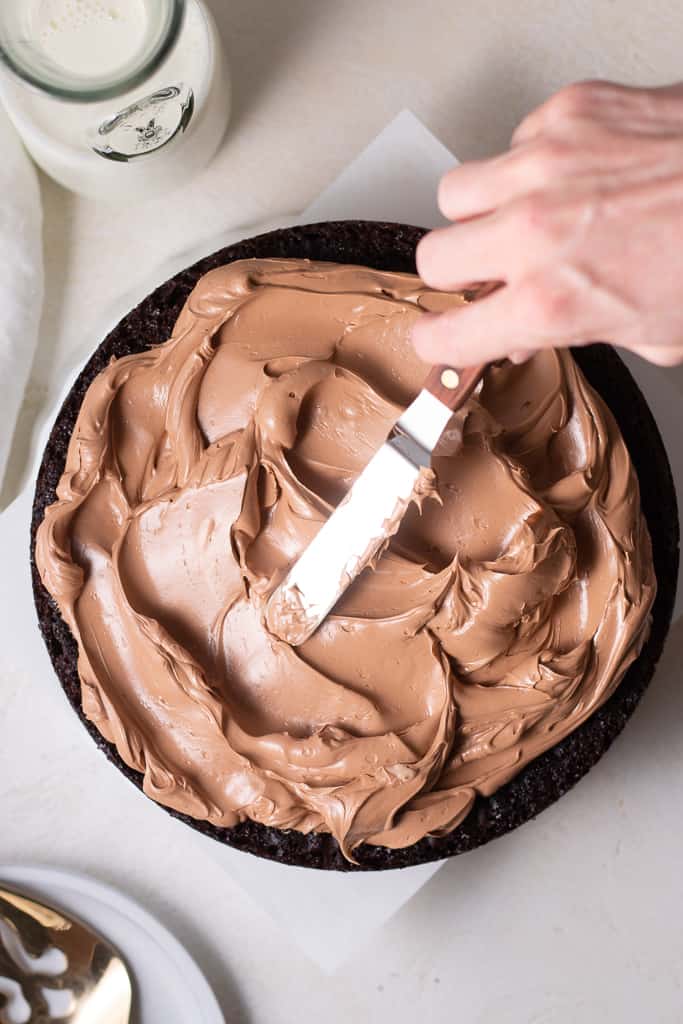
- Offset spatula: the best little utensil for almost any baking project. I find myself reaching for this one allll the time in the kitchen. It’s so helpful to use when spreading the frosting onto the super moist one layer chocolate cake.
- Measuring cups/spoons: I’ve been linking these in all of my posts because I love them SO much! They are beautiful and look just like some other expensive ones on the market (but way cheaper).
- Mixing bowls: I love these glass mixing bowls from Amazon. They’re especially perfect for food photography.
- 9-inch cake pan: For this cake we’re using a round cake pan, 9-inches to be exact. You can use an 8-inch round cake pan but you’ll need to increase the bake time a little bit – see the note below the recipe!
- Cake stand: Obviously we want to show off our cake on something almost as good as the actual cake 🙂 I love this one – simple, elegant, and perfect for displaying your cake!
Ingredients for One-Layer Chocolate Cake
- All-purpose flour – All of my recipes are tested using King Arthur flours, so I recommend you use the same!
- Granulated sugar
- Dutch-process cocoa powder – if you don’t see “Dutch-process” on the label, check the ingredients list on the back to see if it says “alkali,” this is another way to tell if it is. Dutch-process.
- Baking soda – reacts with the sour cream to give our cake some rise.
- Baking powder
- Kosher salt – I always use Diamond Crystal kosher salt, but you can use any brand of kosher salt.
- Sour cream
- Freshly brewed coffee – any generic flavor of coffee will do here, this is added to enhance the flavor of the chocolate.
- Vegetable oil – adds a lot of moisture to the cake
- Large eggs – make sure they’re room temperature!
- Pure vanilla extract
- Unsalted butter
- Cream cheese
- Powdered sugar
- Heavy cream
- Instant coffee – again, the coffee flavors will just enhance the chocolate flavor.
My kitchen tips for this cake
- Avoid over-mixing. As with any cake, we want to avoid over-mixing our cake batter to the best of our ability. Just like in a lot of my cookie recipes here on the blog, I like to fold in the flour at the end using a rubber spatula or wooden spoon, that way I can ensure it doesn’t get overmixed!
- Grease your pans really well. As my queen, Ina Garten, would say: “what’s the point of making a cake if you can’t get it out of the pan?” Ina knows, and we should always follow her advice. There’s nothing worse than spending time baking a homemade cake only to struggle to remove it from the pan… that’s why I make sure to spray mine with cooking spray, then line with parchment paper, then spray a little bit more. This will ensure a cake that slides out of the pan easy peasy.
- Know the visual signs of a properly baked cake. While using a cake tester to see if the cake is done is typically recommended in recipes, it’s good to know the visual signs on the exterior of a cake too.
- You’ll notice that the edges of the cake will begin to pull away from the sides of the pan.
- When you jiggle the pan, the batter doesn’t also jiggle. It should be firm when it is finished baking.
- If you gently touch your finger on the center of the cake, it should spring back slightly – your cake is finished baking!
Recipe FAQs
Can I store this one-layer chocolate cake?
Yes, you can absolutely store this cake! I’d recommend making the cake completely, frosting it, and serving it immediately always. But if you want to save the leftovers, the cake keeps extremely well in the refrigerator. You can store individual slices in an airtight container in the refrigerator for up to 3 to 5 days.
Can I make the cake in advance?
Yes! You can make the entire cake recipe in advance, cool it completely in the pan, and then cool it completely on a wire rack. Then, you’ll simply remove it from the pan and wrap the entire thing in plastic wrap.
To freeze: place the cake, wrapped in plastic wrap in the freezer for up to 3 months. When you’re ready to use it, remove it from the freezer and let it thaw to room temperature on the counter.
To refrigerate: place the cake, wrapped in plastic wrap, in the refrigerator for up to 3 days. When you’re ready to use it, remove it from the refrigerator and let it come back down to room temperature. Frost and enjoy!
Can I make the buttercream in advance?
Yes! That’s one thing I love about almost any frosting: it’s so so easy to make in advance and keep it in the refrigerator or freezer until you’re ready to use it. I like to make the entire batch, spoon it onto a piece of plastic wrap, wrap it up, then place it in the freezer for up to 3 months. It thaws at room temperature on the counter just perfectly. You can also do the same with the refrigerator for up to 3 days.
If you’re feeling up to the challenge and you have a couple extra minutes, I want to suggest you try making this chocolate French buttercream for the top of your cake. This is the silkiest, most perfect chocolate buttercream I think I’ve ever had.
Visit this blog post to see a step-by-step tutorial (with pictures) walking you through how I make it!
–
I hope you all love this recipe, and I hope I’ve inspired you to get into the kitchen and bake 🙂
If you make this super-moist one layer chocolate cake recipe, be sure to tag me on socials @sarahsdayoff so I can see it!!! If you have any questions about this recipe or any others on my site, you can reach out to me at sarah@sarahsdayoff.com and I’d be happy to chat with you!
Love,
Sarah
“I tell you the truth, those who listen to my message and believe in God who sent me have eternal life. They will never be condemned for their sins, but they have already passed from death into life.” -John 5:24-

Super Moist One-Layer Chocolate Cake
Ingredients
For the One-Layer Chocolate Cake
- 1 cup (200g) granulated sugar
- 1/4 cup vegetable oil
- 1 large egg at room temperature
- 1/3 cup sour cream at room temperature
- 1/4 cup whole milk at room temperature
- 2 tsp pure vanilla extract
- 1 tsp baking soda
- 1/2 tsp baking powder
- 1/2 tsp cream of tartar
- 1/2 tsp kosher salt
- 1/3 cup (34g) Dutch-process cocoa powder
- 1 cup (150g) all-purpose flour
- 1/2 cup freshly brewed hot coffee
For the Chocolate Cream Cheese Buttercream
- 3/4 cup unsalted butter at room temperature
- 4 oz cream cheese at room temperature
- 1/4 cup cocoa powder
- 1 tsp pure vanilla extract
- 1/8 tsp kosher salt
- 2 1/2 cups powdered sugar
- 1 Tbsp heavy cream
- 1 tsp instant coffee powder
Instructions
For the Chocolate Cake:
- Preheat oven to 350°F. Grease one 9-inch (or use an 8-inch pan, see not below) round cake pan with cooking spray, line the bottom with a parchment paper round, and grease again. Set aside.
- Add the granulated sugar, oil, and egg to the bowl of a stand mixer fitted with the paddle attachment. Beat on medium speed 2 minutes or until well combined.
- Beat in the sour cream, milk, and vanilla until smooth.
- Add the baking soda, baking powder, cream of tartar, and salt, and beat on medium speed for 1 minute. Scrape down the sides of the bowl (we want to be sure the baking soda and baking powder are well incorporated into the batter).
- Beat in the cocoa powder until smooth. Next, beat in the flour on low speed until just combined. Do not over-mix here.
- With the mixer running on low speed, gradually add the hot coffee, mixing until just combined. Do not overmix! Scrape down the sides of the bowl and fold an additional few times by hand.
- Pour the batter into your prepared pan (this will be a very wet batter) and bake 25 to 30 minutes or until a toothpick inserted into the center of the cake comes out clean with a few moist crumbs. The cake should also spring back slightly when you press gently on the top.
- Cool the cake completely in the pan before turning it out onto a cooling rack, making sure it cools completely before you add the frosting.
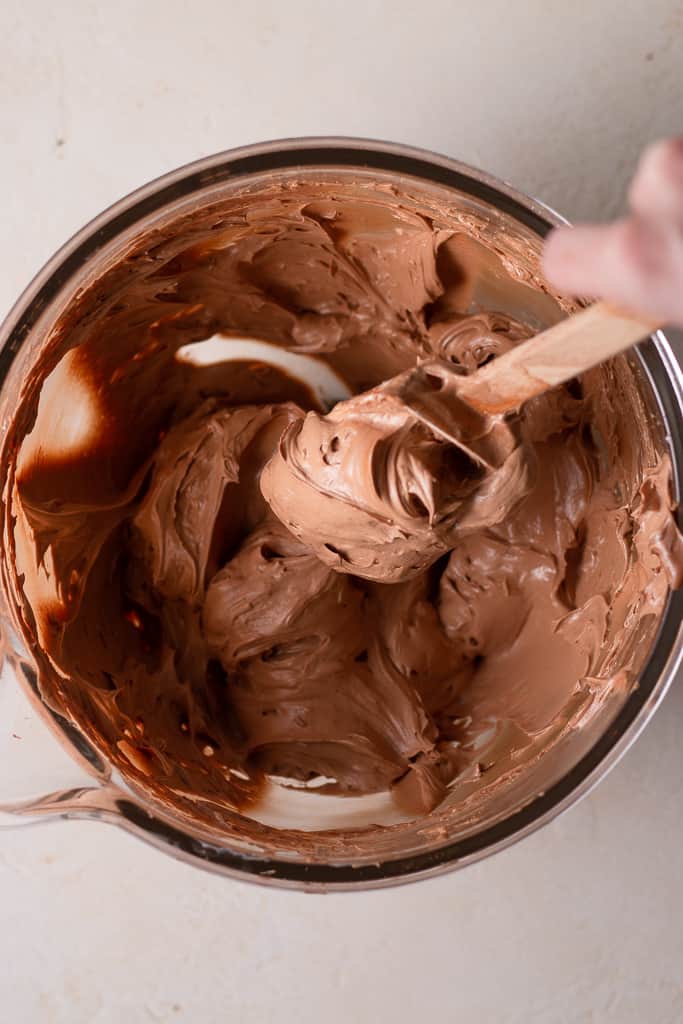
For the Chocolate Cream Cheese Buttercream
- Beat the butter and cream cheese in a large bowl until fluffy, 2 to 3 minutes.
- Add the cocoa powder, vanilla, and salt, and beat until combined. Add the powdered sugar, 1 cup at a time, beating until light and fluffy.
- In a small bowl combine cream and instant coffee. Microwave 15 to 20 seconds, remove from microwave, and stir until coffee dissolves into the cream. Beat mixture into the buttercream until combined, adding additional heavy cream, if necessary, 1 Tbsp at a time, until desired consistency is reached.
- Spread the frosting over the cooled cake layer using a knife or offset spatula.
Notes
This blog post contains affiliate links which make me a small commission at no cost to you. Thank you for supporting Sarah’s Day Off!


Leave A Comment