
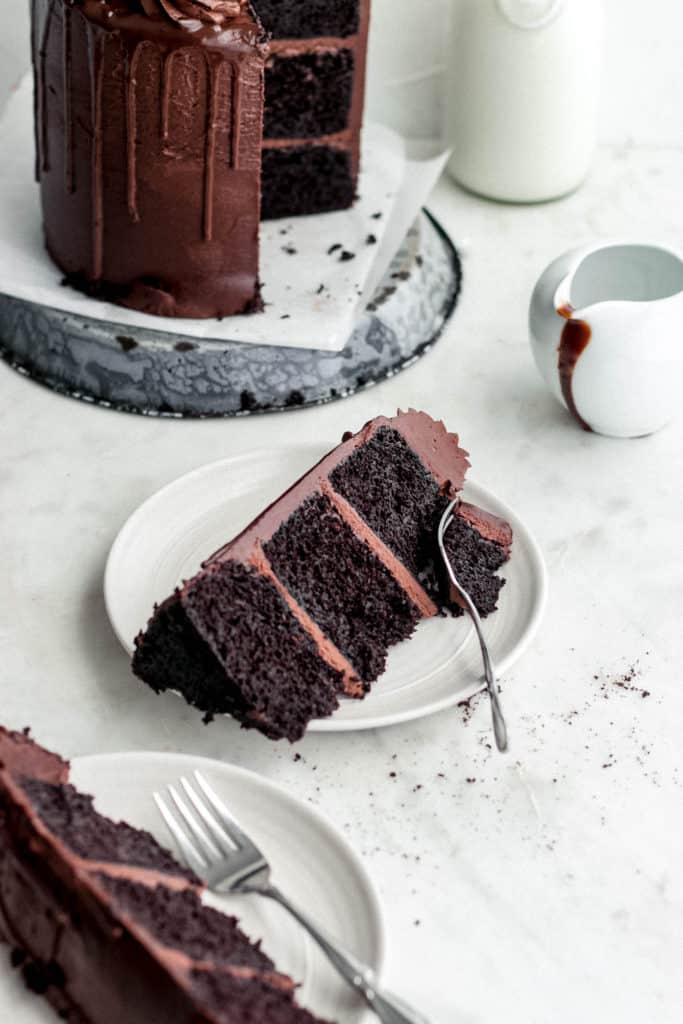
Smooth, moist chocolate cake filled with a Chocolate-Cream Cheese Buttercream. This Best Ever Chocolate Cake is the only recipe you’ll ever need!
Best Ever Chocolate Cake
The hunt is over. If you’ve been searching for the perfect chocolate cake recipe that’s sure to WOW all your friends and family, look no further my friends. My Best Ever Chocolate Cake is your answer! I wish I could let each of you try this cake to convince you to bake this in your own home, but I’m hoping this blog post (and the photos) will do all the talking. Follow along below to see just how yummy, simple, and delicious this luscious chocolate cake is!
What is Best Ever Chocolate Cake?
I think I’ll forever be that person who ALWAYS chooses the chocolate flavor of things when choosing between chocolate and vanilla. There’s just something about it that I just can’t resist when it comes to cakes, cupcakes, cookies, you name it. I also have just really been wanting to share with y’all an irresistible, simple chocolate cake recipe that will change your life. Thus, this recipe was born. And the best part? I honestly don’t know that I’ve ever been more happy with a cake… like EVER.
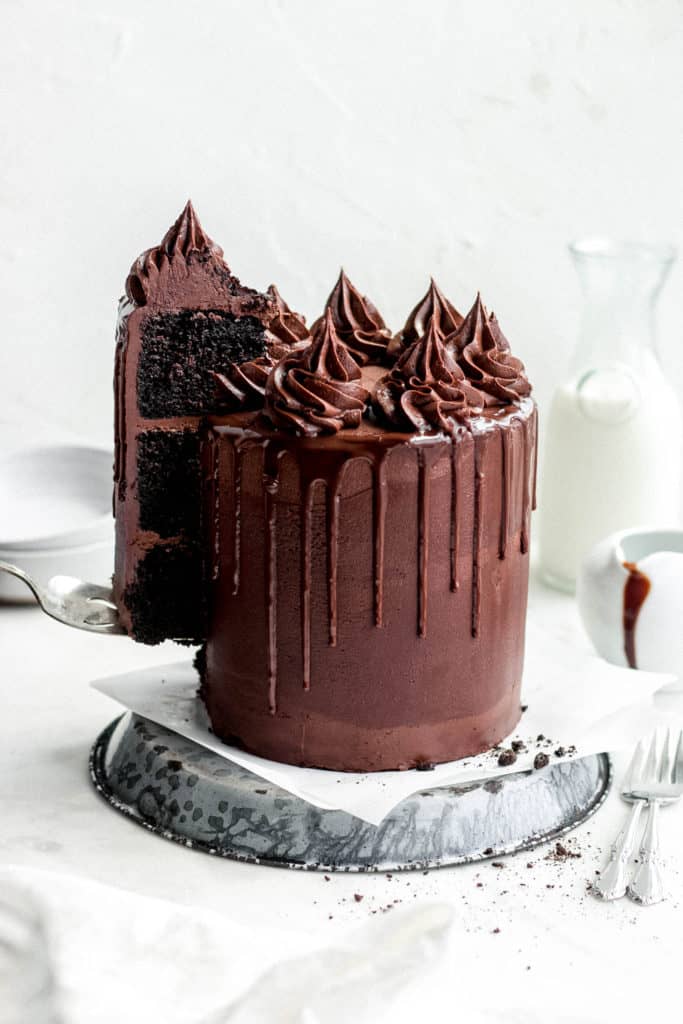
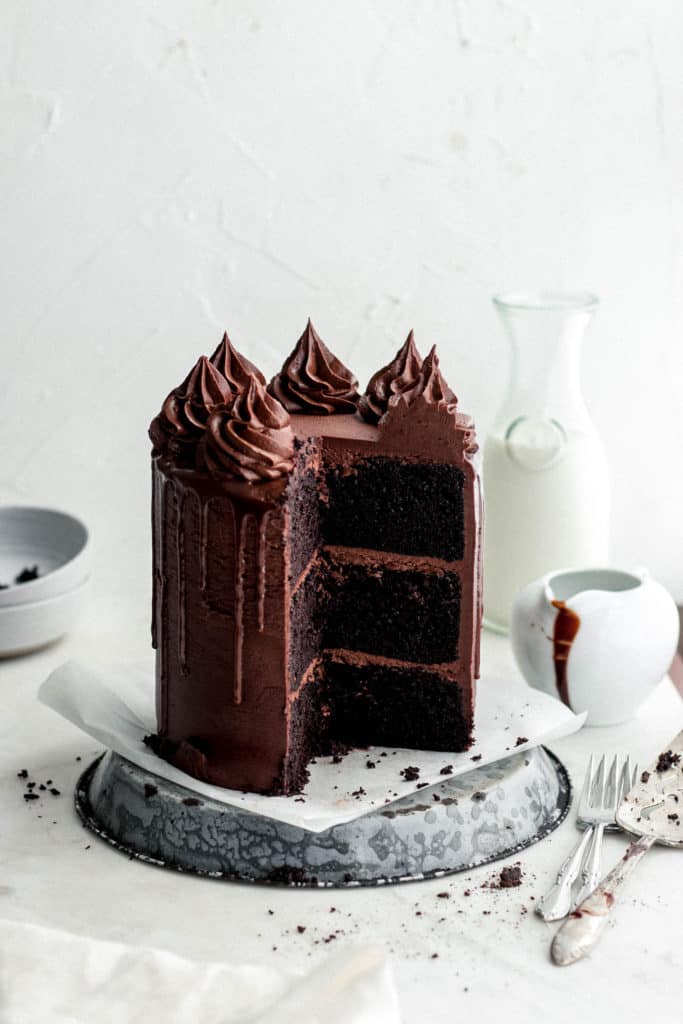
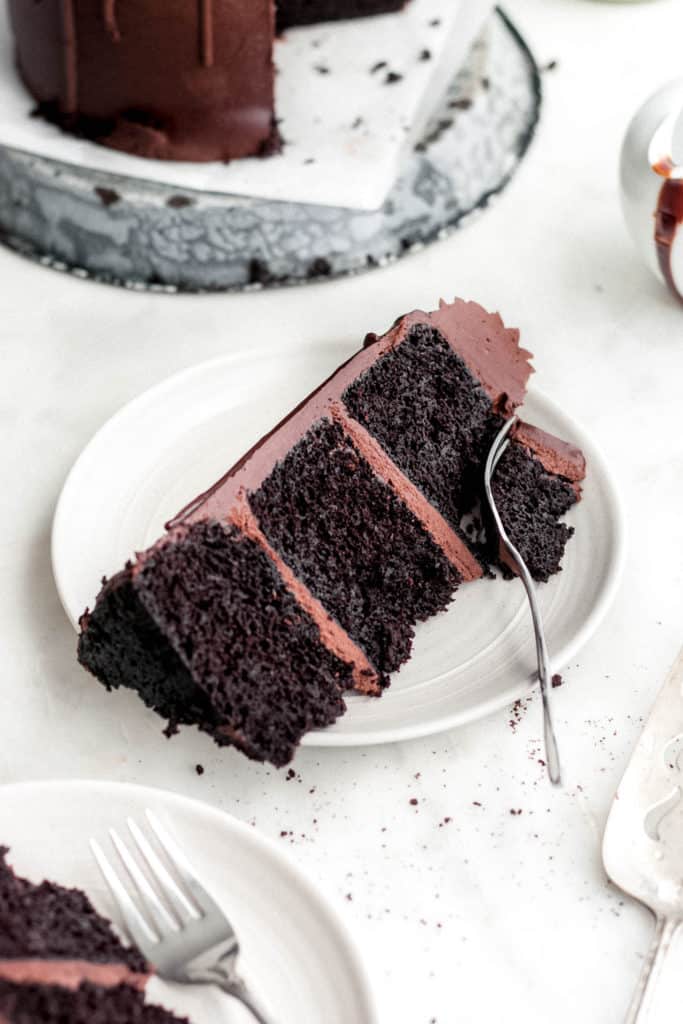
This Best Ever Chocolate Cake is perfectly moist, suuuuper chocolatey, and just completely irresistible. I decided to cover the whole thing in my favorite Chocolate-Cream Cheese Buttercream recipe. It’s the perfect combination to this cake because A: it’s perfectly creamy. And B: it’s a cream cheese frosting sooo… need I say more? It simply couldn’t be better.
What You’ll Need for Best Ever Chocolate Cake
Let’s break these down into 2 parts: tools and ingredients.
Tools/Kitchen Utensils:
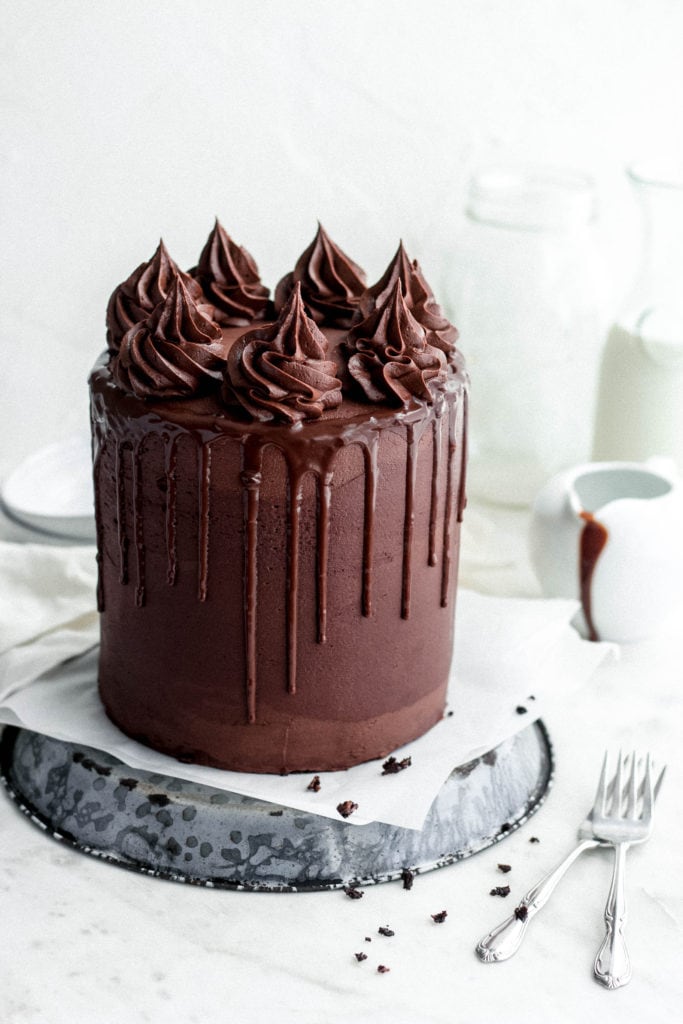
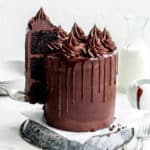
If you’re planning to decorate your cake similarly to how I’ve done it above, I’d recommend grabbing these tools at the store next time you’re there. While they’re not necessary, they will help you to get that clean look you’re looking for when decorating.
- Turntable: I decorated cakes for years without one of these, and I finally decided that it was an absolute necessity. These give you the ability to turn the cakes while decorating them, which results in clean lines and a smooth finish.
- Cake Boards: This isn’t quite as necessary, but it’s great if you’re not sure where you’ll display your cake yet. Simply place your cake on the board, then place on the turntable while you decorate. Pro tip: get one of these big spatulas to transfer the cake from the board to the stand (trust me, it makes life so much easier).
- Bench Scraper: The bigger the better for these. Personally, I think every baker needs to have a bench scraper on hand because they’re literally life changing for cleaning your stations, smoothing edges, or cutting doughs.
- Offset Spatula: Only the best utensil there is. These make it so easy to spread frosting all over your cake layers, but just make sure you get an offset spatula, not a straight one!
- Piping Bags/Tips: If you’re wanting to get those beautiful swirls on the top of your cake, you’ll need some piping tips. I love using reusable piping bags.. because then I never run out and it’s a little better for the planet 🙂 The set linked here comes with 3 different sizes of bags, plus some amazing tips as well.
- 6-inch Cake Pans: I love the look of tall, sleek cakes, but if you only have 8-inch or 9-inch pans, feel free to make 2 of those layers instead of 3.
- Plastic Bottle with Nozzle Tip: If you’re adding a chocolate ganache drizzle, this is the perfect thing to use when decorating the cake.
Ingredients:
Let’s talk ingredients. I’m only pointing out those of importance/those with possible substitutes:
- Dutch-process cocoa powder: this is simply a cocoa powder that is processed with alkali. If it doesn’t say “Dutch-process” on the label, simply check the ingredients list for “alkali,” then you’ll know it’s the right kind!
- Sour Cream: if you’d like, feel free to use buttermilk here instead. I personally like the creaminess sour cream adds to the cake layers, but that’s just me 🙂
- Instant Coffee Powder: This is absolutely important to the flavor of the chocolate! Something about the combination of coffee and chocolate just makes the chocolate flavor realllllly stand out. I almost always use instant coffee powder when I’m baking with chocolate, but feel free to omit if you’d like.
- Chocolate-Cream Cheese Buttercream: I made 2 batches of this buttercream and it turned out to be the perfect amount for the whole cake.
Tips for Making Best Ever Chocolate Cake
- Do not Overmix the Batter! I know, it can be tempting to just mix and mix and mix and mix… but please avoid this at all costs unless you’re wanting hockey pucks instead of cake layers 🙂 Trust me on this one… overmixing + cake baking = a sad cake.
- Use Room Temperature Ingredients: Specifically for the eggs and sour cream, you’ll want these to be room temperature. This gives them a better chance of incorporating into the batter.
- Make Sure you Grease your Pans! The last thing we want is for our cake layers to get stuck in the pans.. I mean, what’s the point of baking a cake if you can’t get it out of the pan? Just be sure to grease them well and use a parchment paper round at the bottom.
- Be Patient: If, while you’re decorating your cake, you start to get frustrated, just walk away and come back a few minutes later. Don’t rush the decorating process and don’t get impatient. It’ll start to come together!
That’s all from me for now, friends. I hope you all enjoy this recipe as much as I did. And as always, be sure to tag me in socials (@sarahsdayoff) if you make this so I can see your beautiful cakes!
Happy Baking!
Love, Sarah
Best Ever Chocolate Cake
Ingredients
For the Chocolate Cake
- 2 cups unbleached all-purpose flour
- 1 3/4 cups sugar
- 3/4 cup Dutch-process cocoa powder
- 2 tsp baking soda
- 3/4 tsp baking powder
- 1 tsp kosher salt
- 1 cup sour cream at room temperature
- 1 cup hot water
- 1/2 cup canola oil
- 3 large eggs at room temperature
- 1 Tbsp pure vanilla extract
- 2 tsp instant coffee powder
For the Chocolate-Cream Cheese Buttercream
- 2 batches Chocolate-Cream Cheese Buttercream Recipe linked above
For the Chocolate Ganache Drizzle
- 3/4 cup heavy cream
- 1 cup semisweet chocolate chips
Instructions
For the Chocolate Cake
- Preheat oven to 325°F. Grease 3 (6-inch) round cake pans, line the bottoms with parchment paper, and grease and flour again. Set aside.*
- Combine flour, sugar, cocoa, baking soda, baking powder, and salt in the bowl of a stand mixer fitted with the paddle attachment. Mix on low speed until combined.
- In a separate bowl combine sour cream, water, oil, eggs, vanilla, and instant coffee powder. Stir to combine.
- With the mixer running on low speed, slowly add the wet ingredients to the dry, scraping the bottom of the bowl as needed.
- Evenly divide the batter between prepared pans; bake 35 to 45 minutes or until a toothpick inserted in the center of the cake comes out clean with a few moist crumbs.
- Cool in the pans 10 minutes before turning out onto a cooling rack and allowing to cool completely. Wrap in plastive wrap and chill 15 to 30 minutes before frosting.
For the Chocolate Ganache Drizzle
- Heat cream in microwave in 30-second intervals for 90 seconds or until bubbles begin to form on top and cream is hot to the touch.
- Place chocolate chips in a bowl; pour cream over chocolate chips and let stand 5 minutes. Stir until smooth.
To Assemble
- Place the first cake layer, top side up, in the center of a cake board or cake stand. Evenly spread 3/4 cup buttercream over cake layer.
- Place second cake layer, top side down, on top of the buttercream. Evenly spread 3/4 cup buttercream over cake layer.
- Place third cake layer, top side up, on top of the buttercream. Cover the entire cake with a thin layer of buttercream. Freeze cake 10 to 15 minutes to set crumb coat.
- Finish frosting the cake with remaining buttercream.
- Gently drizzle ganache down the sides of the cake using a plastic bag with the corner tip trimmed off, or a plastic bottle with a nozzle tip**
Notes
- If you don't have 6-inch pans, feel free to make 2 (8-inch) cake layers.
- If adding a chocolate drizzle, do the drizzle before you decorate the top of the cake with additional buttercream.
Leave A Comment