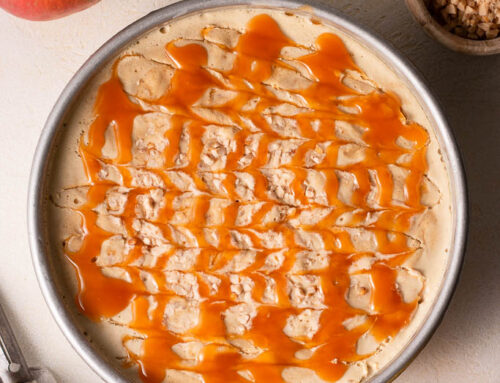
Perfectly creamy strawberry ice cream with just a pinch of sweet balsamic vinegar. The perfect summer treat.
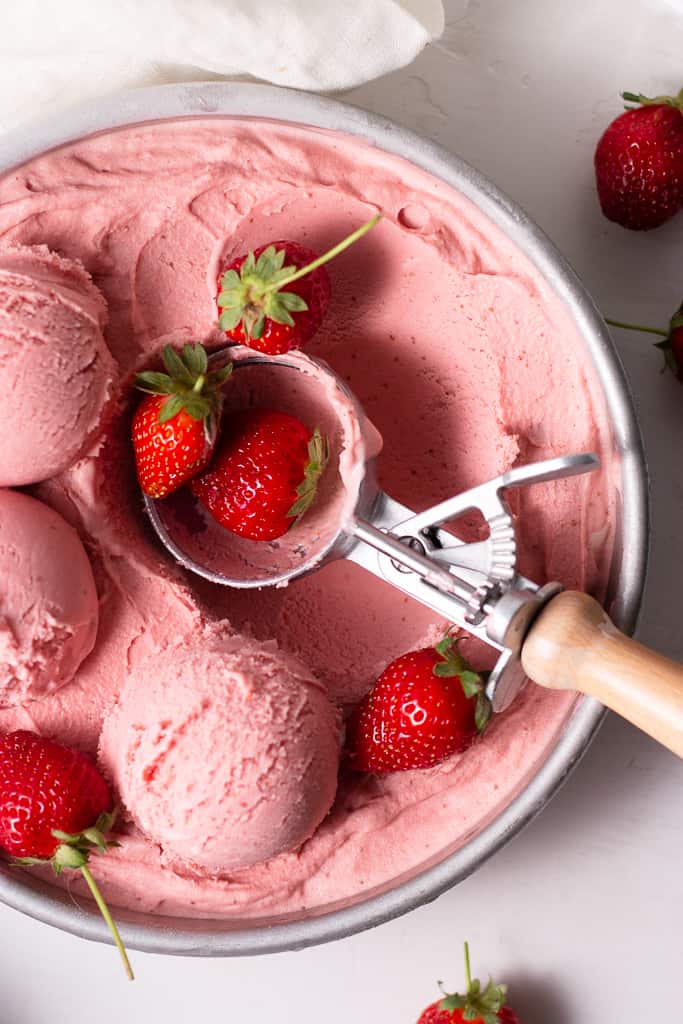
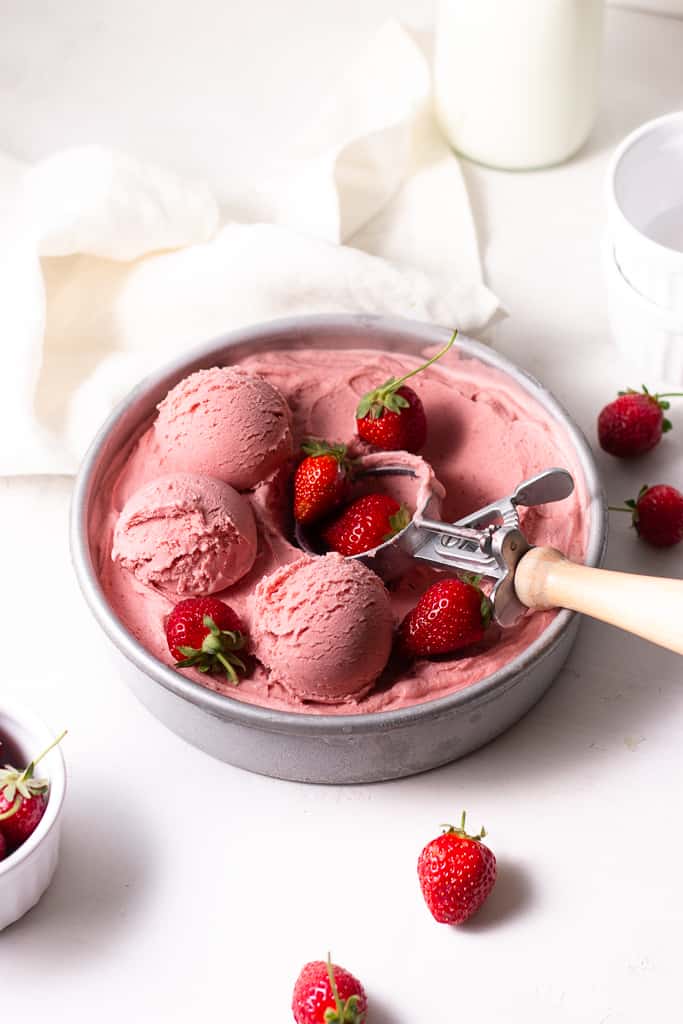
Roasted Strawberry Ice Cream
It may or may not surprise you to know that I absolutely despised strawberry ice cream growing up. For me, it was chocolate, vanilla, a swirl of both, or no thank you. This went on for years, I thought I’d always reach for vanilla-flavored anything if my life were at stake.
But then, enter pregnancy. Something beyond my scope of knowledge (and I think anyone’s scope of knowledge) happens during pregnancy. Things you’ve always loved you suddenly can’t even stand the thought of. The things you swore you’d never try – you crave. I still don’t get it, and I think grape tomatoes will forever be ruined for me because of those weird hormone shifts that happened when I was pregnant with Owen.
But here’s the silver lining: strawberry and coconut ice cream were the 2 things I just couldn’t get enough of. That’s not the most ideal craving because I basically replaced ice cream with everything, but I am happy to report that I still do love strawberry ice cream – and this roasted strawberry ice cream is just an homage to my new found love.

What is Roasted Strawberry Ice Cream?
This recipe is a classic, French-style ice cream. Meaning – we’re using egg yolks and making a custard before freezing it in an ice cream maker. There are tons of no-churn ice cream recipes out there, and a lot of really really good ones at that. BUT, while this may take a little bit longer than those no-churn recipes, there is no creamy texture like a frozen custard.
In fact, if you look at the ingredients list of most of your favorite ice creams, you’ll notice that eggs are listed behind the cream and sugar. There’s a reason for that – the fat content of the egg yolks creates the most creamy texture that simply just can’t be beat.

Some equipment you may need…
- Ice cream machine: you’ll need some sort of ice cream churning machine for this recipe. I have this one and it does a great job – you don’t even need any ice cream salt or ice.
- Saucepan: this is the cookware I use at home, and the small saucepan that comes in this set is perfect for this recipe.
- Measuring cups/spoons: I’ve been linking these in all of my posts because I love them SO much! They are beautiful and look just like some other expensive ones on the market (but wayyy cheaper).
- Mixing bowls: I love these glass mixing bowls from Amazon. They’re especially perfect for food photography.
- Wooden spoon: I use these for doing the “spoon test” on custards, I suggest you do the same!
Ingredients for this recipe
- Strawberries
- Balsamic vinegar
- Granulated sugar
- Heavy cream
- Whole milk
- Kosher salt
- Egg yolks
My Kitchen Tips
- Go strawberry picking! We went about an hour outside of town to the strawberry farms near us so we could pick our very own berries. I can’t stress enough how big of a difference there is between store-bought and fresh, in-season, local berries. It’s truly a night and day difference. We got 2 bucket-fulls and I froze a lot of them for later use. This is one of the best ways to ensure you have in-season berries even later into the summer when they’re not in season.
- Cook your custard to 170°F. I’ll describe in the method below how to tell when a custard is done cooking and ready to be removed from the heat, but this is also a great way to tell too. I always have a thermometer nearby when making custard so I can ensure I get it just right.
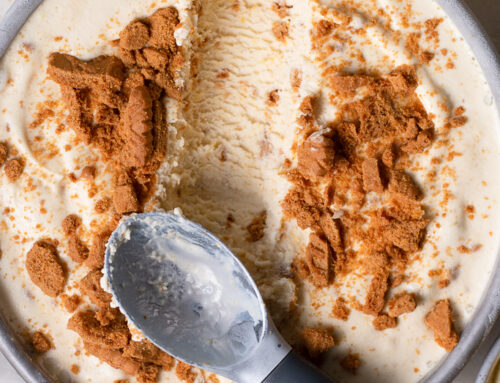
- Do NOT overchurn your ice cream. Ah yes, my arch nemesis. I hope I’m not the only one this happens to, but honestly it has happened a few too many times in my kitchen. You wouldn’t think that you could overchurn a batch of ice cream. But you’ll quickly realize that when you do, an oily film forms in your mouth after you’ve taken a bite. Not ideal. I’ve found that the instructions on the machine’s manufacturer’s manual usually take things a little bit too far. To mitigate this, I start checking my ice cream after about 10 minutes. You’re looking for the texture of soft serve ice cream – that’s when you know it’s finished. If you go too far you’ll end up with that unpleasant mouthfeel that no one wants!
- If your custard splits… If you notice when you pour the custard through the sieve that there’s still large chunks of solid bits, the custard may have split. Don’t worry though, it’s an easy fix. Just pour the whole thing into a blender (or use an immersion blender) and pulse, very gently, only a few times until it smooths out again. If you blend for too long you’ll ruin the custard.
How to store…
I like to keep my ice cream in the freezer (duh) lol. And I love these containers used just for all those delicious homemade batches of ice cream you’re going to make this summer. 🙂
–
I hope you all love this recipe as much as I (and my family) does. Feel free to always reach out to me via email (sarah@sarahsdayoff.com), through my Instagram DMs (@sarahsday0ff), or by leaving a comment on one of these posts. I’m happy to answer any questions I can!
Love,
Sarah
“For I am convinced that neither death nor life, neither angels nor demons, neither the present nor the future, nor any powers, neither height nor depth, no anything else in all creation, will be able to separate us from the love of God that is in Christ Jesus our Lord. -Romans 8:38-39-

Roasted Strawberry Ice Cream
Ingredients
- 1 1/2 lb fresh strawberries* hulled and halved
- 2 Tbsp balsamic vinegar
- 2 cups heavy cream
- 1 cup whole milk
- 2/3 cup plus 2 Tbsp granulated sugar divided
- 1/8 tsp kosher salt
- 6 large egg yolks
Instructions
- Preheat oven to 375°F. Toss strawberries and vinegar on a large sheet pan, making sure each strawberry is coated in vinegar. Roast 15 to 20 minutes or until fruit is soft and fragrant. Set aside.
- Meanwhile, whisk egg yolks in a large heat-proof bowl. Set aside. Grab a separate mixing bowl and set a large wire-mesh sieve over it; set that one aside too.
- Combine cream, milk, 2/3 cup sugar, and salt in a large saucepan. Cook on medium heat, stirring occasionally, 5 to 7 minutes or until it begins to simmer.
- Remove from heat and bring the saucepan near your egg yolks. You're going to temper the eggs, meaning you'll gently warm them up before adding them to the saucepan. So while whisking the egg yolks constantly, slowly pour about 1/3 of the cream mixture into the eggs, then pour the eggs and cream back into the saucepan with the remaining cream. Do all of this while whisking constantly so the eggs don't begin to cook.
- Set the mixture back over the heat on medium-low. Cook, stirring constantly with a wooden spoon or spatula, until the temperature reaches 160°F or until it's thick enough to coat the back of a spoon.
- Pour the hot custard through the sieve and into the mixing bowl you set out. This will remove any solid bits that may have formed.
- Cover the custard with plastic wrap, pressing the wrap directly on the surface of the custard so a skin doesn't form on the top. Chill at least 4 hours.
- Meanwhile, add strawberries to a blender or food processor, making sure to get all the balsamic vinegar and juices in as well. Add 2 Tbsp granulated sugar and blend until the mixture is a smooth puree.
- Pour the strawberry puree into the bowl with the custard, mixing with a spoon until completely combined. Cover again and chill the entire bowl for at least 4 hours.
- Pour the cold custard into an ice cream machine, and churn based on the manufacturer's instructions. Transfer ice cream to a container and freeze for at least 4 hours before scooping and serving.
Notes
This blog post contains affiliate links which make me a small commission at no cost to you. Thank you for supporting Sarah’s Day Off!
Leave A Comment