A step-by-step tutorial on making your very own caramel.. at home! And SURPRISE, homemade caramel is not as intimidating as you may think…
How to Make Homemade Caramel
Making caramel is… a delicacy. But not all delicacies need to be overly complicated. The sad part is I think that’s how most people feel about making caramel – people think of it as an overly difficult must-be-a-pastry-chef-to-make kind of task. But let me tell you, it is not that. Like at all. Making caramel is so so easy, and it only requires a couple of ingredients.
I love using caramel in all kinds of recipes – pies, tarts, cupcakes, cookies, you name it and I guarantee I can find a place for delicious homemade caramel. I especially love it in these Chocolate-Bourbon Cupcakes, and this Bourbon Salted Caramel Apple Pie. Just to name a couple 🙂
What is Caramel?
Ok you may not have known this but, ~newsflash~ caramel is literally just cooked sugar with a little bit of butter (for stability) and heavy cream (for flavor & mouthfeel) stirred in at the end. The longest (and “hardest”) part of making caramel is just toasting and melting down the sugar at the very beginning. The rest is smoooooth sailing.
The thing that makes caramel, or any candy, so tedious is the fact that cooking the sugar to different temperatures can result in a whole different product. You can get anything from caramel syrup to caramel sauce to soft & chewy caramels to hard-crack caramels – all within a few degrees of each other. But honestly, if you follow the method I’m about to walk you through, you won’t even need a candy thermometer.
Ingredients for Homemade Caramel
So here’s everything you need.. and the good news is you probably already have all (if not most) of it in your pantry!!
- Sugar
- Butter
- Heavy Cream
- Salt (if you want to make salted caramel – omit for regular caramel)
Now lets get into the how-to..
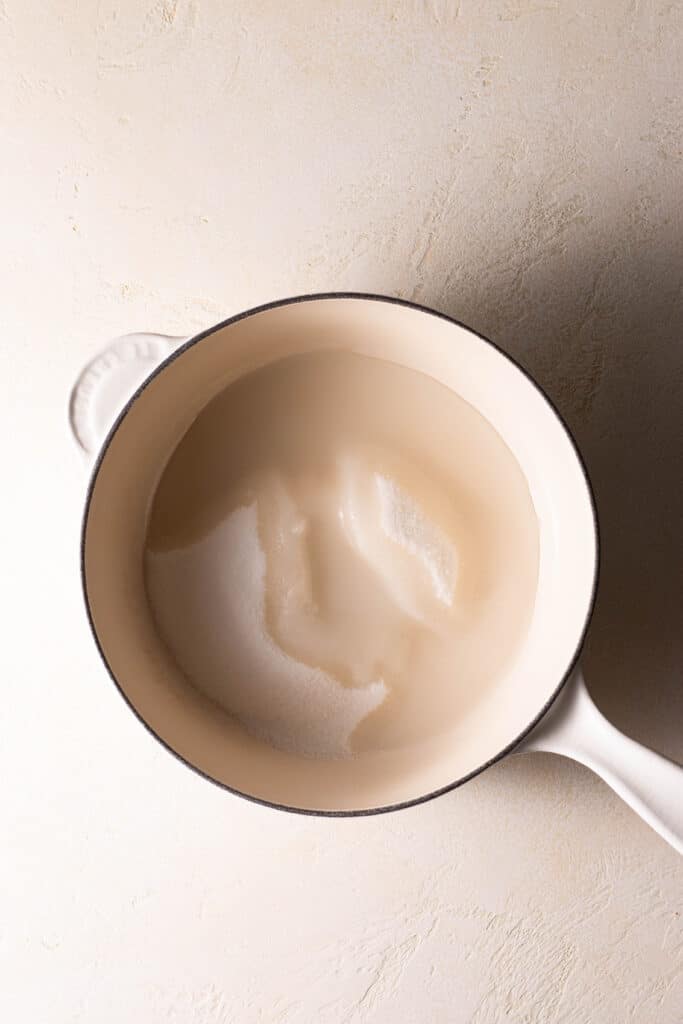
Cook the Sugar and Water
First we’ll need to combine the sugar and water in a heavy-bottomed, light-colored saucepan, and set it over medium heat. By heavy-bottomed I mean basically the heaviest saucepan you have as a light-bottomed saucepan will lead to burning the caramel a lot easier and quicker.
For this tutorial I’m using my cast-iron saucier by Le Creuset here, and it’s perfect because it’s also white on the center – allowing me to watch the color of the caramel begin to change as it cooks – also prevents me from burning it!!
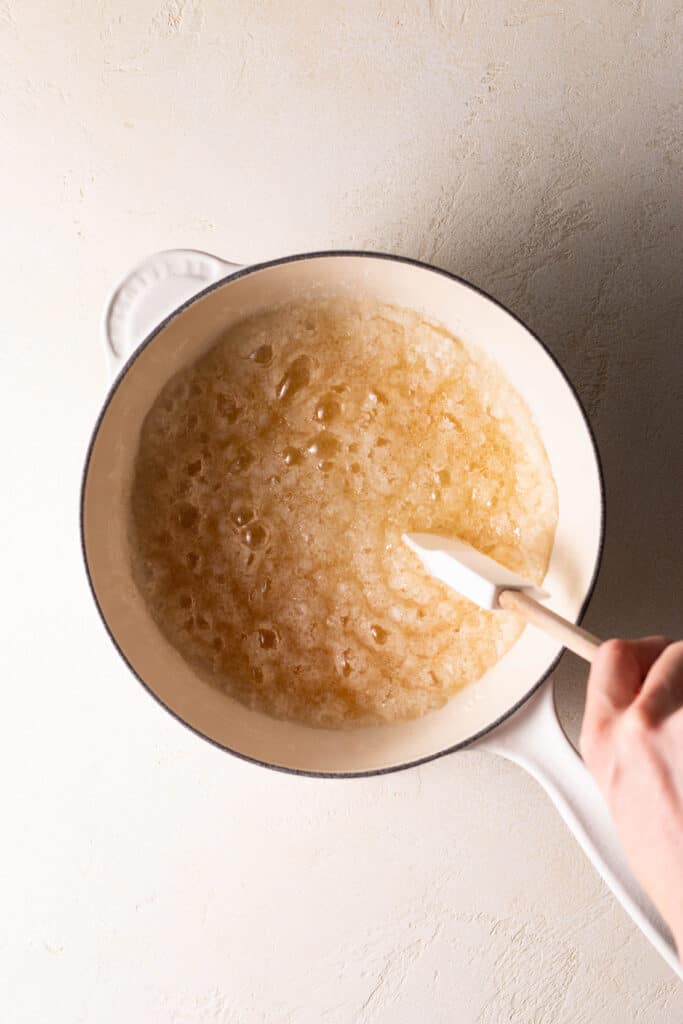
Continue to Cook, Stirring Occasionally
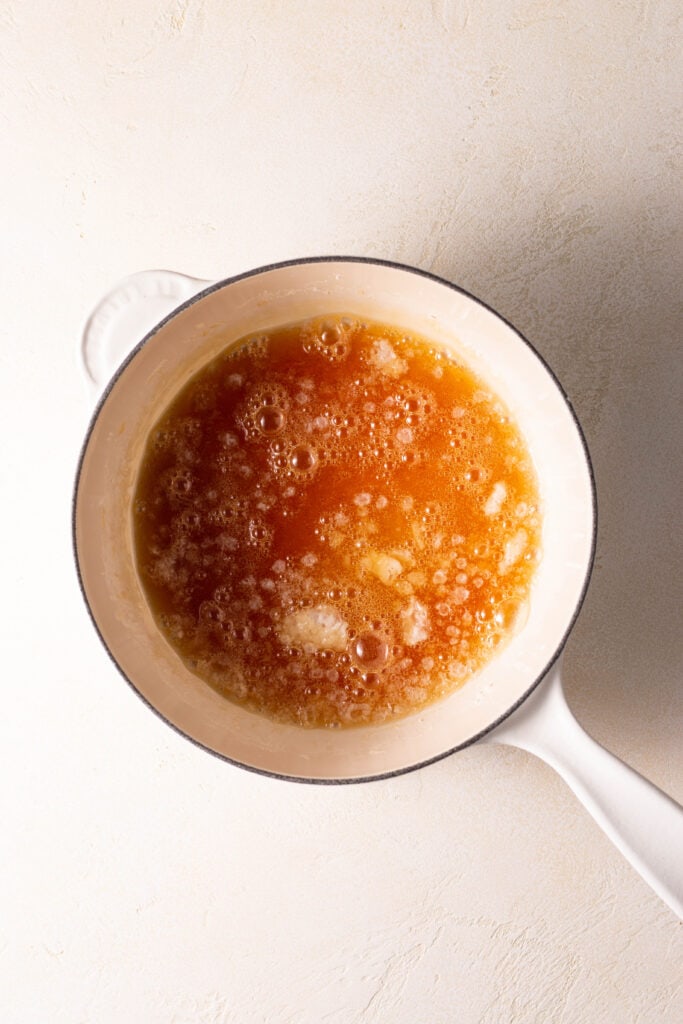
The sugar will take on lots of different forms as it begins to caramelize – it will look like its about to turn into rock candy at one point, but keep cooking and stirring occasionally and it will begin to take on a golden color.
Don’t Walk Away!
Now is not the time to walk away from the caramel, as it will go from being perfectly golden brown to being completely burned in the matter of seconds. You don’t think anything is happening until it starts happening!! Sound familiar? We talked about this in my browned butter tutorial as well, and the principle of not leaving the stovetop definitely applies here as well 🙂
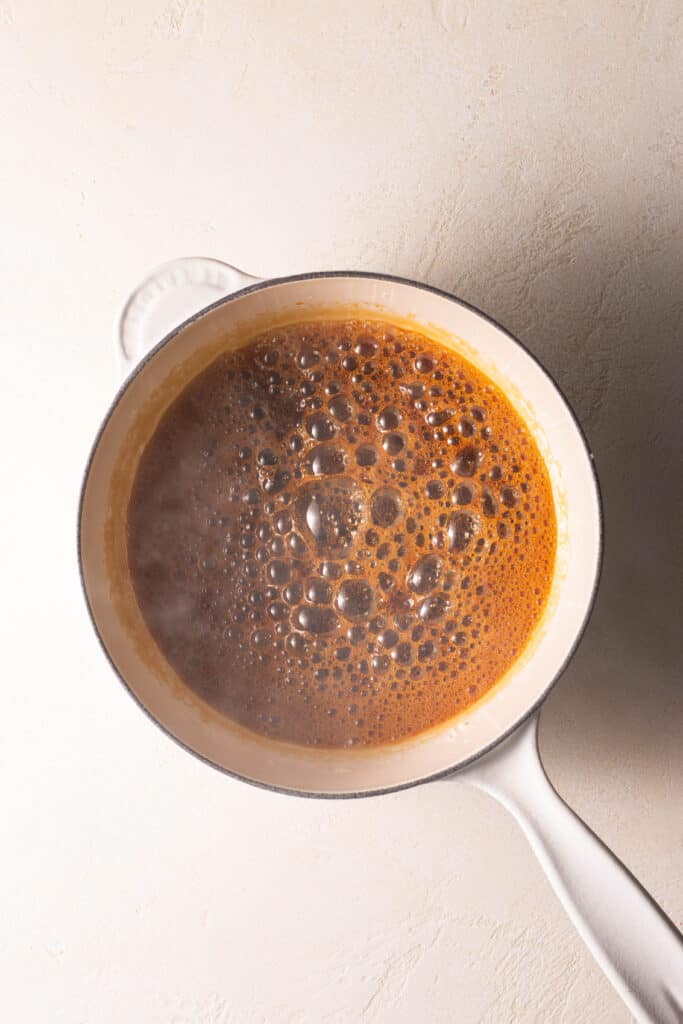
Remove from Heat
Once your sugar gets to that dark, golden amber color we’re looking for, remove it from the heat source.
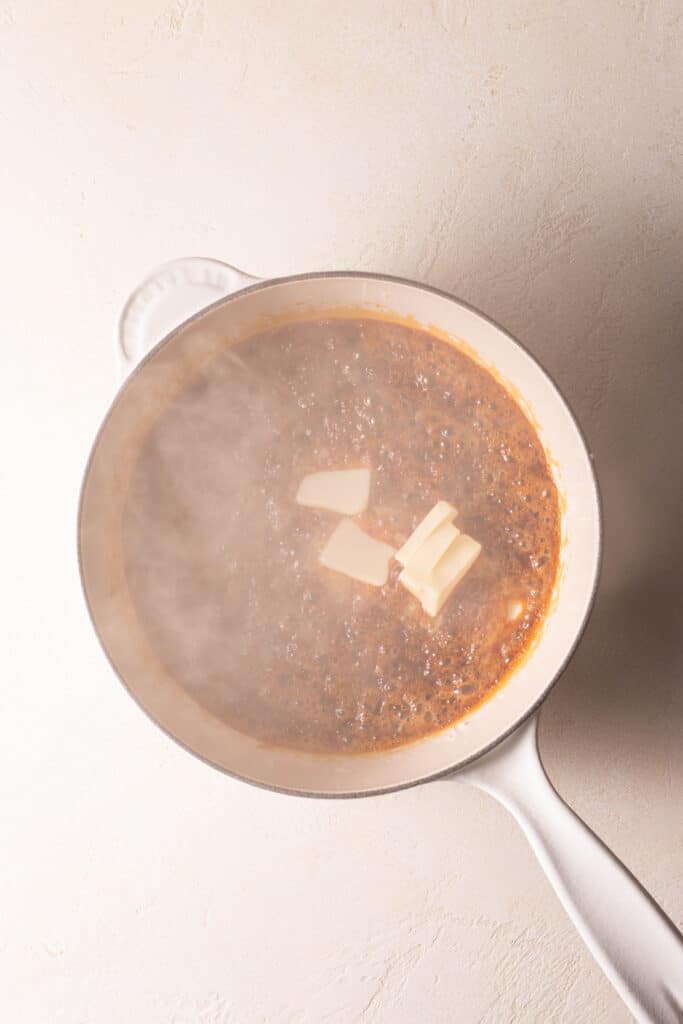
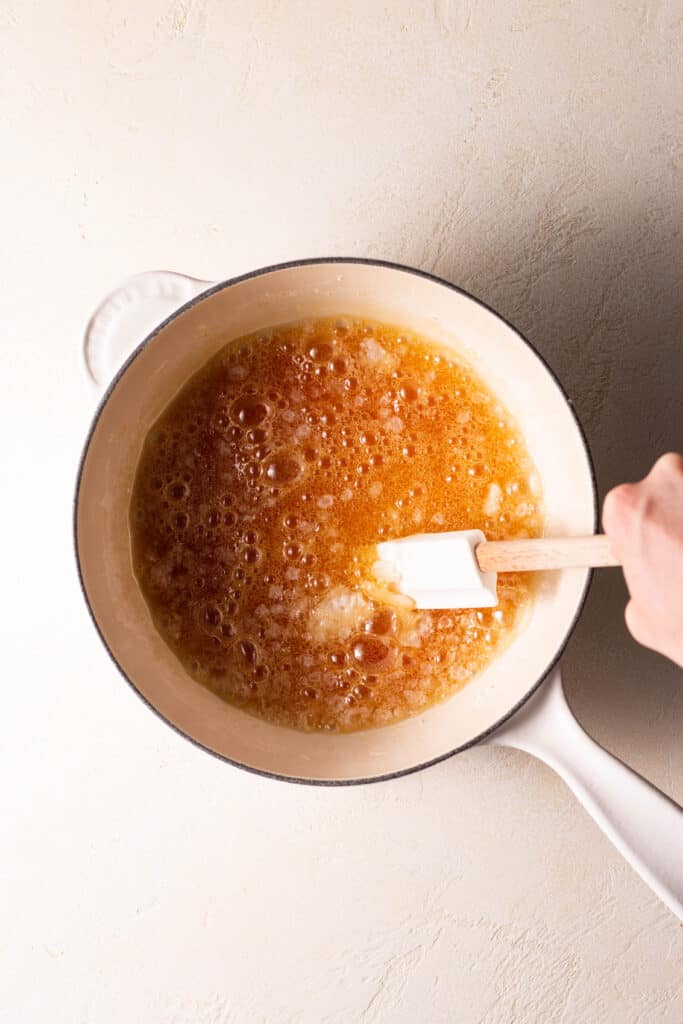
Stir in the Butter
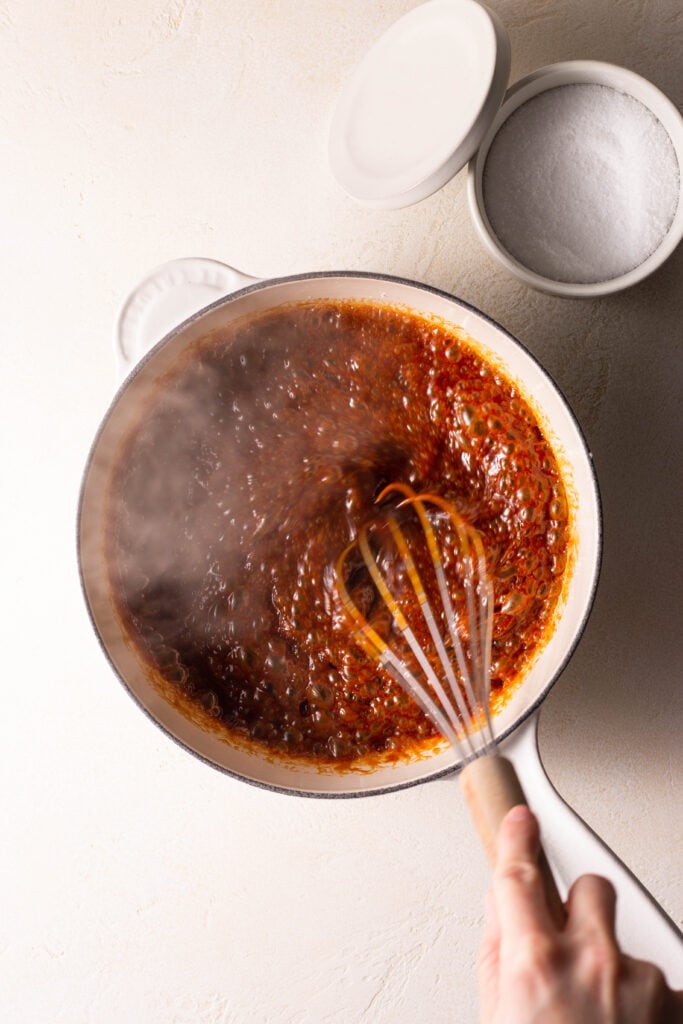
Next, we need to stir in the butter. Beware, when you stir almost anything into caramel it will bubble up and you’ll panic for a split second thinking “omg this is about to bubble over,” but don’t worry – as long as you’re using a high-walled saucepan – it won’t!
You’ll need to be whisking constantly ensure the butter distributes evenly (and this helps get the bubbles to go away lol).
It’s important to make sure your butter is cold and cut into small pieces. It being cold will help further stop the cooking of the sugar, and cutting it into small pieces will help it to melt and distribute evenly.
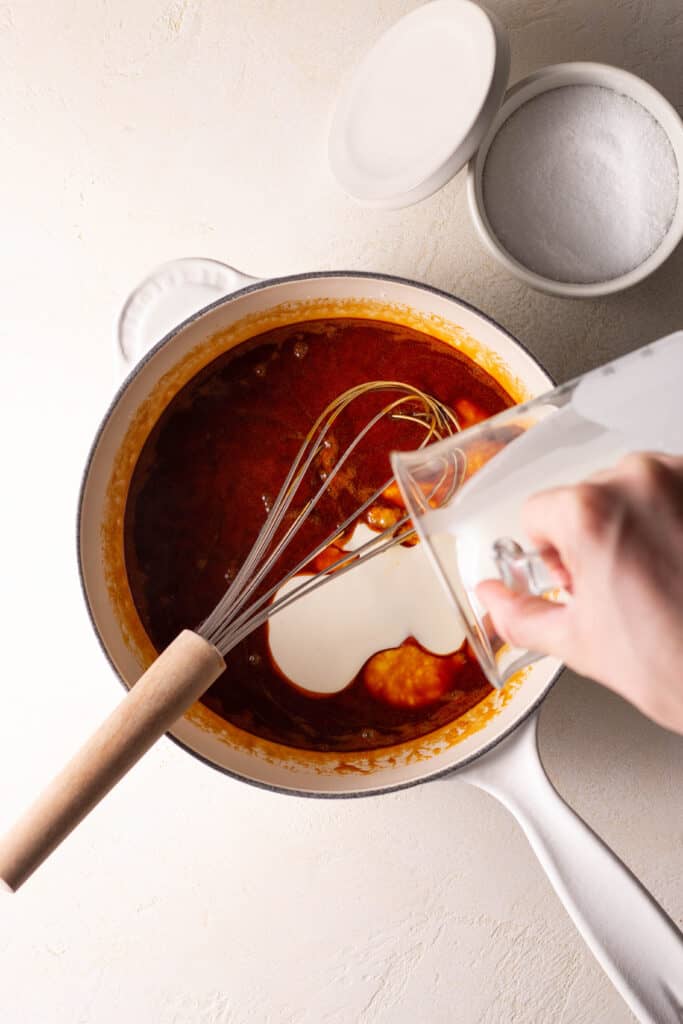
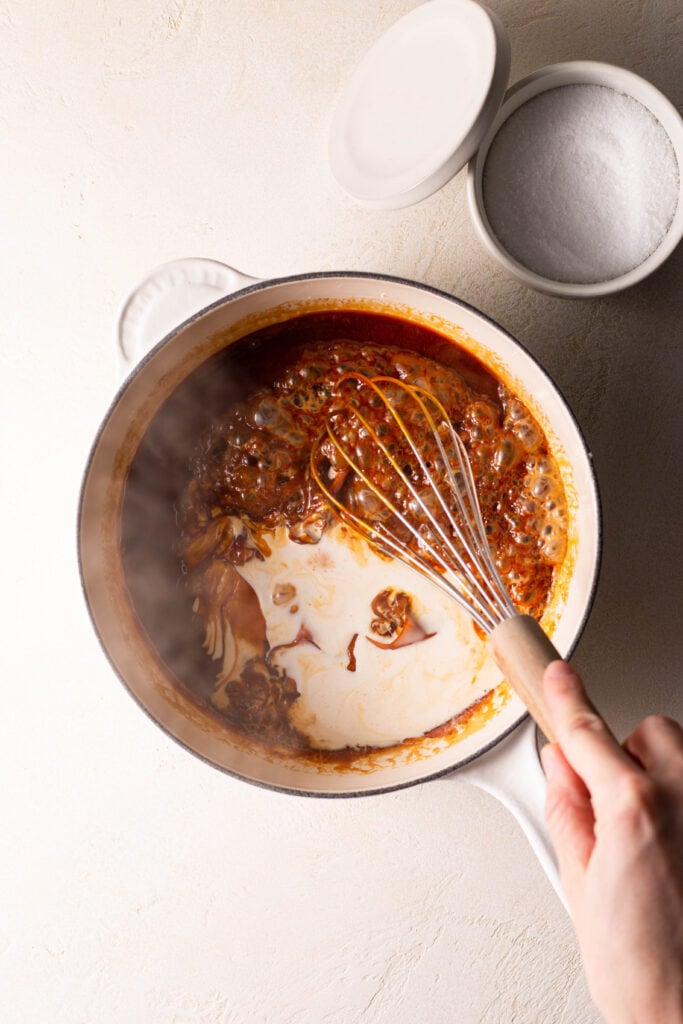
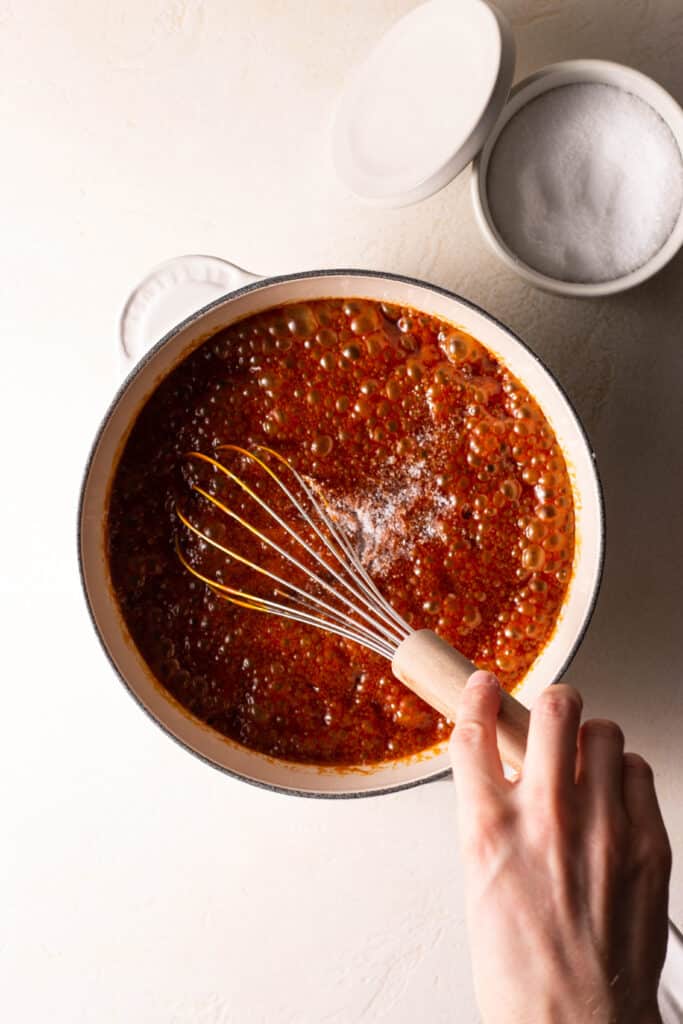
Whisk in the Heavy Cream
Right when the butter is finished incorporating, whisk in the heavy cream. Now again, it will bubble up while you’re whisking it in (like in the photo below), but don’t worry – I promise it’ll come back down 🙂
Cool the Caramel & Enjoy
Because I wouldn’t recommend consuming scorching hot caramel, we’ll need to let it cool (preferably in a separate bowl to stop the cooking) before consuming. You can use caramel for soooo many different things. But if you’re like me, you’ll be happy to just enjoy it with a big spoon 🙂
I store my caramel in the refrigerator in an airtight container. It’s easy to warm up in the microwave or on the stovetop for a big bowl of ice cream or whatever you like to enjoy it with.
Homemade Caramel Variations
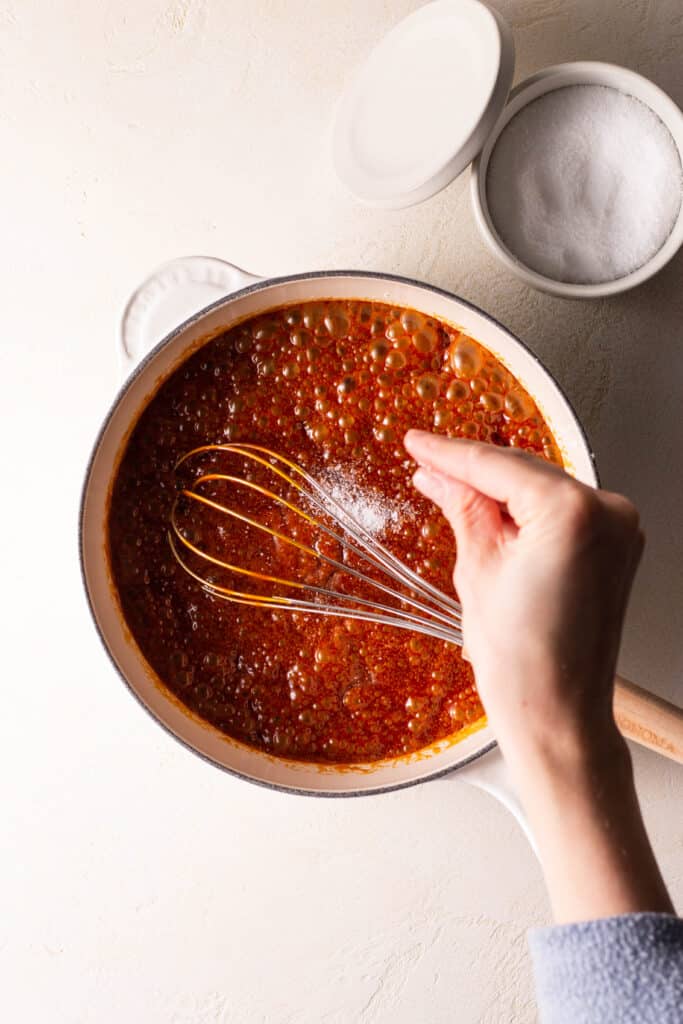
If you’re wanting to make salted caramel, now’s your time to shine. Stir in that salt!! If you’re not feeling salty though, here are a couple of different variations I like to do with my caramel:
- Salted caramel – stir in 2 tsp salt when you stir in the heavy cream
- Vanilla caramel – before you start cooking the sugar, heat the heavy cream and 1 1/2 tsp vanilla bean paste (or vanilla extract) over medium-low heat; bring to a simmer, and cool completely. Now your cream tastes like vanilla and it will be delicious to stir into your caramel.
- Bourbon caramel – Like the vanilla caramel, heat your cream and 2 Tbsp of your favorite bourbon over medium-low heat; bring to a simmer, and cool completely. Use this cream to stir into your caramel at the end.
Let your caramel be your ~oyster~ and get creative with it! There are endless delicious variations, and I’m challenging you to find your new fav!!
I hope you all feel more confident when it comes to making your OWN homemade caramel, and if you make this be sure to tag me on socials @sarahsdayoff so I can see and celebrate with you!! Happy caramel-ing!!! 🙂
Love,
Sarah

Homemade Caramel
Ingredients
- 1 cup granulated sugar
- 1/4 cup water
- 1/4 cup butter cut into 1/2-inch thick pieces and chilled
- 1/2 cup cold heavy cream
Instructions
- Heat sugar and water in a heavy-bottom, high-walled, light-colored saucepan over medium heat.
- Cook, stirring only occasionally (to get some of the caramel off of the sides of the pan), until the mixture is a deep golden amber color (caramel-colored) (this could take around 10 minutes). Remove from heat and stir in butter.
- Whisk in heavy cream, stirring until smooth. Pour caramel into a separate bowl and cool completely.
Notes


My favorite caramel on the internet – easy instructions and making caramel doesn’t stress me out anymore!!
5/5 stars!! Tried this at home and it worked perfectly. Easy to follow and made amazing caramel!
Full disclosure – I haven’t made it, yet! I’m about to try your method – as I’m not a huge caramel fan I have never made caramel before, but my husband is!
Hoping to make little caramel “tarts” with gingernut biscuits as the shells (a common method in Australia, softened and shaped then gently baked); most people use caramel from a can to fill the tart as it’s very quick and easy, but my husband always longs for home made caramel whenever he has one.
I appreciate your pleasant (and not too long) and conversational style explanation! Thanks Sarah!
Only question: how long does it keep in the fridge?
I’ll check in later and tell you how it goes x
Hey Rebecca! I’m so excited you’re giving it a try – those tarts sound amazing! I wouldn’t keep it in the refrigerator for longer than 1 month. And just make sure it’s in an airtight container! Let me know how it goes!
I’ve found that if you put a lid on the pot while the sugar is boiling the condensation helps keep it from crystallizing. But make sure to still stir it occasionally (which I didn’t just do) or it will crystallize like mine just did.
I’m going to make this as soon as I can.
Giving 5 stars because it seems simple… what did I do wrong? It was going along great and I thought it was going to turn. It was still clear and bubbly then it instantly crystallized…
Hey there! Thanks for reaching out – I’m wondering if you weren’t stirring it quite enough. It definitely needs to be “stirred occasionally,” especially if you’re noticing one side browning and the other not!
I have a highlight on my instagram story (https://www.instagram.com/sarahsdayoff/) titled “caramel,” where I walk through this recipe and process step-by-step with video! Check that out and see if there’s maybe a spot where you did something differently. Let me know what you think – I’m curious too because this is how I make it every time!
Can I use this to make no bake caramel pecan chocolate cookies? Also if I put it in a lined dish and allow it to set can I roll into caramel candy? Thank’s for your time excited to make this. Kerry
Hi Kerry, you may be able to make those cookies – but it depends on how the recipe uses it. Unfortunately, this is not a recipe you can use for caramel candy. It won’t set up into a hard enough texture – it’s meant to be a sauce!
Super easy instructions to follow. Thank you Sarah!
Looks awesome. Can I use this recipe for an Apple upside down apple cake? This really looks amazing
Hi Joanna! I do think this is a recipe you could use for an Apple upside down cake. I haven’t tried it before, but it should be a caramel that will set on the bottom of the cake.
I feel like I know where mine went wrong I am using a gas stove and metal pan (lightest color I had) and there really isn’t a medium heat setting. I had trouble getting mine to brown and at one point had to add a little more water. It isn’t the first time I’ve made it in my life and I’m sure my Nana is having a good chuckle watching this… I will continue to try this and hopefully the next time I get it right.