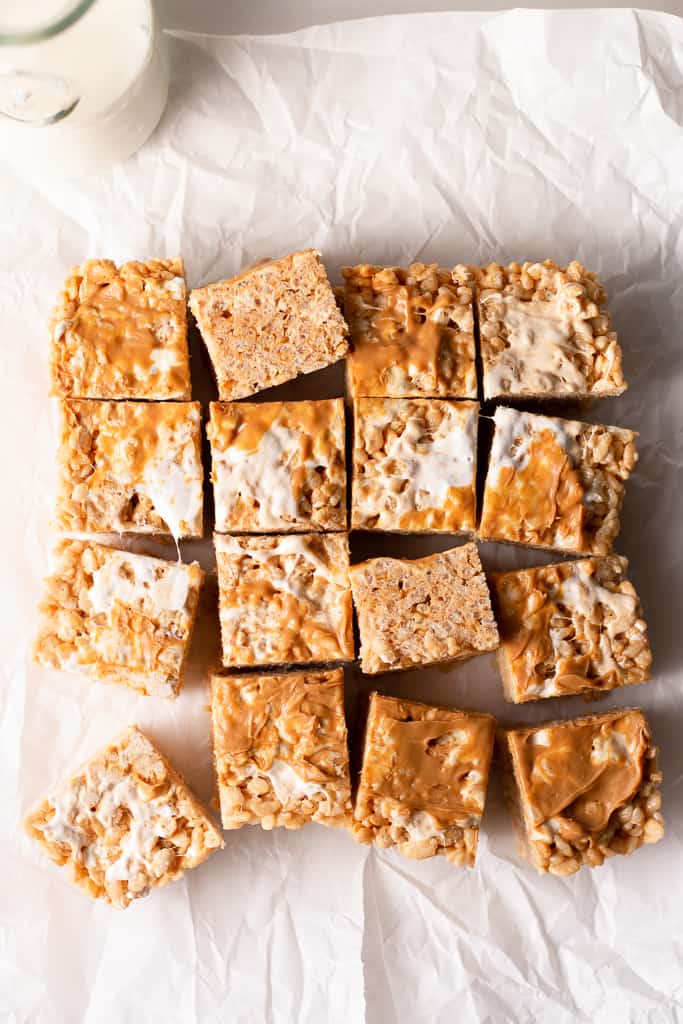
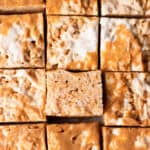
These Browned Butter Peanut Butter Rice Krispie treats are taking things to a new level. Keep reading to find out how.
Browned Butter Peanut Butter Rice Krispie Treats
Can we all agree that rice crispy treats are like… one of the most nostalgic desserts?! They’re kind of like my Giant Pop Tart recipe.. they just remind me of my childhood. We all know that when a mom brought snacks to share after the soccer game on a hot Saturday, rice crispy treats were always there alongside a big bag of orange slices. The bright blue packaging was just such a delight to see any time one came your way.
Well, I wanted to take that super nostalgic dessert and elevate it for you guys, and for me because if I’m being honest here – the traditional store-bought rice krispie treats are just not doing it for me anymore. Maybe it’s because they’re just a little bit too sweet? Who knows, but what I can tell you is that these Browned Butter Peanut Butter Rice Krispie Treats are hands down the BEST rice krispie treats I’ve ever had. And I don’t take that lightly, I know we’ve all had some pretty good ones in our day, but this recipe just knocks it out of the park. Truly.
What are Rice Krispie Treats?
For those of you who don’t know and have just been casually consuming these delectable treats for years – rice krispie treats are pretty much made up of 3 ingredients: butter, marshmallows, and rice krispies (the famed cereal). While the ingredients list is short, the flavor and nostalgia are enough to always keep me coming back for more.
In this recipe I’m taking the traditional rice krispies to a new level:
- First, we’re adding peanut butter. Need I say more? Peanut butter + anything is always a great idea IMO.
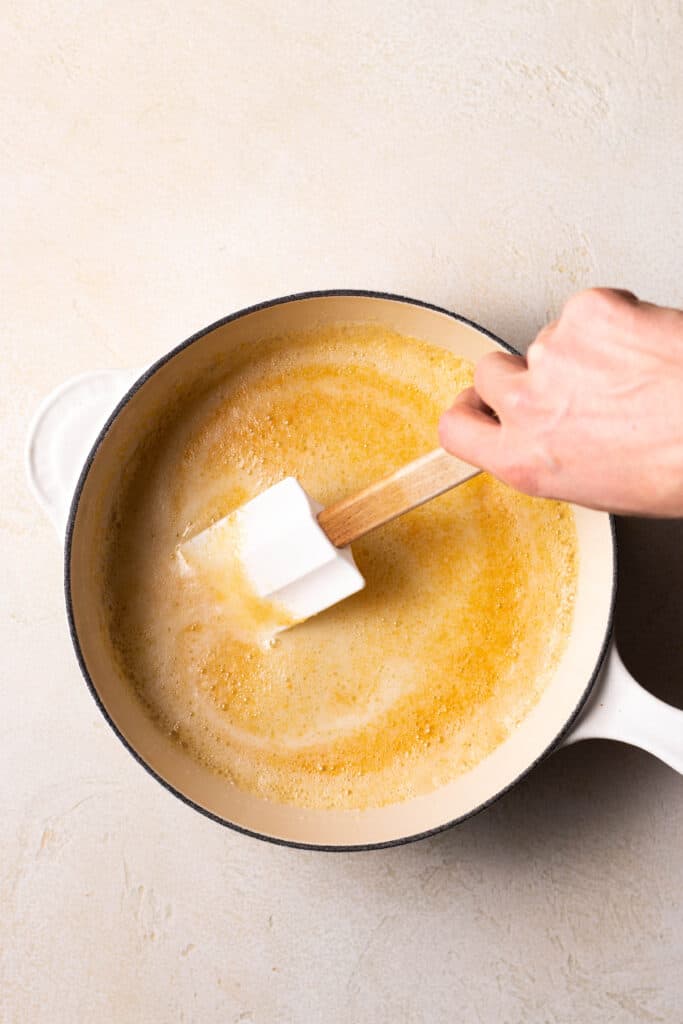
- Second, we’re using browned butter. Let me be honest here – there are few combinations I love more than browned butter and peanut butter. Browning butter is essentially just toasting the milk solids that separate out when you melt butter. And hear me when I say: when you brown butter there’s just something about the nuttiness and warmth it brings to the table that makes it a good idea in almost any dessert. Hint: if you’ve never browned butter before, check out this blog post where I walk you through the process step-by-step!
Equipment you may need…
- Small Stock Pot: we’re making the whole batch of rice krispies in this pot, so it needs to be bigger than just a saucepan. It doesn’t need to be a giant shrimp boil-style pot, just something with enough room for 6 cups of cereal.
- Parchment Paper Sheets: I do and always will buy my parchment paper in sheets from Amazon. I would never ever go back to the rolls because they’re just soooo much easier to work with. Order some and I promise you’ll agree!
- Measuring cups/spoons: I’ve been linking these in all of my posts because I love them SO much! They are beautiful and look just like some other expensive ones on the market (but wayyy cheaper).
- 8-inch square pan: I love these from USA pan because they’ve got nice slick corners and they’re a light color, but use what you have!
- Wooden spoon: I only use wooden spoons and rubber spatulas when I’m baking, and I love these!
- Rubber spatula: The perfect thing to use when making browned butter.
Ingredients for Peanut Butter Rice Krispie Treats
- Mini marshmallows
- Unsalted butter
- Kosher salt
- Rice Krispie cereal
- Creamy peanut butter

Tips for making these Peanut Butter Rice Krispie Treats
- Read this blog post. This will help so much if you’ve never browned butter before! I include step-by-step photos and instructions for you to follow along – it’s fail-proof! If you have browned butter before, skip it – you’re a pro!
- Get all of your ingredients ready BEFORE you begin. This is a recipe that you want to be sure you have everything at the ready. Things happen very quickly, and you don’t want to risk burning anything while you’re trying to measure out 6 cups of cereal. I measure everything out beforehand, that way there’s no waiting around.
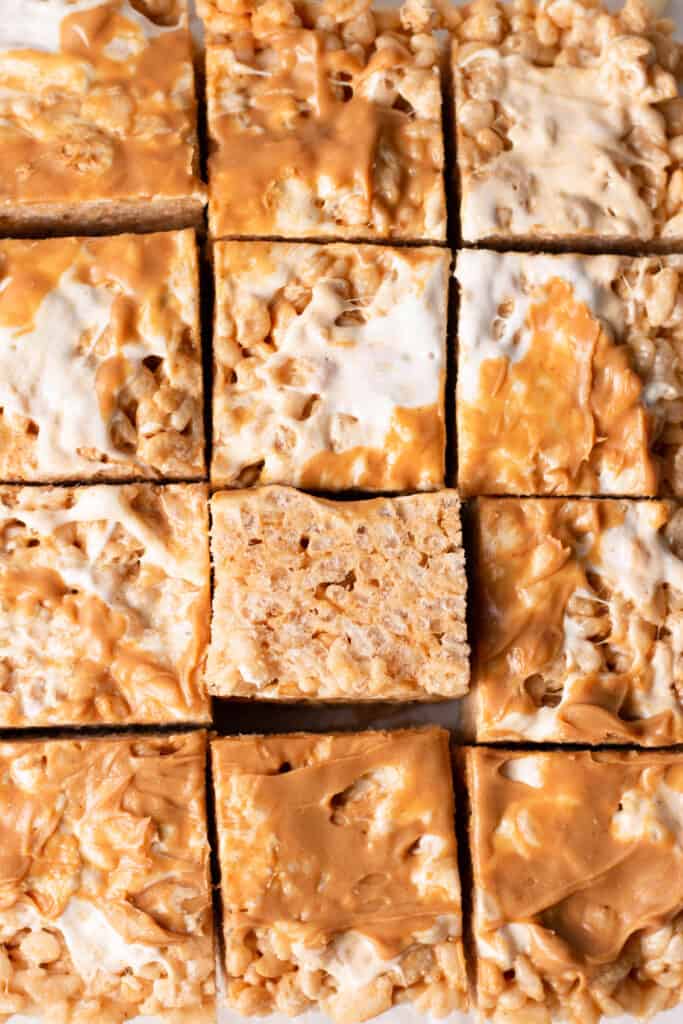
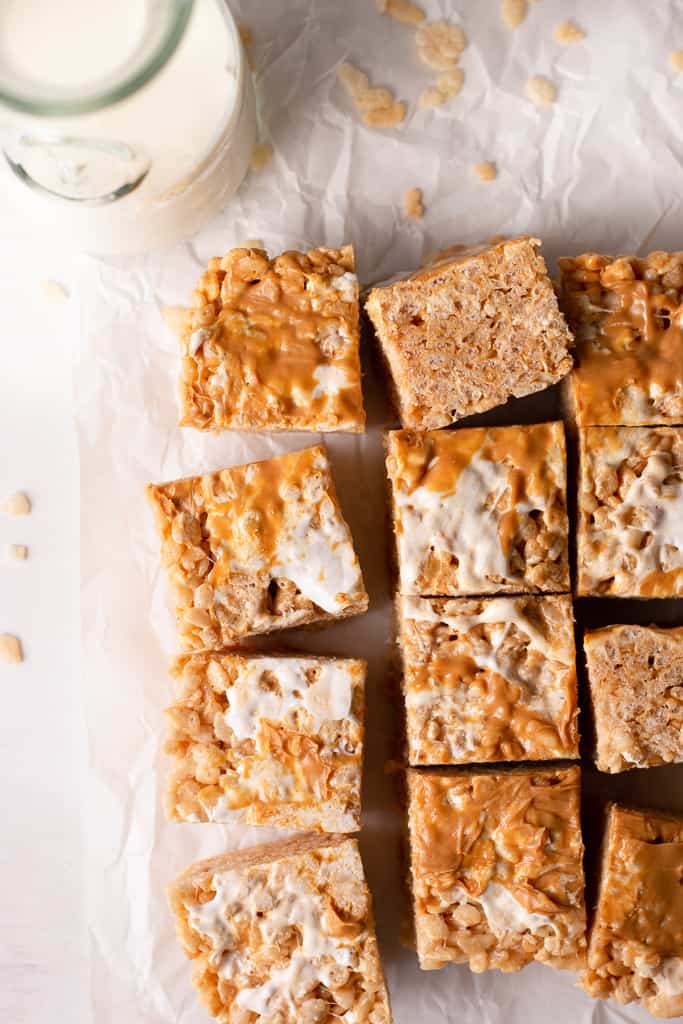
- Want a pretty top? I like to spread extra peanut butter on the tops of these – that way you know exactly what they are! I also take a few more marshmallows and microwave them for about 15 to 30 seconds, then spread that on top as well.
How to store:
These Peanut Butter Rice Krispie Treats can be stored at room temperature in an airtight container or plastic bag for 5 to 7 days.
I hope you all enjoy this recipe as much as I do. These are truly the best rice krispie treats I’ve ever had, and I hope you think the same. If you make these be sure to tag me @sarahsdayoff so I can see them!
Love,
Sarah
“Praise the Lord; praise God our savior! For each day he carries us in his arms.” -Psalm 68:19-
Browned Butter Peanut Butter Rice Krispie Treats
Ingredients
- 1/2 cup (1 stick) unsalted butter
- 6 cups miniature marshmallows
- 1/4 tsp kosher salt
- 6 cups Rice Krispies cereal
- 1/2 cup creamy peanut butter
Instructions
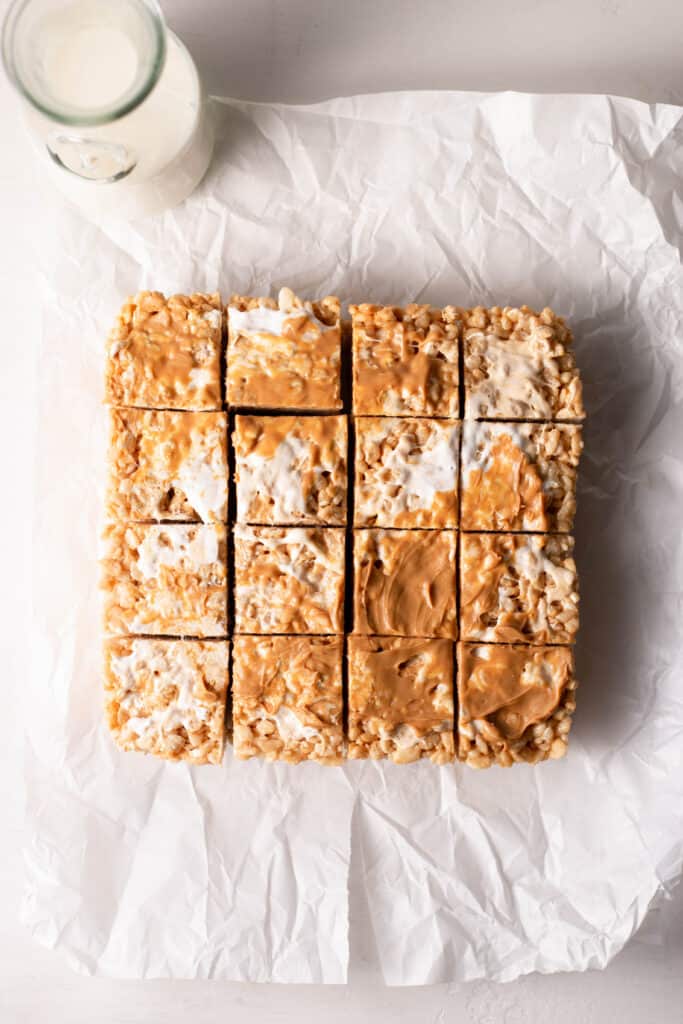
- Grease an 8x8-inch baking pan with cooking spray and line it with parchment paper, leaving a 1-inch overhang on each side. Set aside.
- Heat the butter in a small stockpot or very large saucepan over low heat 1 minute or until melted.
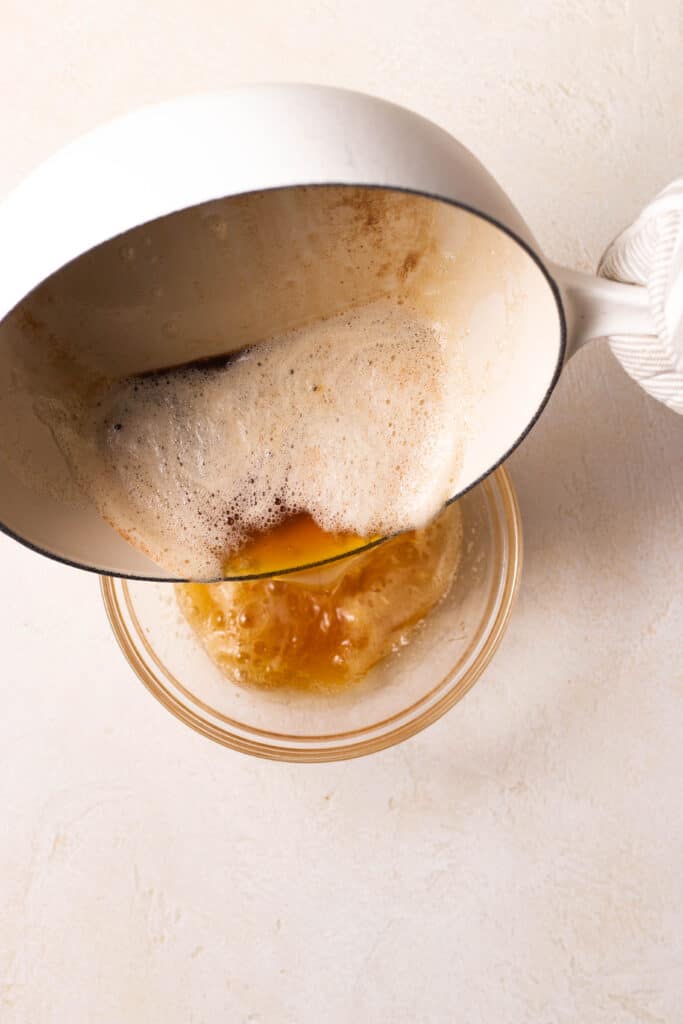
- Increase heat to medium and cook, stirring constantly, 7 to 10 minutes or until you notice the butter turning a dark golden brown color along the bottom of the pan.
- Immediately add marshmallows and salt, stirring constantly, until fully melted into the butter. Once the marshmallows are completely melted, remove from the heat and stir in the cereal.
- Gently fold the cereal and marshmallow mixture together until the cereal is fully combined. Fold in the peanut butter, being careful to not crush the cereal.
- Scoop the cereal into the prepared pan, pressing down as you work with your hand. Be sure to get the cereal into each corner.
- If desired, spread additional peanut butter on top of the rice krispies. Let the rice krispie treats sit at room temperature for at least 1 hour or until set.
- Use the parchment paper overhang to slide the bars out of the baking pan, slice, and serve.
This blog post contains affiliate links which make me a small commission at no cost to you. Thank you for supporting Sarah’s Day Off!