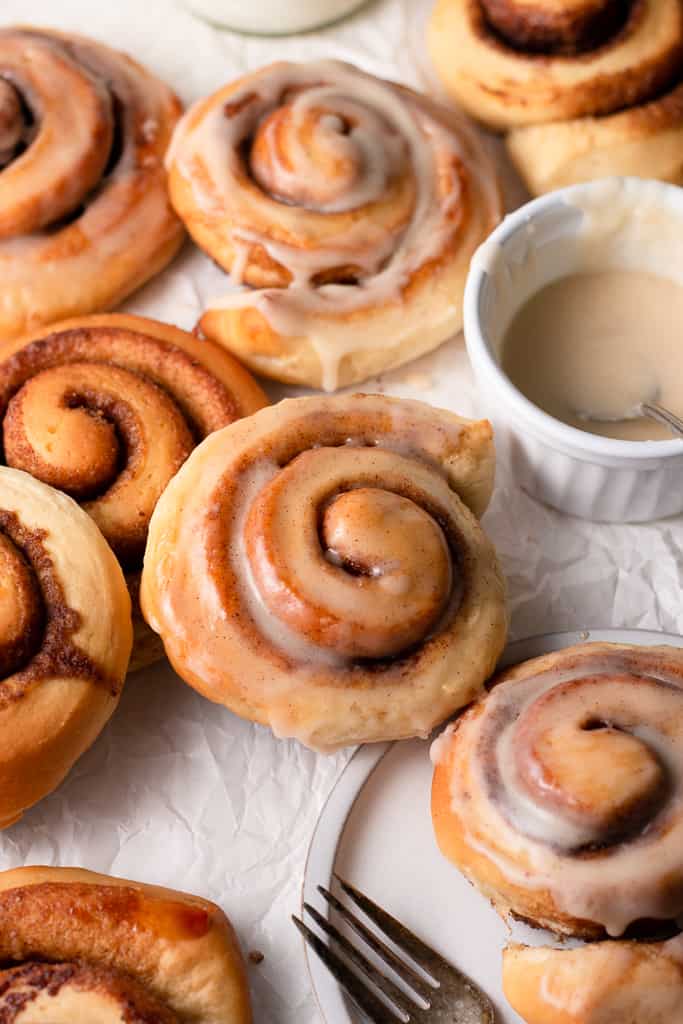
Soft, pillowy, and perfectly sweet cinnamon rolls are what everyone needs on their brunch table (or their any-time-of-the-day table). This is my fail-proof recipe for perfect homemade cinnamon rolls every time.
Cinnamon Rolls
When someone says “cinnamon rolls,” I bet the first thing you think of is the canned Pillsbury ones you buy at the grocery store. They’re iconic, honestly, and for so many reasons. I love them because they’re so incredibly easy compared to making your own cinnamon rolls at home. And while that may be true, I’m here to convince you in this blog post that you need to stray away from the canned (not forever) rolls, and say hello to these insanely delicious homemade cinnamon rolls.
I know it can sound intimidating to make your own dough, let it proof, shape the dough, etc., but when I tell you that these are actually the best cinnamon rolls ever…. like I mean actually ever… I’m not kidding at all. I make these all the time, and you’ll be shocked at how little hands-on time they actually require. Trust me when I say you’ll be skipping the Pillsbury ones from now on.
I also want to add that something that would be sooo delicious is if you used browned butter throughout the recipe where I’m calling for butter! Just something to chew on while you read through this blog post 🙂
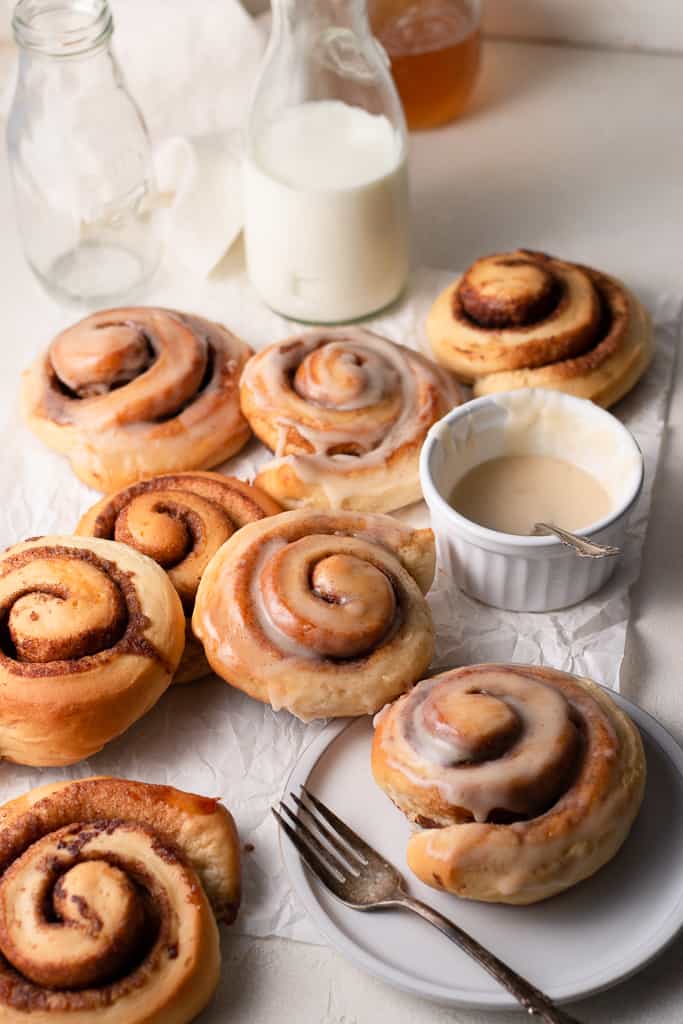
What are Cinnamon Rolls?
Doughs that require yeast as a leavening agent (what makes things rise) are definitely one of my favorite things to make. It could be because they make my kitchen smell absolutely amazing, but its also because they require precision, attention to detail, and most importantly.. patience.
If there’s one thing I’ve learned over the course of my baking career, its that patience is everything. You need to wait for ingredients to come to room temperature, wait for cookie dough to chill before it bakes, wait for your bread to proof, wait for cakes to cool before frosting them, wait, wait, wait, and more waiting. I’ve come to realize, though, that this is part of what makes baking so special. Its the time and effort you put into something that makes the product that much more satisfying and beautiful. That’s exactly what we’re doing here with these cinnamon rolls. Yes, it takes some time for the dough to proof, but it is sooooo worth the wait. You’ll see 🙂
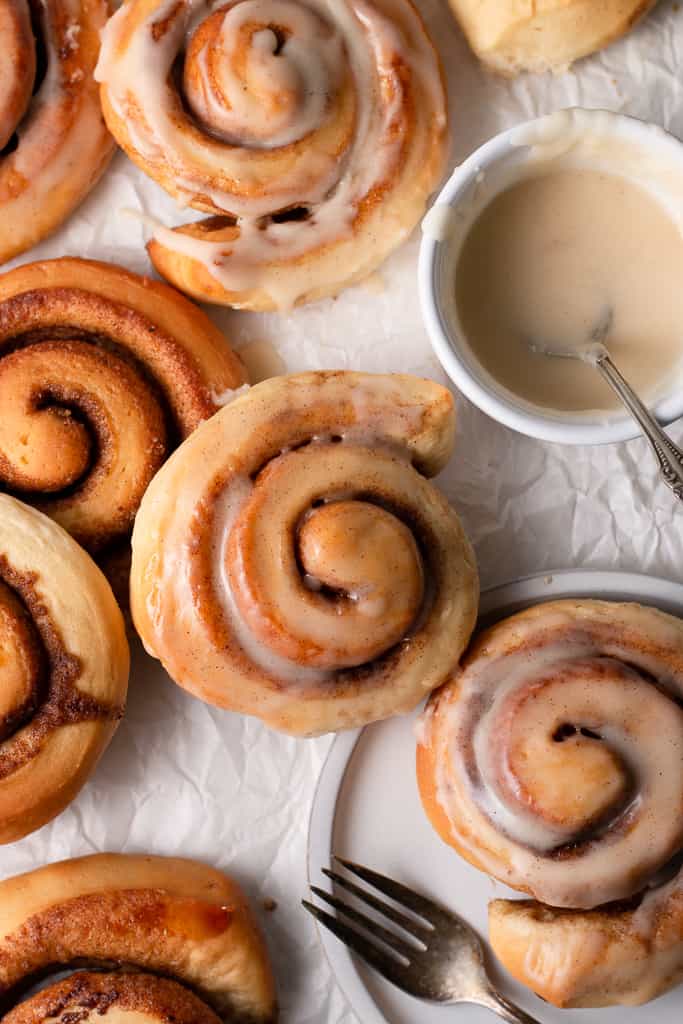
How to Make Homemade Cinnamon Rolls
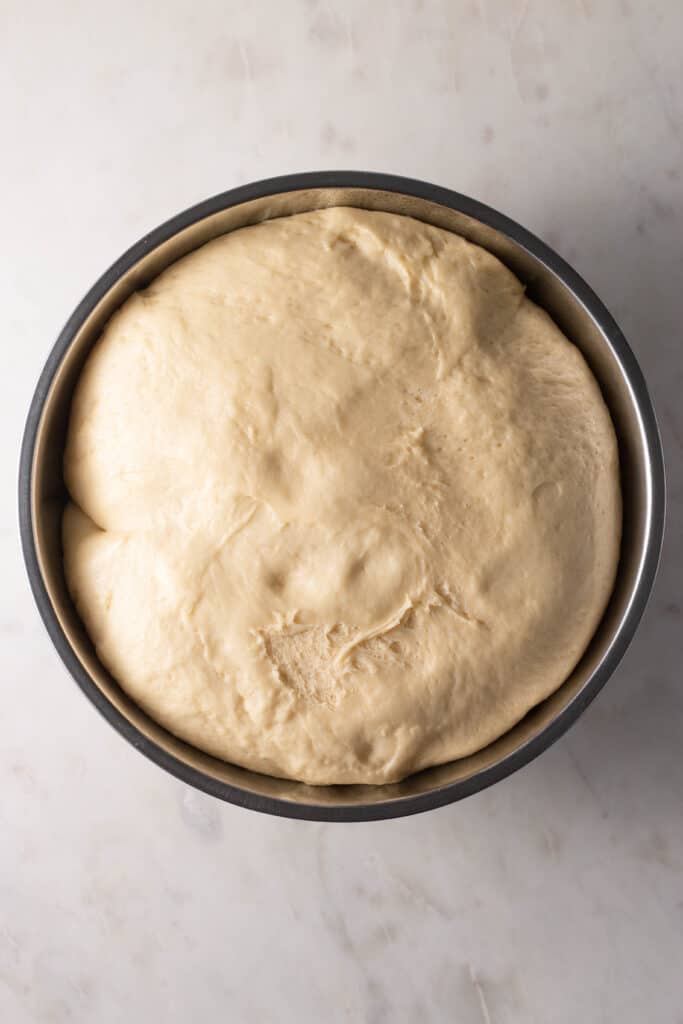
Step 1 – Make the dough & proof
You’ll want to start by combining almost all of your ingredients in the bowl of a stand mixer. For this recipe we’ll be using the dough hook attachment. However, you can make any dough by hand – I just don’t recommend it for this one because cinnamon roll dough tends to be on the stickier side. But if you’re wanting to get messy, feel free to go the old-fashioned way!
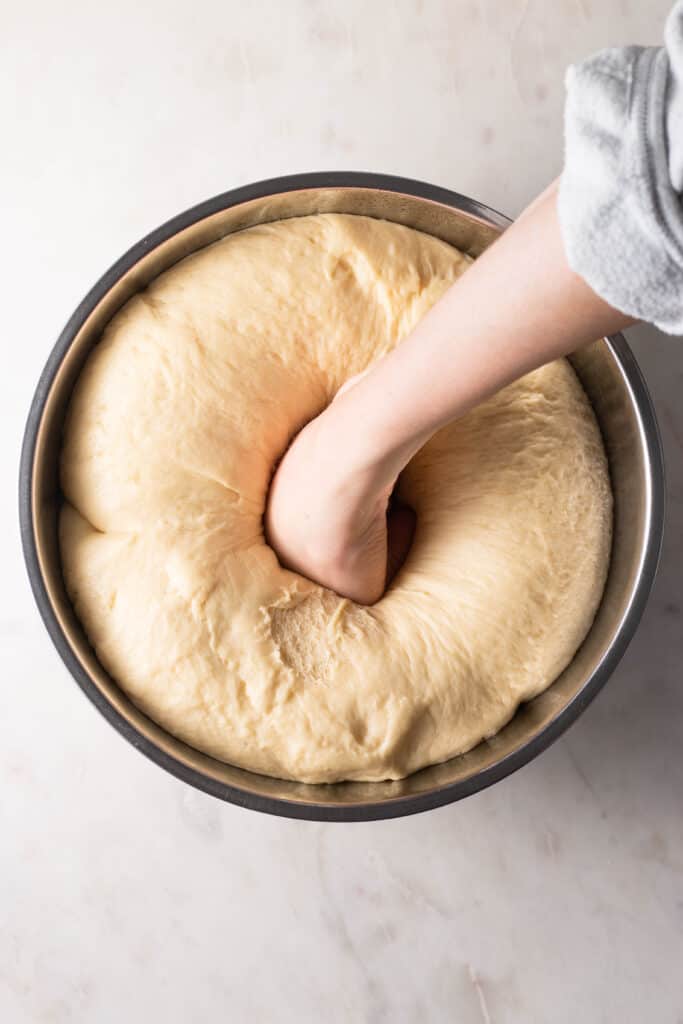
Step 2 – Punch the dough down
I wanted to show me actually doing this step because I don’t think people believe me when I say you need to “punch the dough down.” This is exactly what you need to do!! This will expel some of the gases that are trapped in the dough – it’ll help you get it ready to roll out and fill with the butter and cinnamon-sugar.
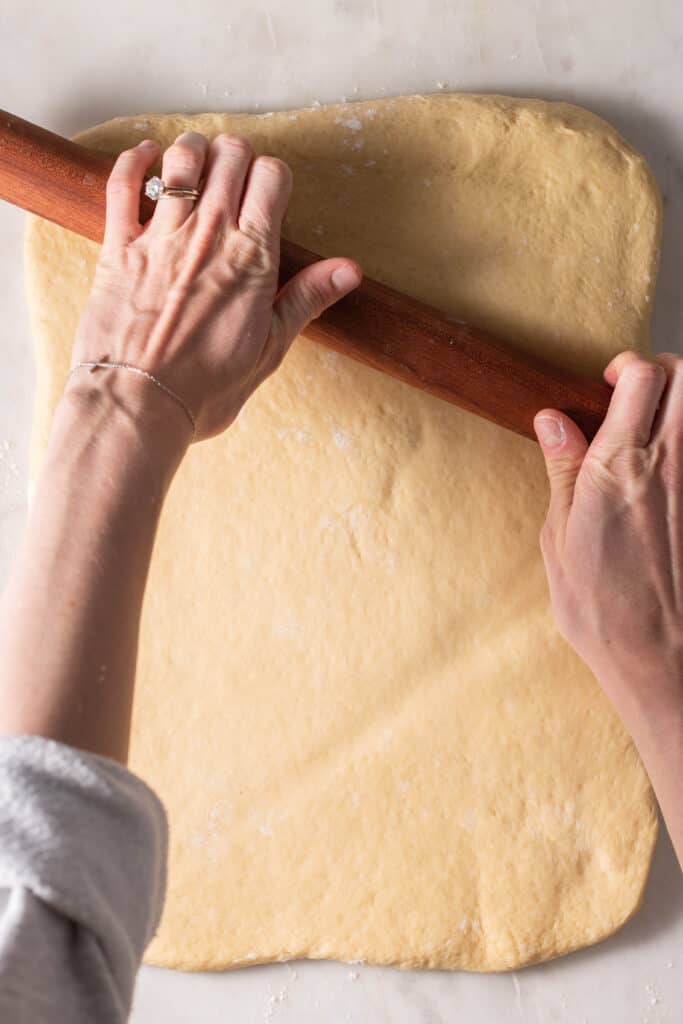
Step 3 – Roll out the dough
Next, you’ll want to roll the dough out to a 11- x 22-inch rectangle (this dough makes a lot of cinnamon rolls). Make sure you’re using a rolling pin that has completely flat edges (as opposed to a French rolling pin that tapers on the edges). I have this very basic one from amazon that I love!
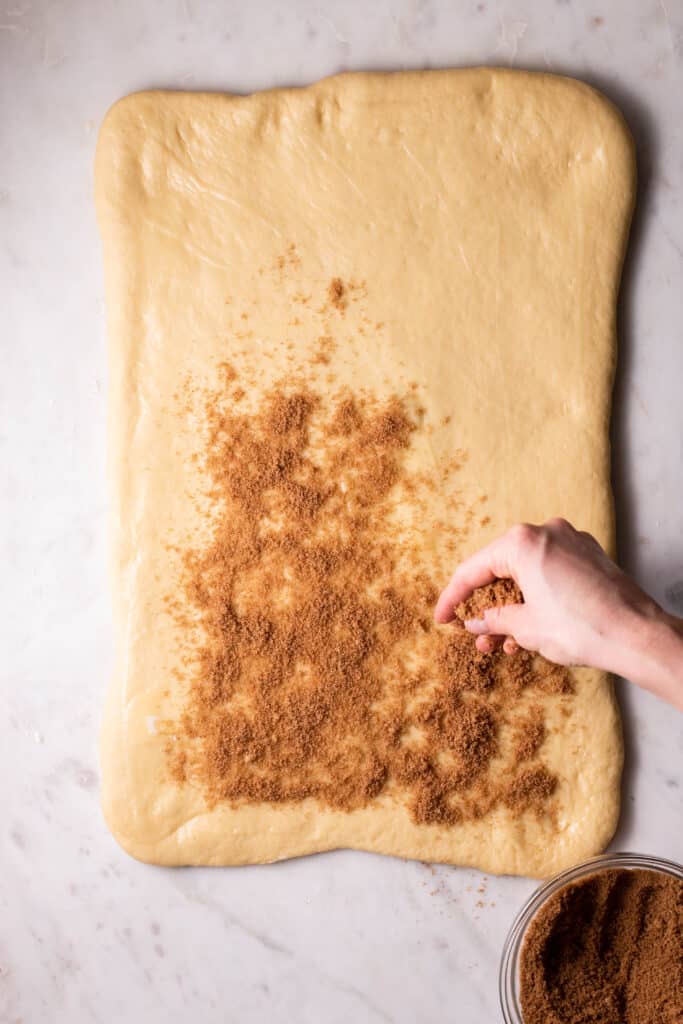
Step 4 – Add your filling
Butter, butter, and more butter. That’s the secret to anything that tastes good if we’re being honest here. You’ll use melted butter to brush across the dough, then you’ll fill it with a cinnamon-sugar mixture.
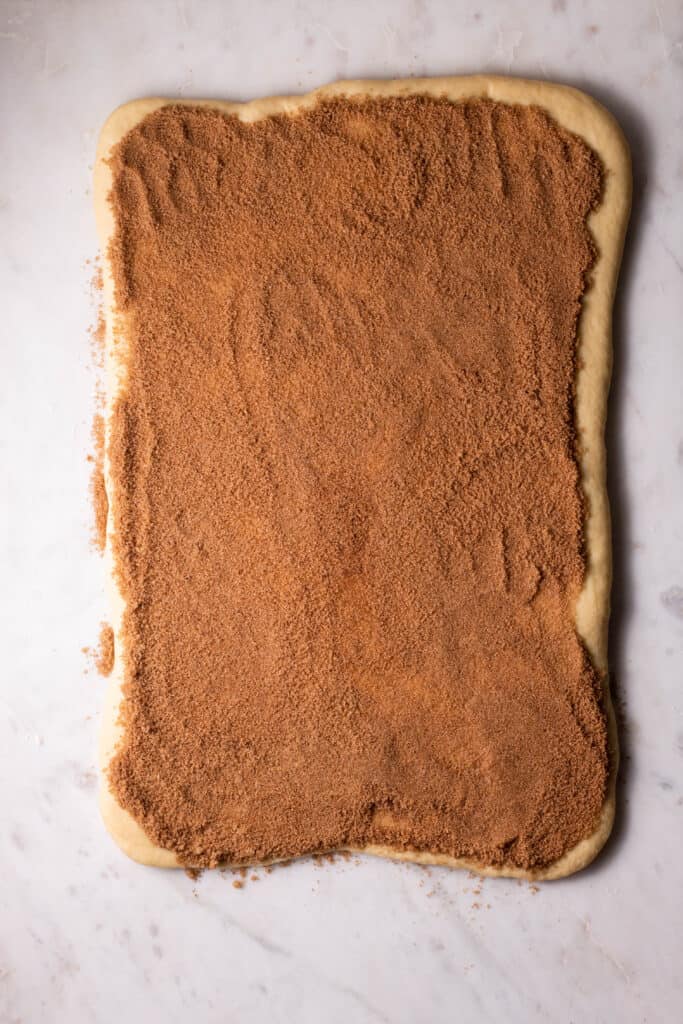
Make sure you gently pack down the filling to ensure it adheres to the butter. You don’t want to lose all that precious cinnamon sugar when you go to roll it up in the next step!
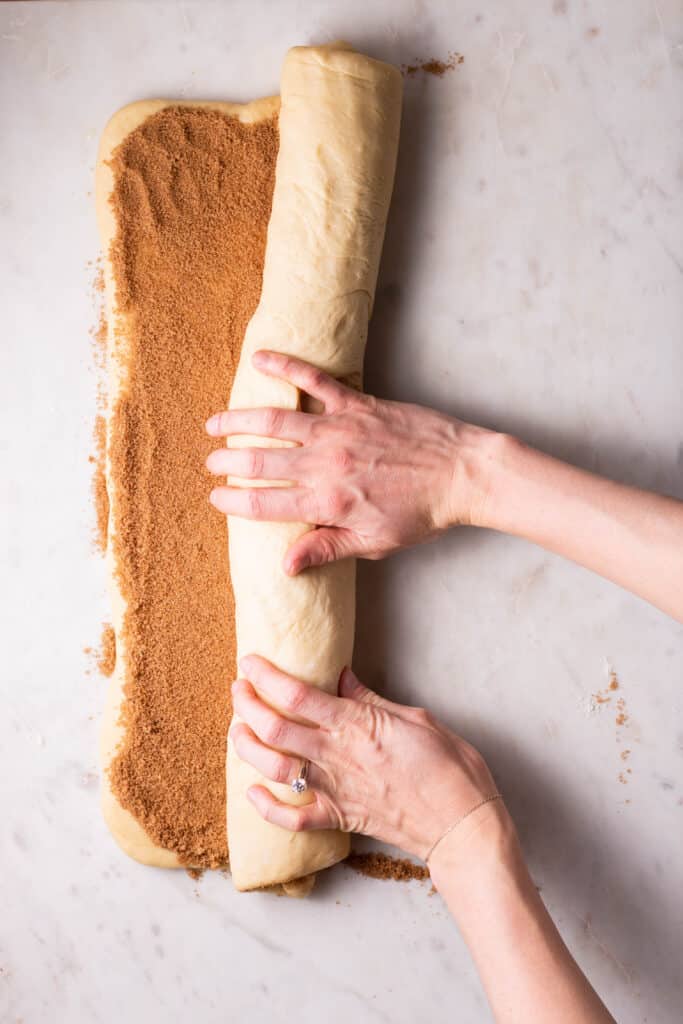
Step 5 – Roll the dough up into a “roll”
Starting with the long end, begin to tightly roll the dough towards the other end. Beware – if you roll starting from the shorter end you’ll end up with massive cinnamon rolls – ask me how I know lol.
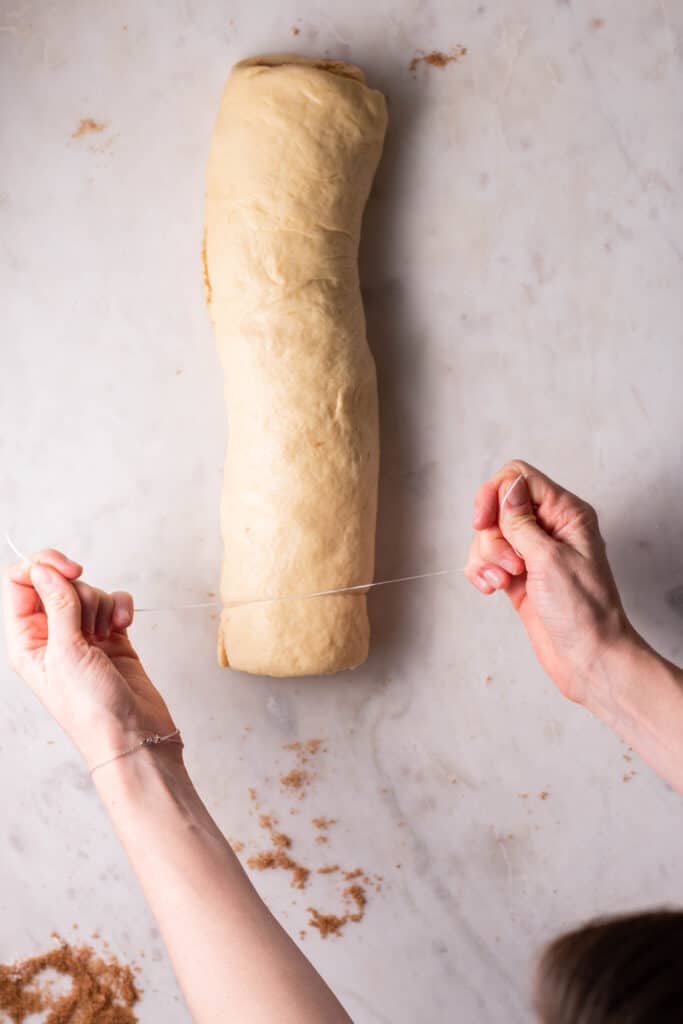
Step 6 – Slice the roll to make swirled rolls
Now to get our super fancy baking equipment… dental floss. You heard that right!! Hopefully you’ve got some unscented dental floss in your bathroom drawer somewhere, because you’ll definitely want it on hand for these rolls. All you do is push the floss underneath the roll, about 1-inch of the way through, bring the 2 ends together, and pull. This is how we’ll cut all of our cinnamon rolls. It just makes a cleaner cut than using a knife (but you can absolutely use a sharp knife if that’s all you have on hand).
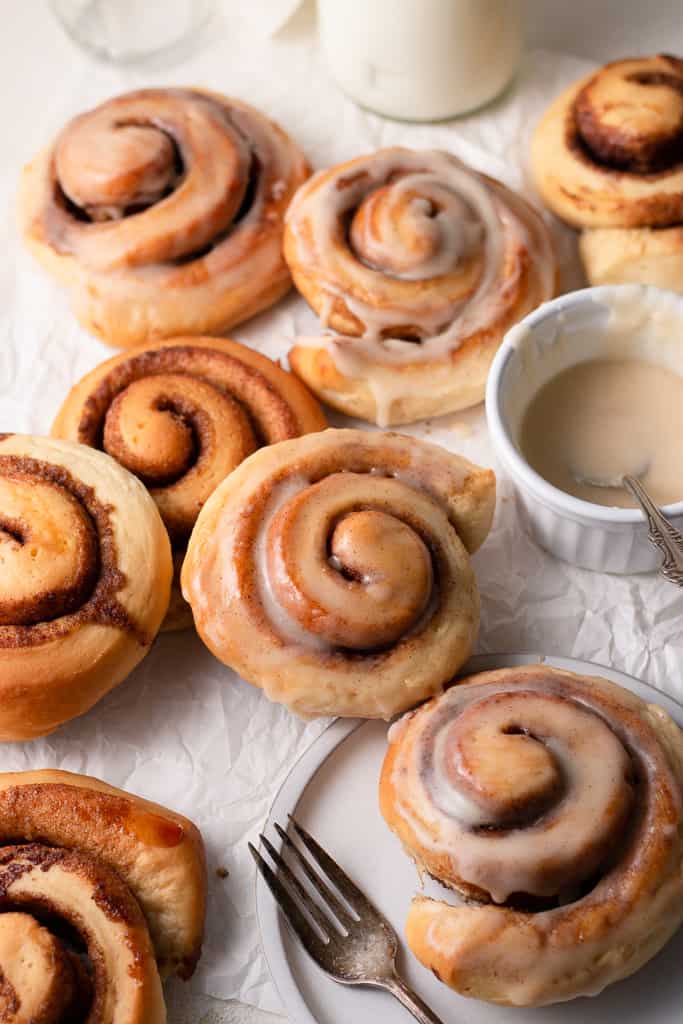
Step 7 – Bake & frost!
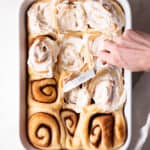
Time to bake these little babies. I usually divide mine between 2 half-sheet pans, but you can also use a 13- x -9 baking dish, circular cake pans, or whatever else you have on hand. They’ll still turn out as the same delicious cinnamon rolls despite what you bake them in.
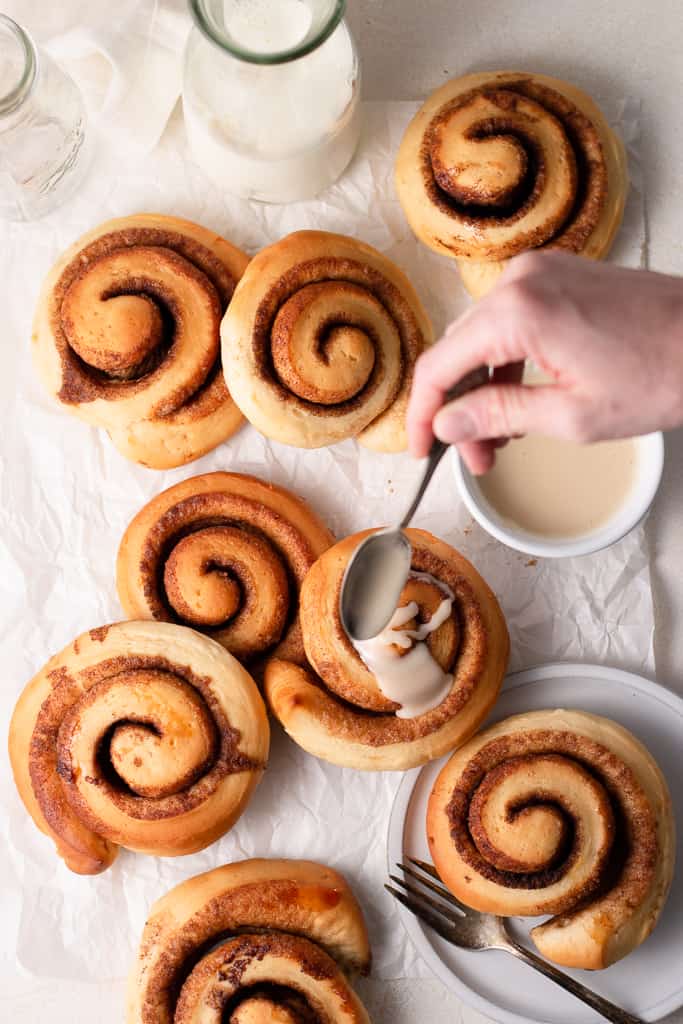
How to make them “overnight” cinnamon rolls
If you want to have warm, delicious cinnamon rolls first thing in the morning, you’ll want to pop these babies in the refrigerator overnight. This means you’ll want to make the dough, let it have its first rise, fill, roll, and slice them the evening before. I find that if I start by around 5 or 6pm then night before that gives me the perfect amount of time in the morning to bake these off.
So, just follow the instructions in the recipe below all the way until just before you do the second rise. Here, you’ll simply pop them in the refrigerator overnight, then early in the morning you’ll take them out and let them come to room temperature on the counter or in a warm place and let them proof here. Then you’ll continue with the recipe as it’s stated!
I hope you’ll be baking these on Christmas Eve like I’m planning to so you’ll have them ready to go on Christmas morning!! If you do, be sure to tag me on socials @sarahsdayoff so I can see them!!
Love,
Sarah
Homemade Cinnamon Rolls
Ingredients
For the Dough
- 1 cup milk lukewarm (100-110°F)
- 1/4 cup water lukewarm (100-110°F)
- 1 Tbsp active dry yeast
- 6 Tbsp butter melted and cooled
- 1 large egg
- 2 large egg yolks
- 1/4 cup light brown sugar
- 1/4 cup granulated sugar
- 2 3/4 cups all-purpose flour
- 1 1/2 cups bread flour
- 1/2 tsp kosher salt
For the Filling
- 2/3 cup light brown sugar
- 1 Tbsp ground cinnamon
- 1 tsp pumpkin pie spice
- 1/4 cup butter melted
For the Frosting
- 4 oz cream cheese at room temperature
- 1/4 cup butter at room temperature
- 1 1/2 cups powdered sugar
- 1 tsp pure vanilla extract
Instructions
For the Dough
- Combine the milk, water, and yeast in the bowl of a stand mixer fitted with the dough hook attachment. Let stand for 5 minutes or until the yeast is foamy and slightly bubbly. Beat in the butter, egg, egg yolks, and sugars until smooth, about 1 minute.
- Add both flours and salt; beat on medium-high speed until dough pulls away from the sides of the bowl and is no longer too tacky, about 5 to 7 minutes.*
- Transfer the dough to a lightly greased bowl and cover tightly with plastic wrap. Place the bowl in a warm place (I heat my oven to 95°F and place the bowl in the bottom of the oven) until doubled in size, about 45 minutes to 1 hour.
- Turn the dough out onto a lightly floured surface. Roll out the dough into a 12- x 18-inch rectangle.
For the Filling:
- Combine the brown sugar, cinnamon, and pumpkin pie spice in a small bowl. Evenly spread the butter all over the dough using a pastry brush. Sprinkle the brown sugar mixture over the butter.
- Starting with one of the long ends, tightly roll the dough from end to end and gently punch the edges together to seal.
- Cut the dough into 1 1/2-inch thick sections using a sharp knife or a strand of unscented dental floss. Place rolls 2-inches apart on a lightly greased baking sheet; cover tightly with plastic wrap and let proof in a warm place until puffy, about 45 minutes to 1 hour.**
- Meanwhile, preheat the oven to 350°F. Bake 22 to 25 minutes or until the edges are just golden brown.
For the Frosting
- Beat the cream cheese and butter in a medium bowl until smooth and fluffy, about 2 minutes. Add the powdered sugar and vanilla and beat until smooth. Spread the frosting over the warm cinnamon rolls.

Leave A Comment