Chocolate Sugar Buns
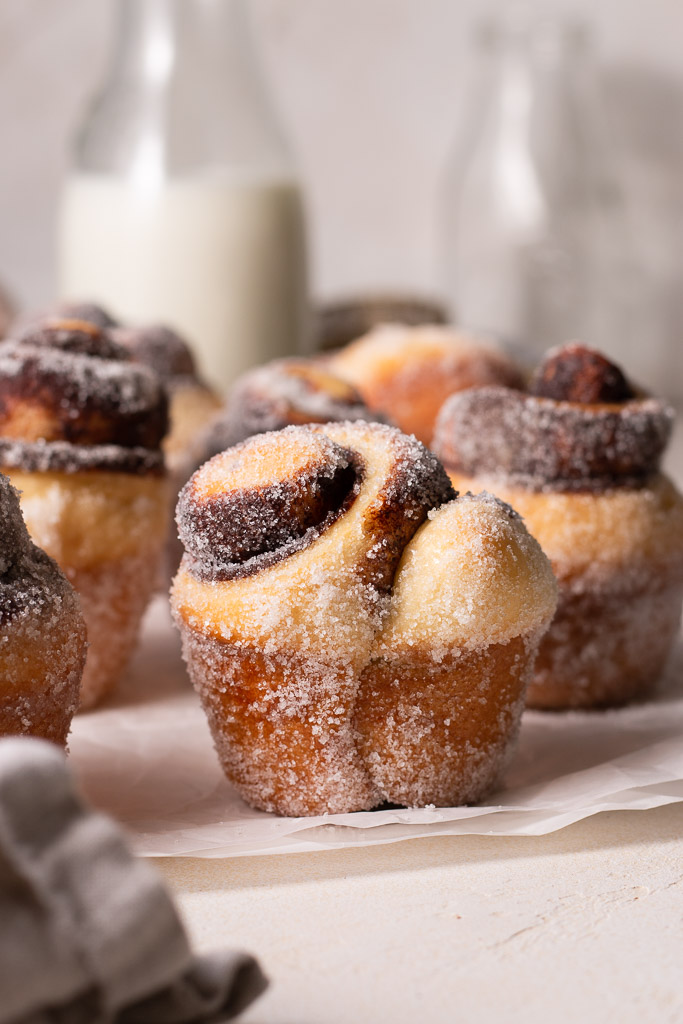
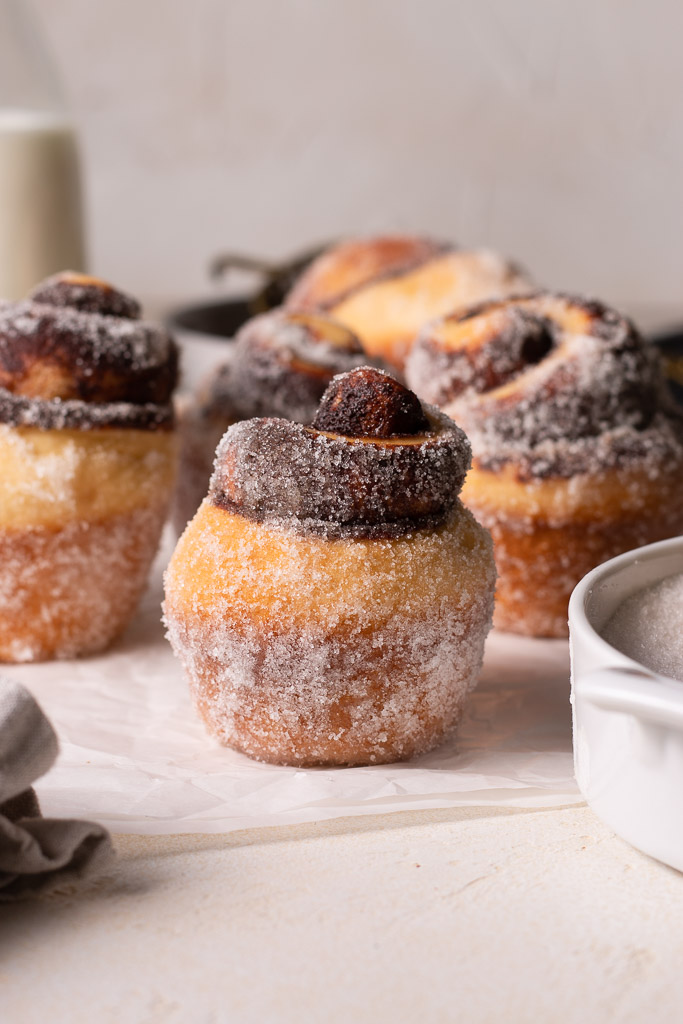
These fluffy chocolate sugar buns are filled with a mocha chocolate filling, slathered in butter, and coated in sugar. They’re the perfect way to change up your typical, go-to cinnamon rolls for a fun chocolatey twist.
What are Chocolate Sugar Buns?
For this recipe we’re going beyond our classic cinnamon rolls. You guys know I love a good cinnamon roll recipe, especially when it’s slathered in butter and some sort of delicious frosting. You guys know that I also love chocolate, so why not combine them both into a chocolate sugar bun recipe?
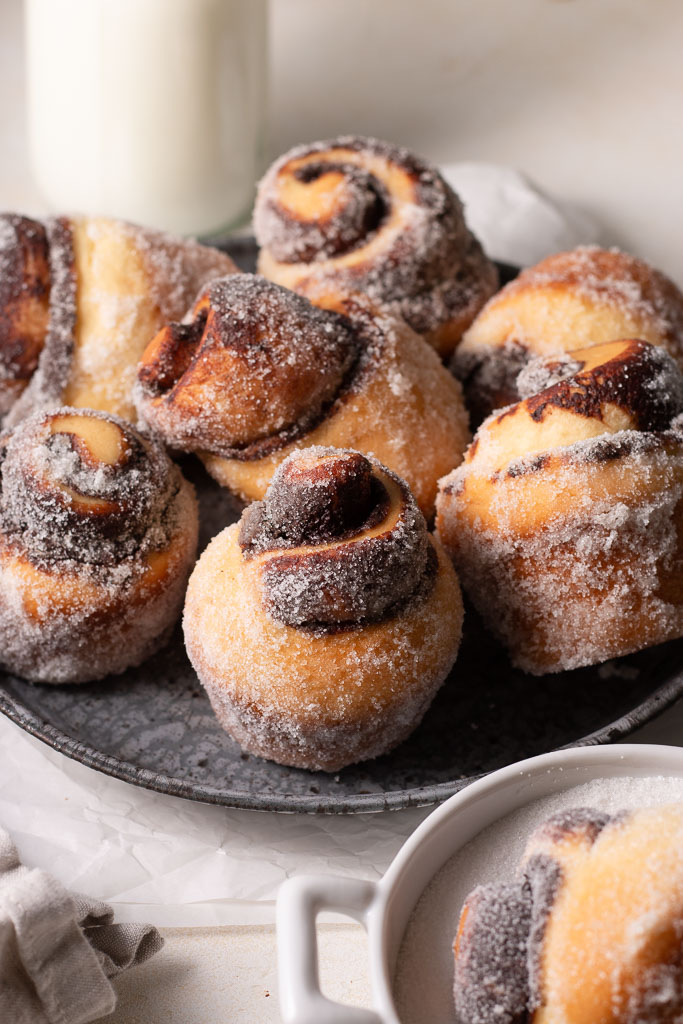
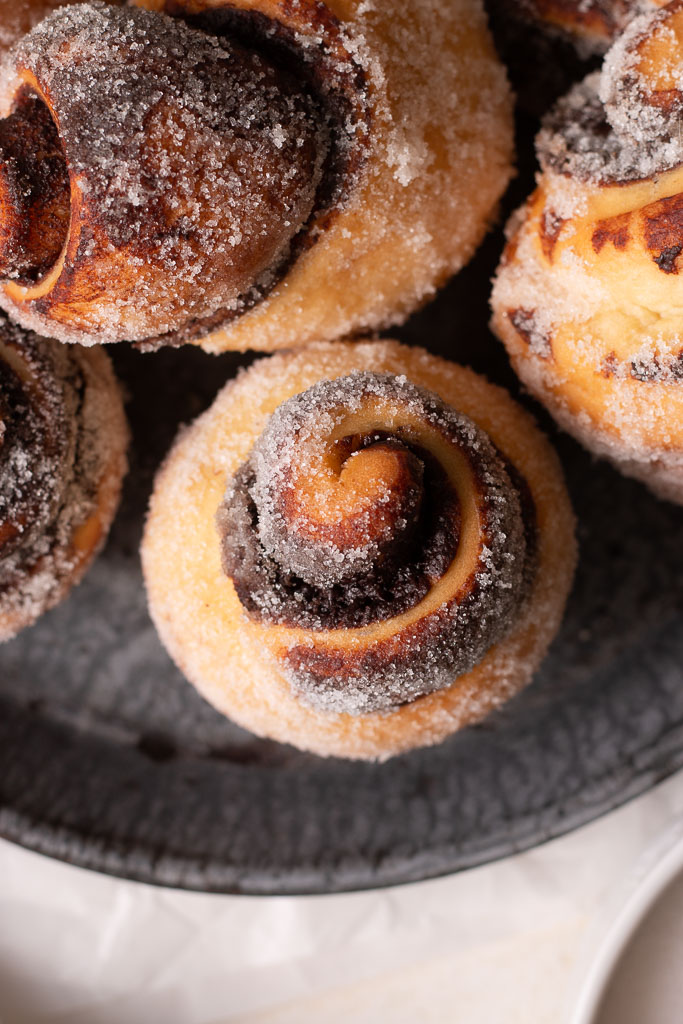
These are made with a yeasted dough that we then fill with butter and a chocolate-mocha filling. You’ll roll them up into cute little buns and place them in a muffin tin. Because they’ll be baked in a tin instead of on a sheet pan, the friction with the sides of the pan will cause them to rise up differently than a classic sweet roll. These chocolate filled rolls are the perfect thing to add to your to-bake list.
Why this recipe works
For this chocolate sugar bun recipe we’re using a classic yeasted dough, one that can be made in just a few simple steps and requires almost no hands-on time.
The dough is similar to the ones I’ve used in my pumpkin cinnamon rolls and classic cinnamon rolls, so needless to say this dough has been made by me multiple times. Meaning that it’s nearly fail-proof.
The filling is also a simple twist on your classic sweet bun filling. Because this is a chocolate filled bun, we’ll be melting down real chocolate (nothing artificial here!) and combining it with butter and a little bit of espresso powder to create a decadent filling. Bread is a whole lot better with chocolate and butter, right?!
Some equipment you may need…
- Stand mixer: this is the one I have and I love it! I’ve had it for years now and I’ve never had any trouble with it. You definitely don’t “need” a stand mixer for these chocolate sugar buns, but it sure does make life a lot easier.
- Rolling pin: I love using my dowel-style rolling pin for most recipes, and it’s a great tool to use for these chocolate sugar buns. Many people use French style rolling pins, and honestly it’s just up to personal preference!
- Measuring cups/spoons: I’ve been linking these in all of my posts because I love them SO much! They are beautiful and look just like some other expensive ones on the market (but way cheaper).
- Mixing bowls: I love these glass mixing bowls from Amazon. They’re especially perfect for food photography and these chocolate sweet rolls.
- Wooden spoon: I only use wooden spoons and rubber spatulas when I’m baking, and I love these!
Ingredients for Chocolate Sugar Buns
For the Dough:
- Active dry yeast – I opted to use active dry yeast in here because it’s what’s most widely available. Read below if you want to sub out instant yeast.
- Whole milk – we’ll start by dissolving the yeast in the warm water to ensure the yeast is alive, so make sure you warm your water up (about 20 to 30 seconds in the microwave should do the trick). If your yeast doesn’t foam when you do this, you’ll need to go get some fresh yeast as yours may not be alive.
- Unsalted butter – this will be a staple ingredient for any chocolate sweet bun recipe, and especially here in these chocolate sugar buns. We’ll be adding it to the dough, the filling, and the sugar coating.
- Granulated sugar – because these are chocolate sugar buns, we’ll be coating them in lots of sugar at the end (making it the perfect texture!).
- Large eggs – used to hold everything together in the dough.
- All-purpose flour – this recipe makes a lot of chocolate sugar buns, so you’ll need a lot of flour. I love using King Arthur Flours because I think consistency in recipe testing is important.
- Kosher salt – Diamond crystal kosher salt is the brand I always use in my recipes!
For the Filling:
- Bittersweet chocolate – this will be melted down and added to our filling, so make sure you go with a great brand as this is where the majority of our chocolate flavor is coming from.
- Powdered sugar – for the filling.
- Espresso powder – what makes these have a chocolate “mocha” filling. I love using espresso powder in recipes that have chocolate, because I think it makes the chocolate taste more like itself. It’s truly one of my favorite baking products.
- Cocoa powder – let’s hear it for Dutch-process cocoa powder! I use this often when baking because the flavors are more rich to me, and I recommend you use the same for these chocolate sugar buns!
- Pure vanilla extract – this is a time you’ll want to skip the vanilla “flavoring.” It tastes incredibly artificial and you’ll wish you had used pure vanilla extract. Just look for the word “pure” on the label. Pro-tip: for extra flavor points try using vanilla bean paste. It’s a little bit more expensive but will combine with the chocolate and espresso powder in the perfect way!
Possible Ingredient Substitutions
Instant yeast vs active dry yeast
Typically in a lot of recipes you can substitute instant yeast for active dry (like in these homemade donuts). I like to call for active because thats whats more widely available, but if you want to use instant go right ahead! You can skip the proofing process (adding it to the milk and waiting for it to bubble and foam), and just add it straight to the dough.
Instant coffee
If you can’t get your hands on any espresso powder, you can use instant coffee instead! I do this a lot in my recipes actually, and I end up with great results. Just add about 1 1/2 tsp instant coffee to the saucepan with all the other ingredients and it will dissolve completely in the heat.
How to Make Chocolate Sugar Buns
Step 1 – make and fill the dough
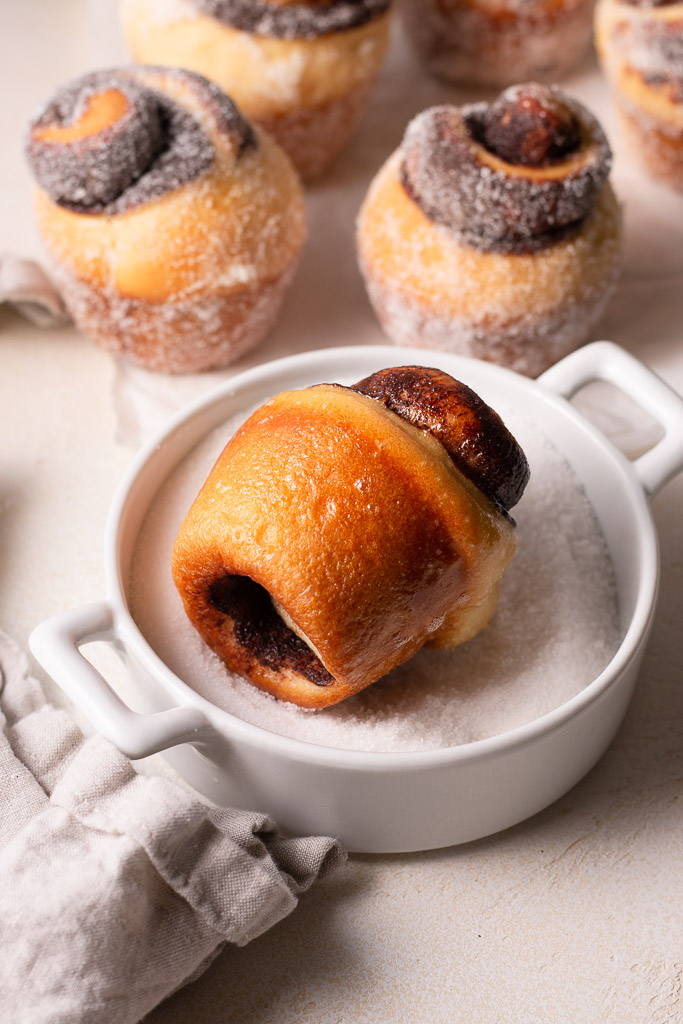
This process is relatively simple. Making the actual dough happens very quickly if you’re using a stand mixer. You’ll make the dough and let it take it’s first rise, then you’ll add the filling and let them have their second rise.
Step 2 – bake and coat
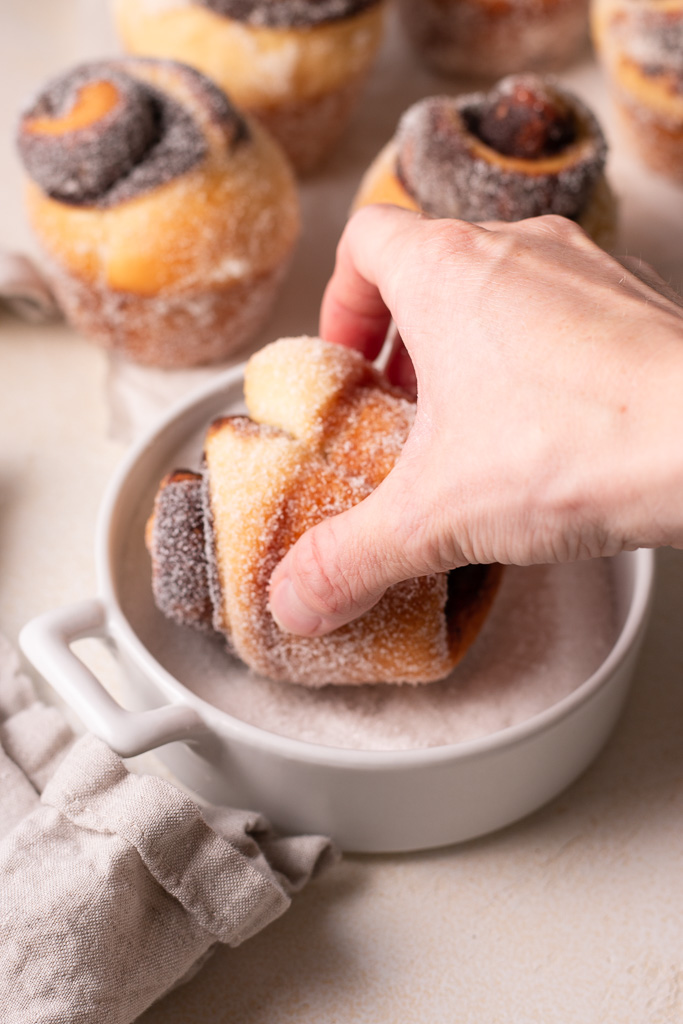
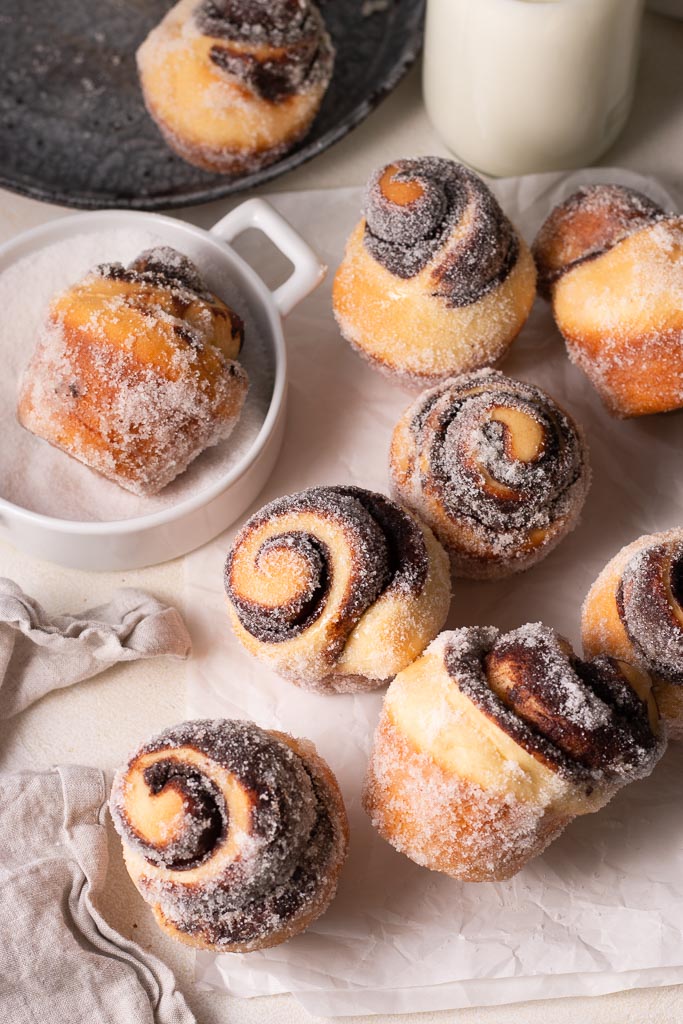
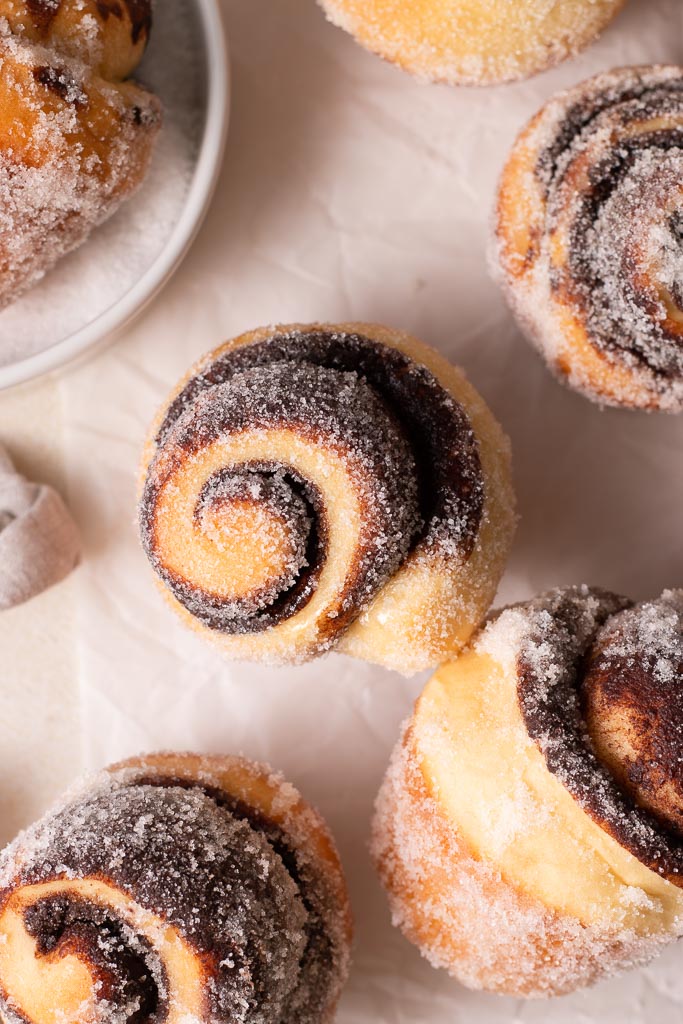
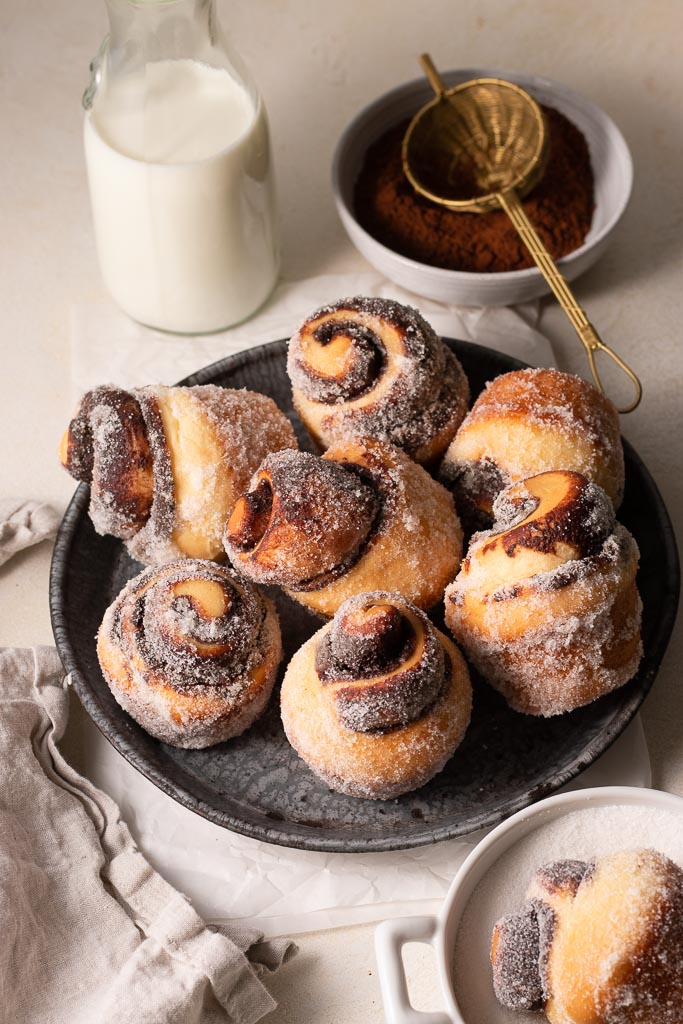
Next, you’ll cover the chocolate filled buns in butter and coat them in granulated sugar. This will add a really nice crunchy texture to the outside of your easy chocolate filled rolls.
My Kitchen Tips
Use unsalted butter
In a lot of my recipes I like to add that you can substitute salted butter for the unsalted butter, but in the case of these chocolate sugar buns you really need to use unsalted butter.
I accidentally coated a few of my chocolate sugar buns in salted butter before I rolled them in sugar and it was way too salty. Not what we’re going for!
Use the poke test
This is something we use in baking to tell if your bread is properly proofed. Here’s how it’s done:
Gently press your finger slightly into the dough, if it springs back very slowly, it’s ready to be baked.
If it springs back very quickly: it’s underproofed.
If it doesn’t spring back at all: it’s over proofed.
Use dental floss
Ok kind of crazy right?! You wouldn’t think chocolate sugar buns and dental floss belong in a sentence together, but they really do.
When you cut your rolls into individual chocolate buns, you can use either a sharp knife or dental floss. I like to use unscented floss because I can get a really nice cut without smooshing the entire roll down. These chocolate sweet rolls work really great with floss (similar to my cinnamon rolls and pumpkin cinnamon rolls).
Recipe FAQs
How to make these overnight sweet buns?
If you’re looking for warm chocolate sugar buns right when you wake up in the morning, you may want to consider making these overnight sweet buns. And it’s really simple:
Make the dough, let it have its first rise, fill, roll, slice, and place them in the muffin tins the evening before (up to 14 hours in advance). Typically, if I start by around 5 or 6pm the night before that gives these chocolate sweet rolls the perfect amount of time to proof.
Then, just place the muffin tins in the refrigerator overnight. When you wake up in the morning set them out at room temperature or in a warm spot for about 2 hours or until they’ve doubled in size and they’re properly proofed (see above regarding ways to tell if they’re properly proofed).
Can I use instant yeast instead of active dry yeast?
Yes, you can use instant yeast in place of the active dry yeast, just skip the yeast proofing step at the beginning of the recipe and add the yeast straight to the dough.
How to store
You can store these easy chocolate buns in an airtight container at room temperature for up to 2 days.
Can I make these chocolate sugar buns in advance?
Yes, you can make these chocolate buns in advance. You can either do the overnight method (as described above), or you can freeze the chocolate filled buns before you roll them in the butter and sugar for up to 3 months. Once you’re ready to serve them, let them come all the way to room temperature before rolling them in butter and sugar.

These chocolate sugar buns were such a fun recipe to work on, and everyone in our home loved them so much. I hope this inspires you to change up your typical cinnamon roll recipe for something a little outside of the box!
If you make this recipe be sure to tag me on socials @sarahsdayoff so I can see the beauties!!! If you have any questions about this recipe or any others on my site, you can reach out to me at sarah@sarahsdayoff.com and I’d be happy to chat with you!
Love,
Sarah
“Sound the trumpet in Jerusalem! Raise the alarm on my holy mountain! Let everyone tremble in fear because the day of the Lord is upon us.” -Joel 2:1-
Chocolate Sugar Buns
Ingredients
For the Chocolate Buns
- 1/2 cup lukewarm water (somewhere between 105° to 115°)
- 1 (2.25-oz) packet active dry yeast
- 1/2 cup whole milk
- 1/4 cup unsalted butter melted
- 1/2 cup granulated sugar
- 2 large eggs at room temperature
- 4 cups (583g) all-purpose flour
- 1 tsp kosher salt
For the Chocolate-Mocha Filling
- 1/2 cup unsalted butter
- 1 (4-oz) bar bittersweet chocolate coarsely chopped
- 1/2 cup powdered sugar
- 1/4 cup cocoa powder
- 1 tsp espresso powder
- 1 tsp pure vanilla extract
- Generous pinch of kosher salt
For the Sugar Coating
- 1/4 cup unsalted butter melted
- 1 cup granulated sugar
Instructions
For the Chocolate Buns
- Combine the water and yeast in the bowl of a stand mixer fitted with the dough hook attachment. Let stand for 5 to 10 minutes or until the yeast is slightly foamy (this is your sign that the yeast is alive. If this doens't happen, you need to get fresh yeast).
- Meanwhile, combine the milk, butter, and sugar in a small bowl and microwave in 15-second intervals, stirring between each interval, until the butter is melted and it is warm to the touch (don't let it to get too hot - if this happens you may kill the yeast. Shoot for lukewarm).
- Add the warm milk mixture and eggs to the yeast/water mixture and whisk until everything is combined (whisking by hand here is more effective).
- Add the flour and salt, and beat on medium speed for 6 to 8 minutes. The dough should be slightly tacky and should stay attached to the hook when you pull it out of the bowl. It shouldn't be so sticky that it gets all over your hand when you touch it.
- Remove the dough from the bowl, and spray the bowl with cooking spray. Add the dough back to the oiled bowl, cover with plastic wrap, and let sit in a warm place for about 2 hours, or until it's doubled in size.
For the Chocolate-Mocha Filling
- 30 mintues before the dough is finished rising, make the filling. Combine the butter, chocolate, sugar, cocoa powder, espresso powder, vanilla, and salt in a small saucepan, whisking until smooth.
- Set the saucepan over medium-low heat and stir every so often until the chocolate is fully melted and you're left with a relatively thick mixture.
- If it gets too thick while you're rolling out the dough, you can warm it up again or add a bit of milk or cream. You want it to be spreadable, not runny and not too thick.
- Punch the dough down using the fist of your hand (this will help expel some gases), and turn the dough out onto a lightly floured surface. Roll the dough into a 12x18-inch rectangle.
- Evenly spread the filling all over the dough using an offset spatula or a knife, leaving a 1/2-inch border on each side.
- Starting on one of the long ends, tightly roll the dough from end to end and gently press the edges together to seal.
- Cut the dough into 1 1/2-inch thick sections using a sharp knife or a stand of unscented dental floss. Place the rolls in 2 lightly greased muffin tins (this recipe makes about 24 buns, so you'll need 2 (12-cup) muffin tins or 1 (24-cup muffin tin).
- Cover the muffin tins with plastic wrap and let them rest in a warm spot until the rolls have doubled in size, about 1 hour.
- Preheat the oven to 350°F. Bake the buns until they're golden brown and puffed up, about 20 to 25 minutes (Tip: make sure your oven racks are spaced a good bit apart becuase these rise quite a bit and you don't want them hitting another oven rack).
- Remove from the oven and cool completely on wire racks.
For the Sugar Coating
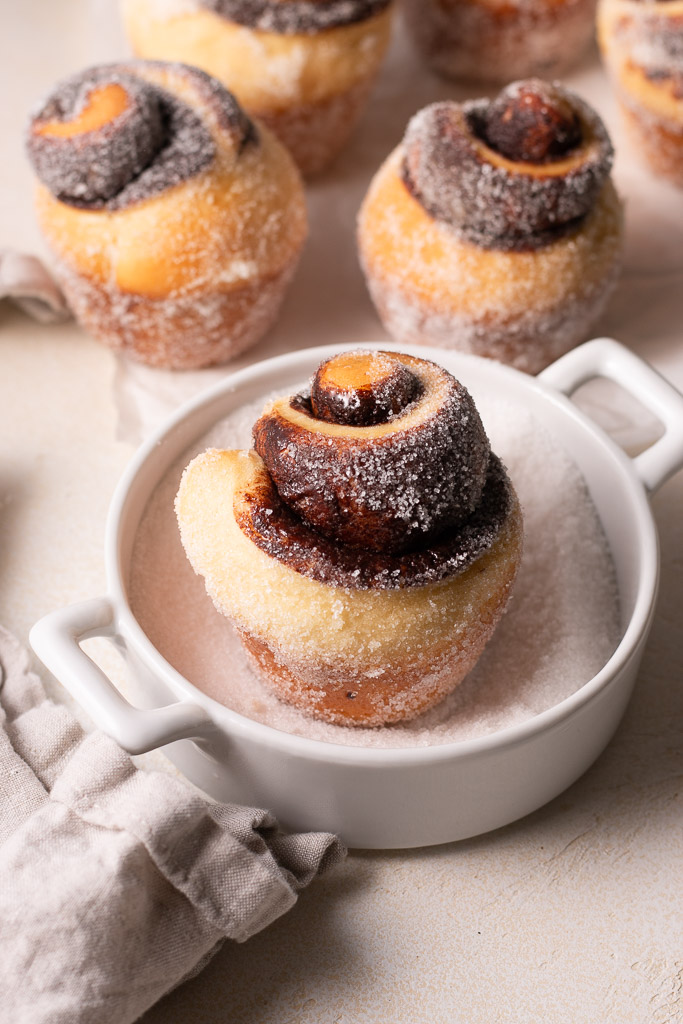
- Microwave the butter in a medium-sized bowl in 15-second intervals until completely melted. Place the sugar in a shallow bowl.
- Working 1-by-1, dip each bun in the butter and roll to coat completely. Then transfer to the sugar bowl and coat each bun in sugar. Transfer back to the wire rack. Serve these buns immediately.
Notes
This blog post contains affiliate links which make me a small commission at no cost to you. Thank you for supporting Sarah’s Day Off!

Leave A Comment