Chocolate Cinnamon Rolls
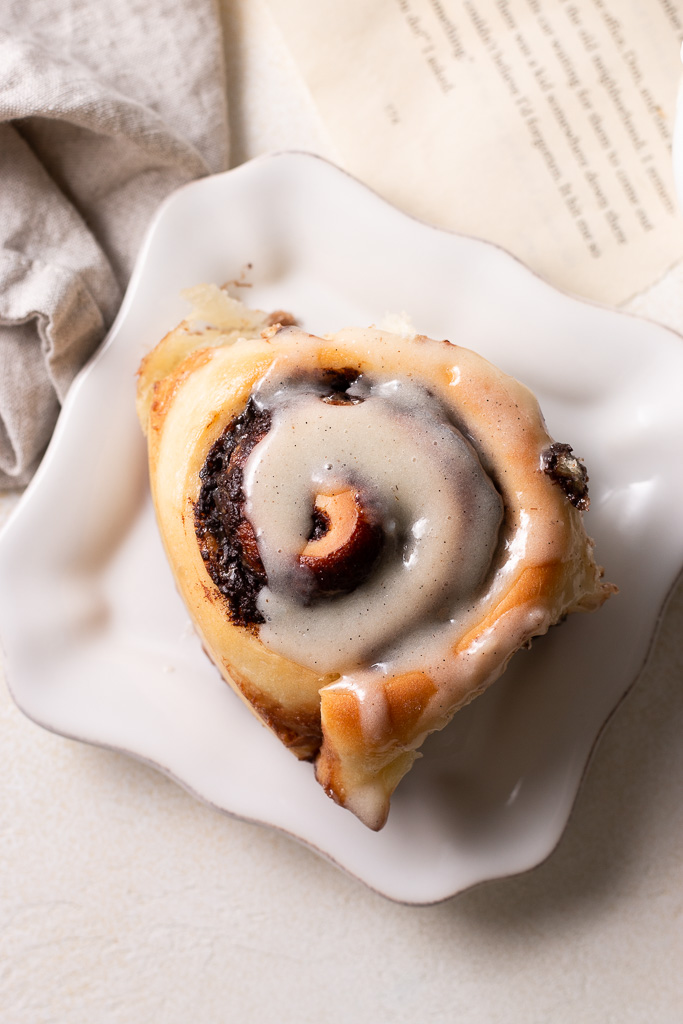
Putting a spin on the classic cinnamon roll with these chocolate cinnamon rolls. Packed with a chocolate-mocha filling, these rolls are perfect for those looking to change things up a bit!
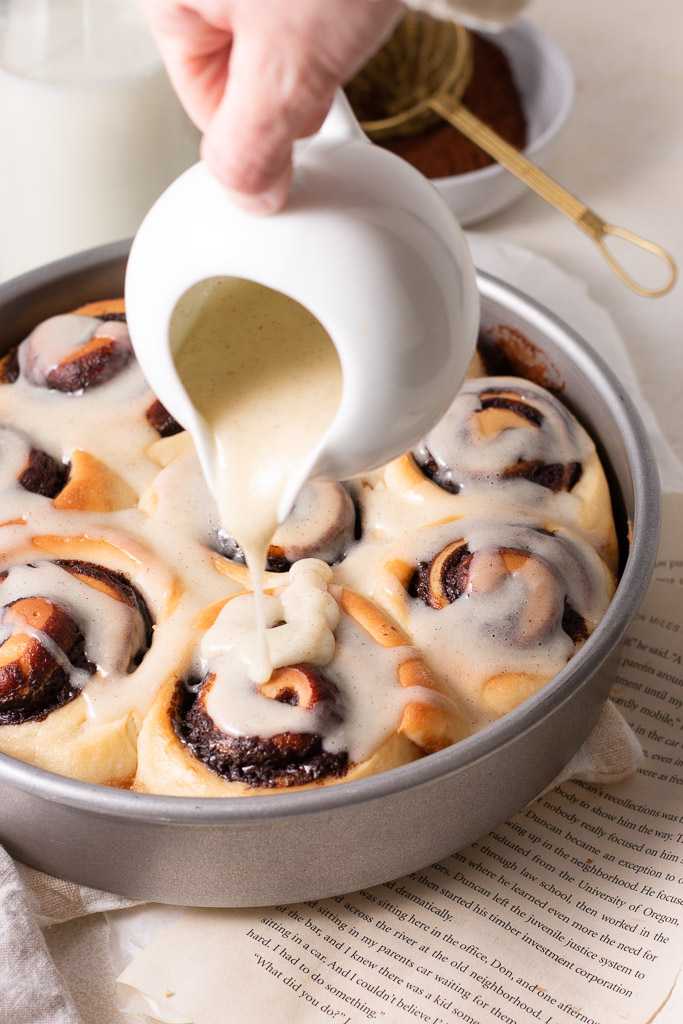
What are Chocolate Cinnamon Rolls?
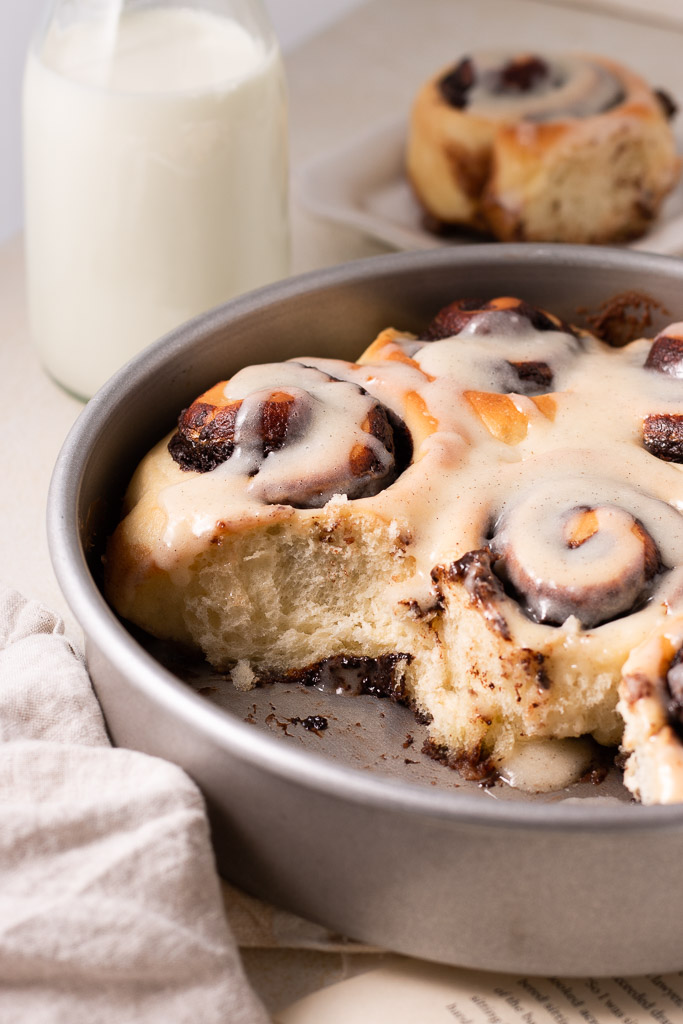
Unlike regular homemade cinnamon rolls, these chocolate cinnamon rolls are filled with a chocolate-espresso filling instead, making them the perfect twist on homemade cinnamon rolls. Not only is the filling just a little bit different, I also baked these with a heavy cream glaze at the bottom of the pan. This results in warm, fluffy, moist, rich rolls that have a perfectly balanced bite.
They’re a great option for a breakfast treat, but outside of that you can enjoy them for special occasions, an after-dinner treat, or at any time of the day.
I happen to love taking classic favorites and adding a little twist to make them new and different. These chocolate cinnamon rolls are no exception!
Why this recipe works
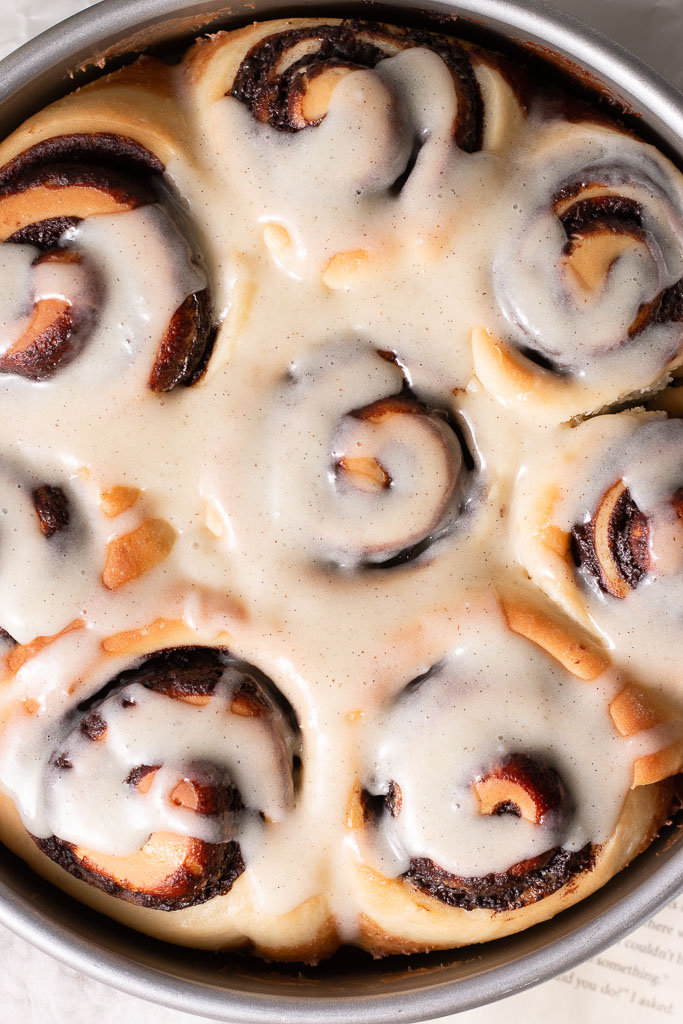
This chocolate cinnamon rolls recipe strikes an equal balance between flavor (from the chocolate and espresso), texture (from the heavy cream during baking), and ease of preparation (self-explanatory!). I tried to make this recipe a very simple concept, much like these homemade cinnamon rolls or these chocolate sugar buns.
The dough is soft and pillowy, thanks to an equal balance of yeast, butter, and flour. And you guys have heard me say this before, but I’ll say it again: chocolate + coffee is the ultimate flavor combination. It’s why I love my French buttercream recipe so much, and it was also the inspiration behind these chocolate fudge mocha cookies. Something about the 2 ingredients together just creates a match made in Heaven!
Baking with yeast
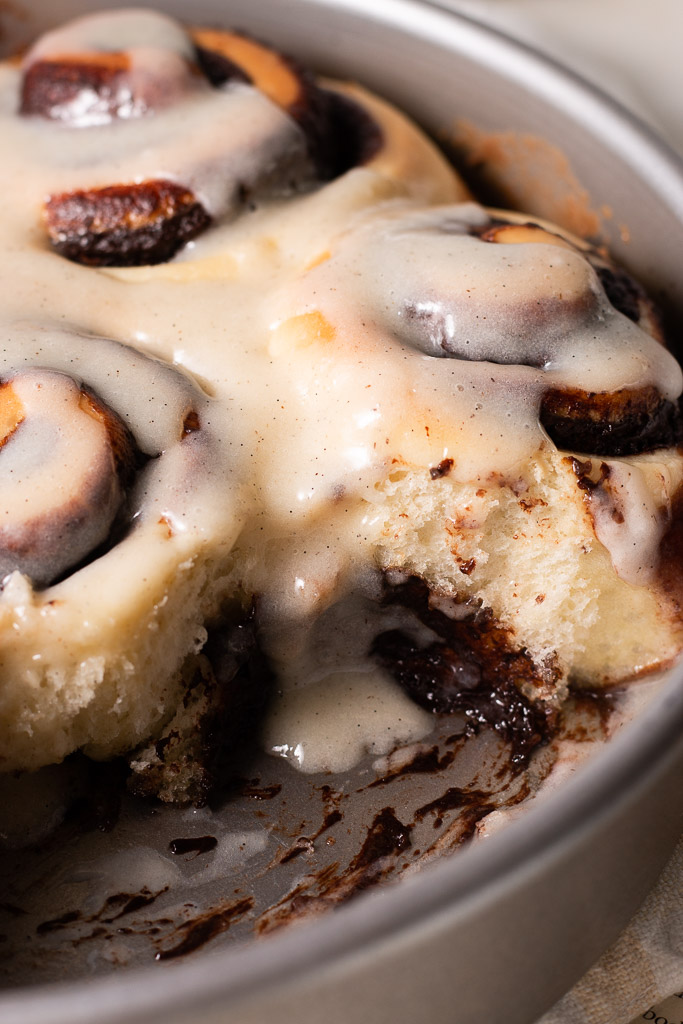
I know it’s easy to be intimidated by baking with yeast, but I promise once you start adding it to your recipes more and more, the process really becomes quite simple. I’m a sourdough girl through-and-through, I bake 2 loaves for my family every week – but there’s just something about the flavor that yeast brings to the baking table that I’ll never get over.
If you’re just starting out baking with yeast, here are a few other recipes you can bake on top of this one to get you more used to the process:
Some equipment you may need…
- Measuring cups/spoons: I’ve been linking these in all of my posts because I love them SO much! They are beautiful and look just like some other expensive ones on the market (but way cheaper).
- Wooden spoon: I only use wooden spoons and rubber spatulas when I’m baking, and I love these!
- Mixing bowls: I love these glass mixing bowls from Amazon. They’re especially perfect for food photography if that’s something you’re interested in.
- Stand mixer: you can make this recipe in just a regular bowl with a wooden spoon and a whisk, but stand mixers truly make life so much simpler. Especially since this is a thicker cookie dough, things will be much easier! I love mine from KitchenAid.
- Cake pan: for these rolls you’ll need a 9-inch cake pan. Normally, I bake my homemade cinnamon rolls on a sheet pan so that I can space them further apart to ensure even baking, but for these you’ll want them tucked in close, and you’ll also want sides on the pan to keep the heavy cream inside during baking.
- Square baking dish: if you don’t have a cake pan but you do have a ceramic baking dish, use that instead!
Ingredients for Chocolate Cinnamon Rolls
For the Dough:
- Active dry yeast – I opted to use active dry yeast in here because it’s what’s most widely available. Read below if you want to sub out instant yeast.
- Whole milk – we’ll start by dissolving the yeast in the warm water to ensure the yeast is alive, so make sure you warm your water up (about 20 to 30 seconds in the microwave should do the trick). If your yeast doesn’t foam when you do this, you’ll need to go get some fresh yeast as yours may not be alive.
- Unsalted butter – this will be a staple ingredient for any chocolate sweet bun recipe, and especially here in these chocolate sugar buns. We’ll be adding it to the dough, the filling, and the sugar coating.
- Granulated sugar – because these are chocolate sugar buns, we’ll be coating them in lots of sugar at the end (making it the perfect texture!).
- Large eggs – used to hold everything together in the dough.
- All-purpose flour – this recipe makes a lot of chocolate sugar buns, so you’ll need a lot of flour. I love using King Arthur Flours because I think consistency in recipe testing is important.
- Kosher salt – Diamond crystal kosher salt is the brand I always use in my recipes!
For the Chocolate Cinnamon Rolls Filling:
- Bittersweet chocolate – this will be melted down for the filling, so make sure you go with a great brand as this is where the majority of our chocolate flavor is coming from.
- Powdered sugar – to mix into the chocolate cinnamon rolls filling.
- Espresso powder – like I said, chocolate and coffee is an incredible combination for this filling. I love using espresso powder in recipes that have chocolate, because I think it makes the chocolate taste more like itself. It’s a baking staple that I will always stand by.
- Cocoa powder – Dutch-process cocoa powder is what I use in all of my recipes, and I recommend you use the same for these chocolate cinnamon rolls!
- Pure vanilla extract – avoid the vanilla “flavoring.” It tastes incredibly artificial and you’ll wish you had used pure vanilla extract. Just look for the word “pure” on the label. Pro-tip: for extra flavor points try using vanilla bean paste. It’s a little bit more expensive but will combine with the chocolate and espresso powder in the perfect way! Its what I used for the glaze of this chocolate cinnamon roll recipe and I love that you can see the vanilla bean flecks coming through in the glaze!
Possible Ingredient Substitutions for Cinnamon Rolls with Chocolate
Instant yeast vs active dry yeast
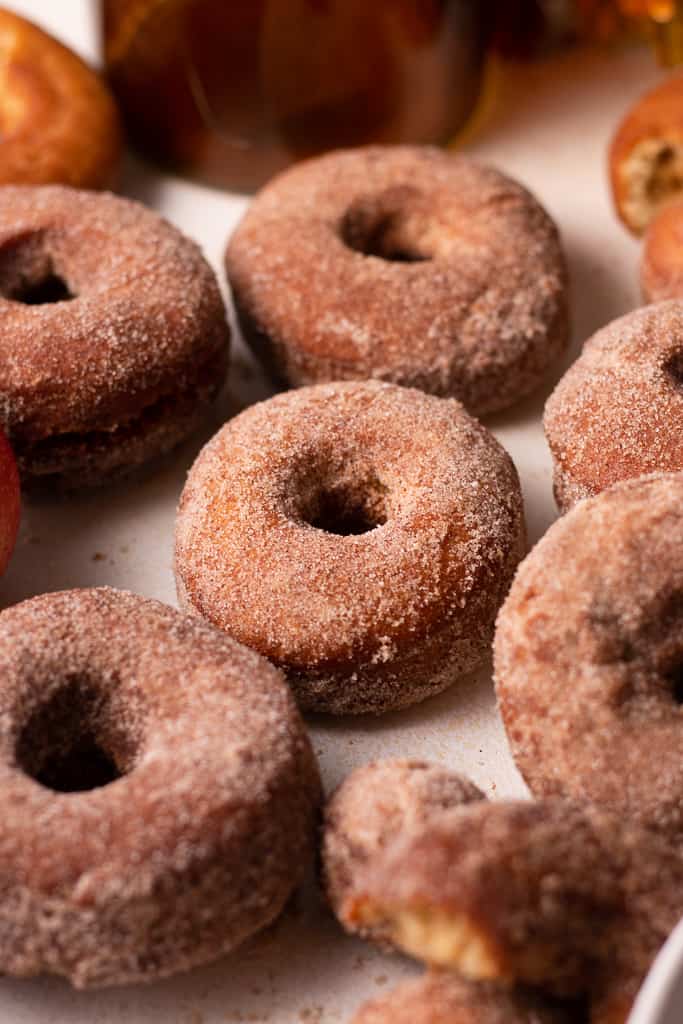
Typically in a lot of recipes you can substitute instant yeast for active dry (like in these easy homemade yeast donuts). I like to call for active because thats whats more widely available, but if you want to use instant go right ahead! You can skip the proofing process (adding it to the milk and waiting for it to bubble and foam), and just add it straight to the dough.
Instant coffee
If you can’t get your hands on any espresso powder, you can use instant coffee instead! I do this a lot in my recipes actually, and I end up with great results. Just add about 1 1/2 tsp instant coffee to the saucepan with all the other ingredients and it will dissolve completely in the heat.
How to Make Chocolate Cinnamon Rolls
Step 1 – Make the dough and the filling
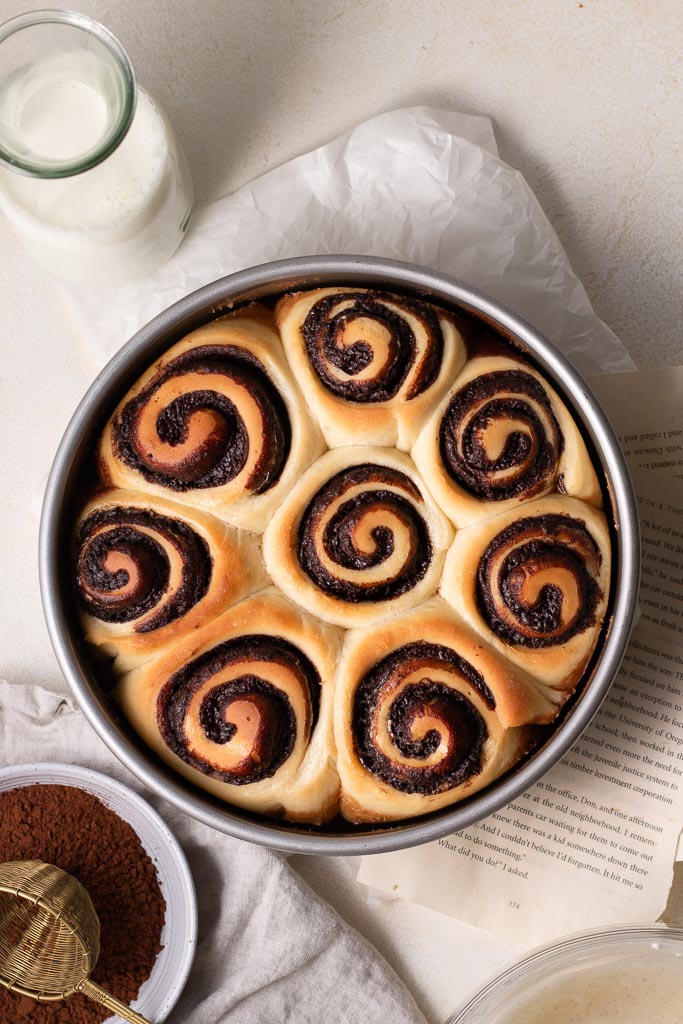
The first step of any recipe that includes yeast will be to make the dough as it requires time to proof or “rise.” This is where you’ll want to start – and that way you’ll have some time on your hands to make the filling and the glaze while you’re waiting for the dough to proof!
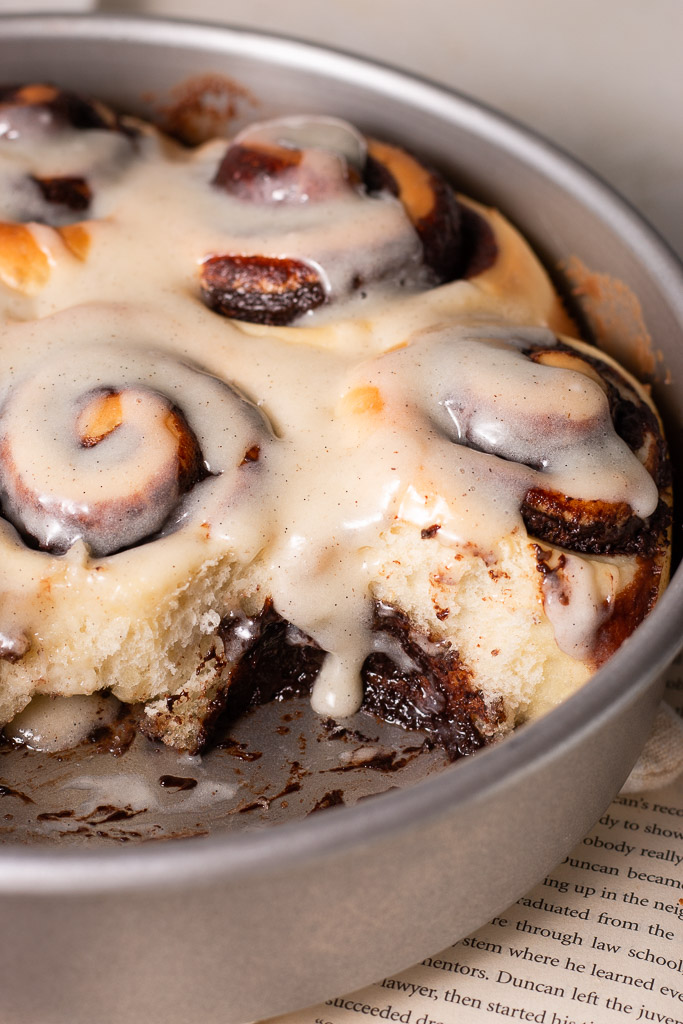
Step 2 – Roll up and bake the cinnamon rolls with chocolate
This dough is more on the soft side. It won’t be quite as firm so it’s important that you don’t let it get too warm. One time, I rolled it up on the counter top right above our dishwasher (while it was running) and it was just a little bit more difficult!
Like I said above, don’t forget to pour the heavy cream into the pan before baking them off. This will add so much moisture to these cinnamon rolls with chocolate!
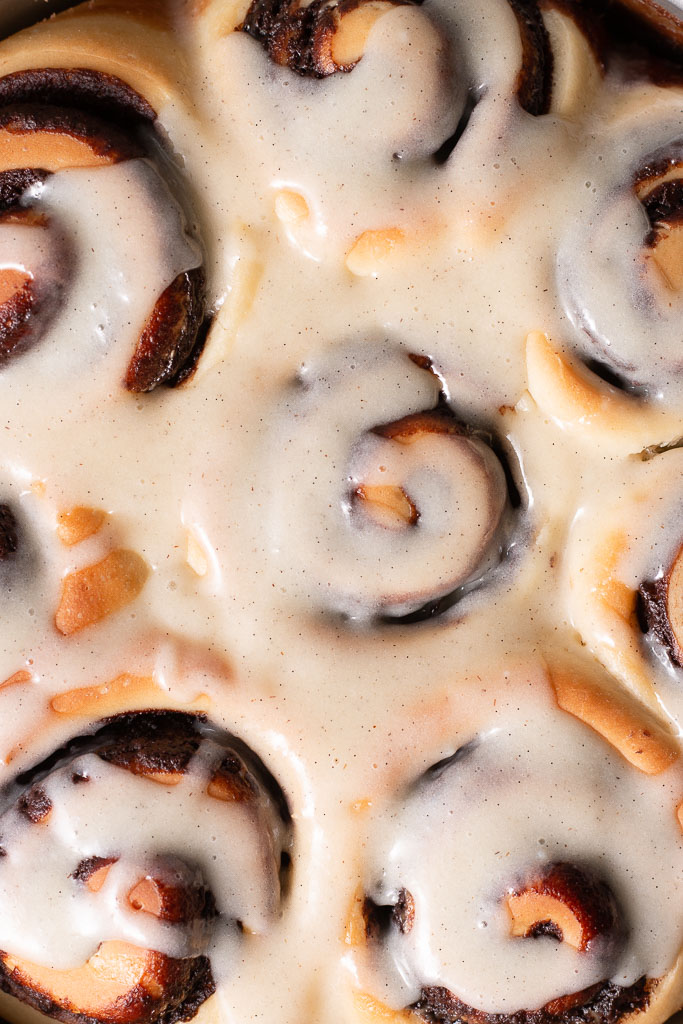
Step 3 – Glaze and enjoy
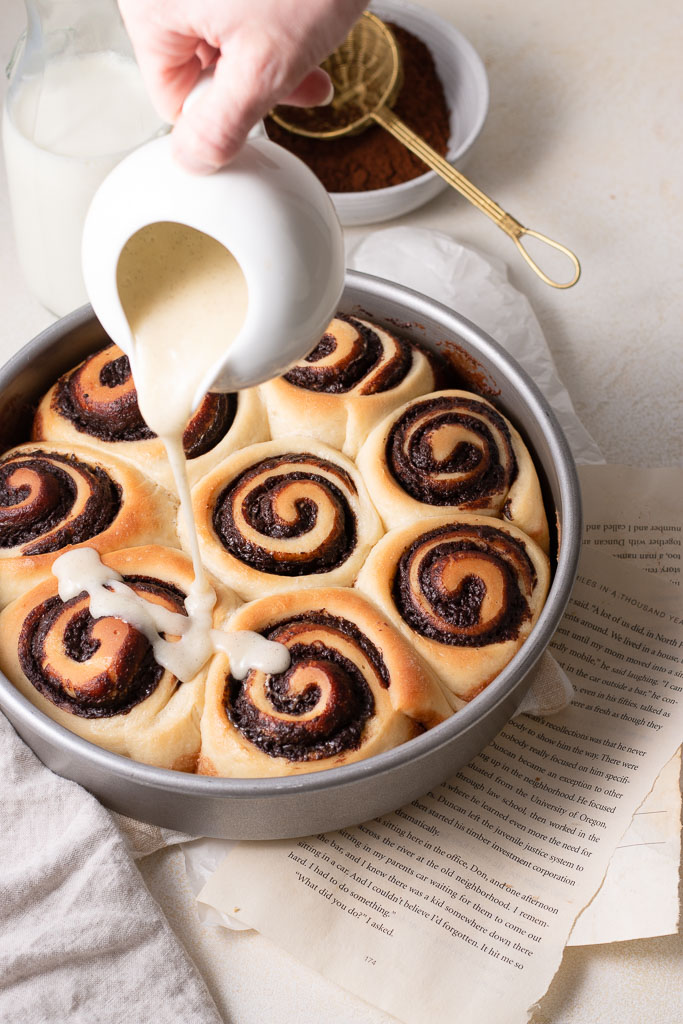
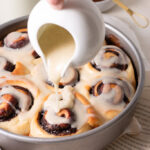
The glaze in this chocolate cinnamon rolls recipe is probably my favorite part. Most likely it’s because I used vanilla bean paste which makes the glaze look so much more intriguing! I love looking at a baked good and being able to tell what’s in it before I even take a bite. I’m not all for the hidden surprises. And that’s the case with this glaze – you can see the vanilla bean seeds in the glaze so you know it’s a vanilla glaze.
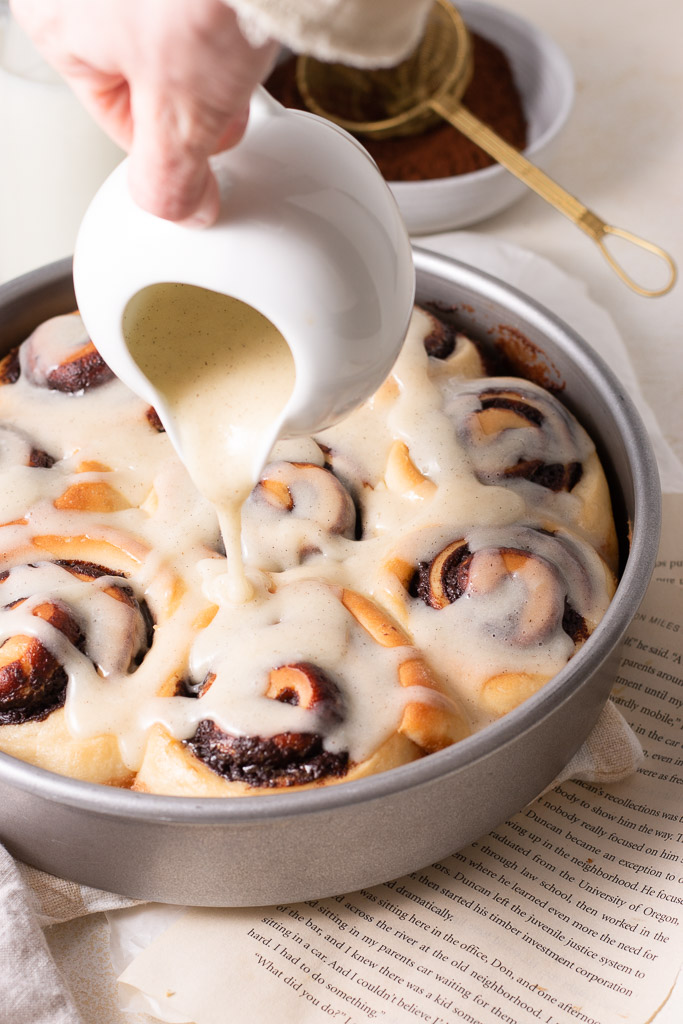
My Kitchen Tips
Use heavy cream during baking
This is different than my homemade cinnamon rolls recipe because I decided to pour heavy cream into the bottom of the pan before I put it in the oven. By doing so, the heavy cream will be absorbed by the chocolate cinnamon rolls dough, enriching it with a moist and velvety texture. Both things that are a must for any cinnamon roll recipe. I really liked this technique and I’m going to consider using it in other cinnamon roll recipes as well!
Never be afraid to add more chocolate
I think this will always be my motto in the kitchen – the more chocolate, the better. And the same principle applies here with these chocolate cinnamon rolls. Just make sure that when you’re melting the chocolate down, you’re doing so on very low heat. Heating chocolate in a saucepan over too high of heat will cause the chocolate to seize and you will end up with unusable chocolate. I learned this the hard way!

Chocolate Cinnamon Rolls FAQs
How to make these overnight chocolate cinnamon rolls?
I get asked this question a lot when it comes to yeasted dough, and it’s really simple to make almost any dough containing yeast an overnight dough. Meaning, you make the dough one day in advance and bake it off the next morning. That way, you can do all the prep work beforehand and you don’t have to wake up at 4am to enjoy cinnamon rolls at 9am. It’s really simple:
Make the dough, let it have its first rise, fill, roll, slice, and place them in the pan the evening before (up to 14 hours in advance). Typically, if I start by around 5 or 6pm the night before that gives these cinnamon rolls with chocolate the perfect amount of time to proof. Do not add the cream yet!
Then, just place the pan in the refrigerator overnight. When you wake up in the morning set them out at room temperature or in a warm spot for about 2 hours or until they’ve doubled in size and they’re properly proofed.
Then, preheat your oven, pour the cream into the pan, and bake them! They’ll be just like you went from start to finish that very morning.
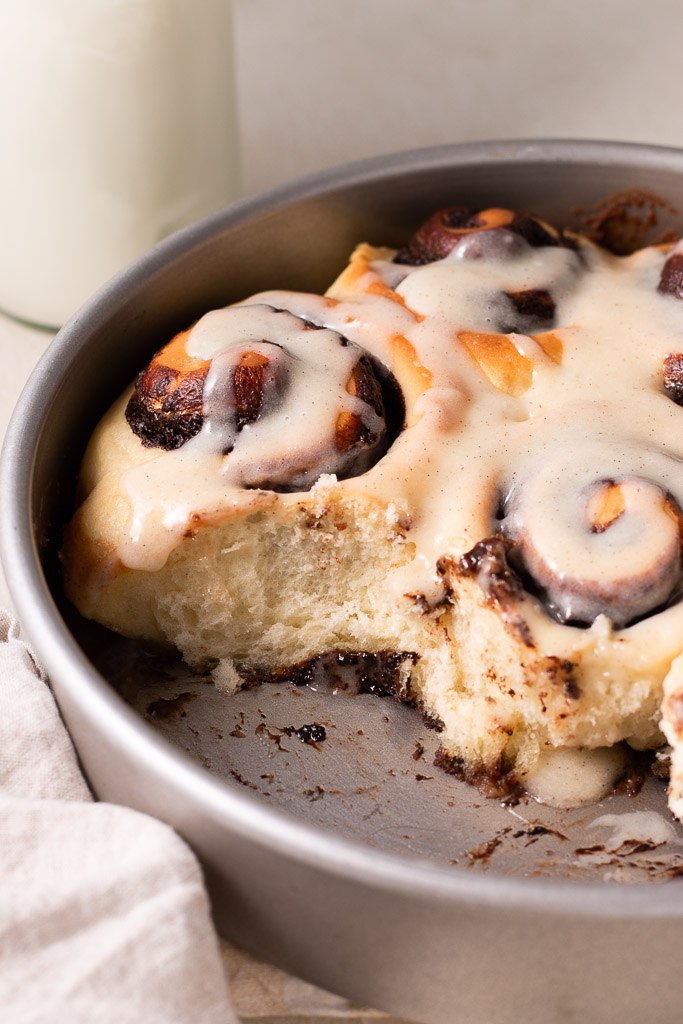
I hope you all love this recipe as much as I do, and I can’t wait to hear what y’all think of them!
If you have any questions about this recipe or another, shoot me an email at sarah@sarahsdayoff.com and I’ll be happy to chat with you. Or, leave a comment below!
Don’t forget to follow along on Instagram at @sarahsdayoff to see what we’re up to in the kitchen!
“And you must love the Lord your God with all your heart, all your soul, and all your strength.” -Deuteronomy 6:5-
Chocolate Cinnamon Rolls
Ingredients
For the Dough
- 1/2 cup lukewarm water (somewhere between 105°F and 115°F)
- 1 (2.25-oz) packet active dry yeast
- 1/2 cup whole milk
- 1/4 cup unsalted butter melted
- 1/2 cup granulated sugar
- 2 large eggs at room temperature
- 4 cups (583g) all-purpose flour
- 1 tsp kosher salt
For the Chocolate Filling
- 1/2 cup unsalted butter
- 1 (4-oz) bar bittersweet chcolate, coarsely chopped
- 1/2 cup powdered sugar
- 1/4 cup cocoa powder
- 1 tsp espresso powder (or use instant coffee - see above)
- 1 tsp pure vanilla extract
- Generous pinch of kosher salt
- 2/3 cup heavy cream, divided
For the Vanilla Bean Glaze
- 1/2 cup unsalted butter at room temperature
- 3 cups powdered sugar
- 2 to 3 tsp vanilla bean paste (or use pure vanilla extract)
- up to 1/2 cup heavy cream (see instructions)
Instructions
For the Dough:
- Combine the water and yeast in the bowl of a stand mixer fitted with the dough hook attachment. Let stand for 5 to 10 minutes or until the yeast is slightly foamy (this is your sign that the yeast is alive. If this doens't happen, you need to get fresh yeast).
- Meanwhile, combine the milk, butter, and sugar in a small bowl and microwave in 15-second intervals, stirring between each interval, until the butter is melted and it is warm to the touch (don't let it to get too hot - if this happens you may kill the yeast. Shoot for lukewarm).
- Add the warm milk mixture and eggs to the yeast/water mixture and whisk until everything is combined (whisking by hand here is more effective).
- Add the flour and salt, and beat on medium speed for 6 to 8 minutes. The dough should be slightly tacky and should stay attached to the hook when you pull it out of the bowl. It shouldn't be so sticky that it gets all over your hand when you touch it.
- Remove the dough from the bowl, and spray the bowl with cooking spray. Add the dough back to the oiled bowl, cover with plastic wrap, and let sit in a warm place for about 2 hours, or until it's doubled in size.
For the Chocolate Filling
- 30 mintues before the dough is finished rising, make the filling. Combine the butter, chocolate, sugar, cocoa powder, espresso powder, vanilla, and salt in a small saucepan, whisking until smooth.
- Set the saucepan over medium-low heat and stir every so often until the chocolate is fully melted and you're left with a relatively thick mixture.
- If it gets too thick while you're rolling out the dough, you can warm it up again or add a bit of milk or cream. You want it to be spreadable, not runny and not too thick.
- Punch the dough down using the fist of your hand (this will help expel some gases), and turn the dough out onto a lightly floured surface. Roll the dough into a 12x18-inch rectangle.
- Evenly spread the filling all over the dough using an offset spatula or a knife, leaving a 1/2-inch border on each side.
- Starting on one of the long ends, tightly roll the dough from end to end and gently press the edges together to seal.
- Cut the dough into 1 1/2-inch thick sections using a sharp knife or a strand of unscented dental floss. Place the rolls in 2 lightly greased 9-inch round cake pans (this recipe makes about 18 buns, so you'll need 2 pans!
- Cover the pans with plastic wrap and let them rest in a warm spot until the rolls have doubled in size, about 1 hour.
- Preheat the oven to 350°F. Divide the heavy cream between both pans (about 1/3 cup in each pan - just pour it straight onto the rolls). Bake the rolls until they're golden brown and puffed up, about 20 to 25 minutes (Tip: make sure your oven racks are spaced a good bit apart because these rise quite a bit and you don't want them hitting another oven rack).
- Remove from the oven and cool completely on wire racks.
For the Vanilla Bean Glaze
- Beat the butter in the bowl of a stand mixer with the paddle attachment 2 to 3 minutes or until light and fluffy.
- Gradually beat in the powdered sugar, about 1/2 cup at a time, until you've added all of it. Beat in the vanilla.
- Beat in the heavy cream, 1 Tbsp at a time, until it reaches your desired consistency. For a looser glaze, add more. For a thicker glaze, add less.
- Pour the glaze directly on the warm cinnamon rolls.
Notes
This post contains affiliate links that I may earn commission from at no cost to you. Thank you for supporting Sarah’s Day Off!

Looks so good. Can’t wait to try it!